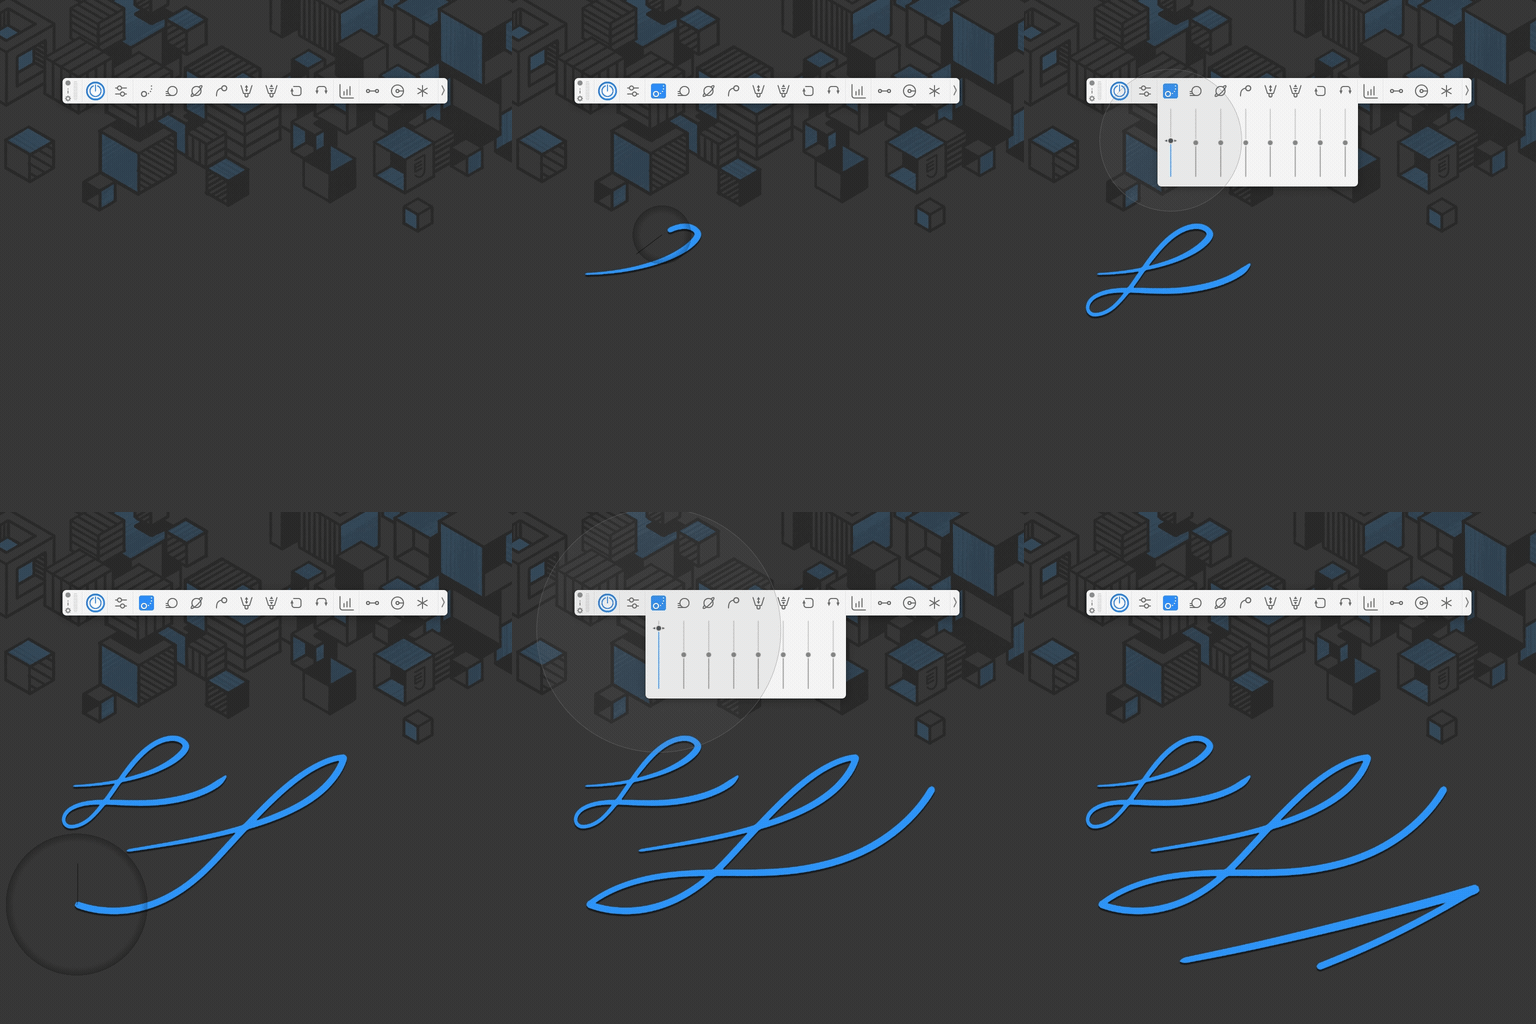
Position Pull
Position smoothing was Hej Stylus!' v1.0 only feature – now free for everybody.
When activated the slider works in 2 dimensions. Up/Down to select the final size of the offset/size. Left/Right to determine the max. value of the slider.
This means you can (by pulling to the left) adjust the slider to have a range of f.e. 10 pixels. Then you can use up/down to fine-tune.
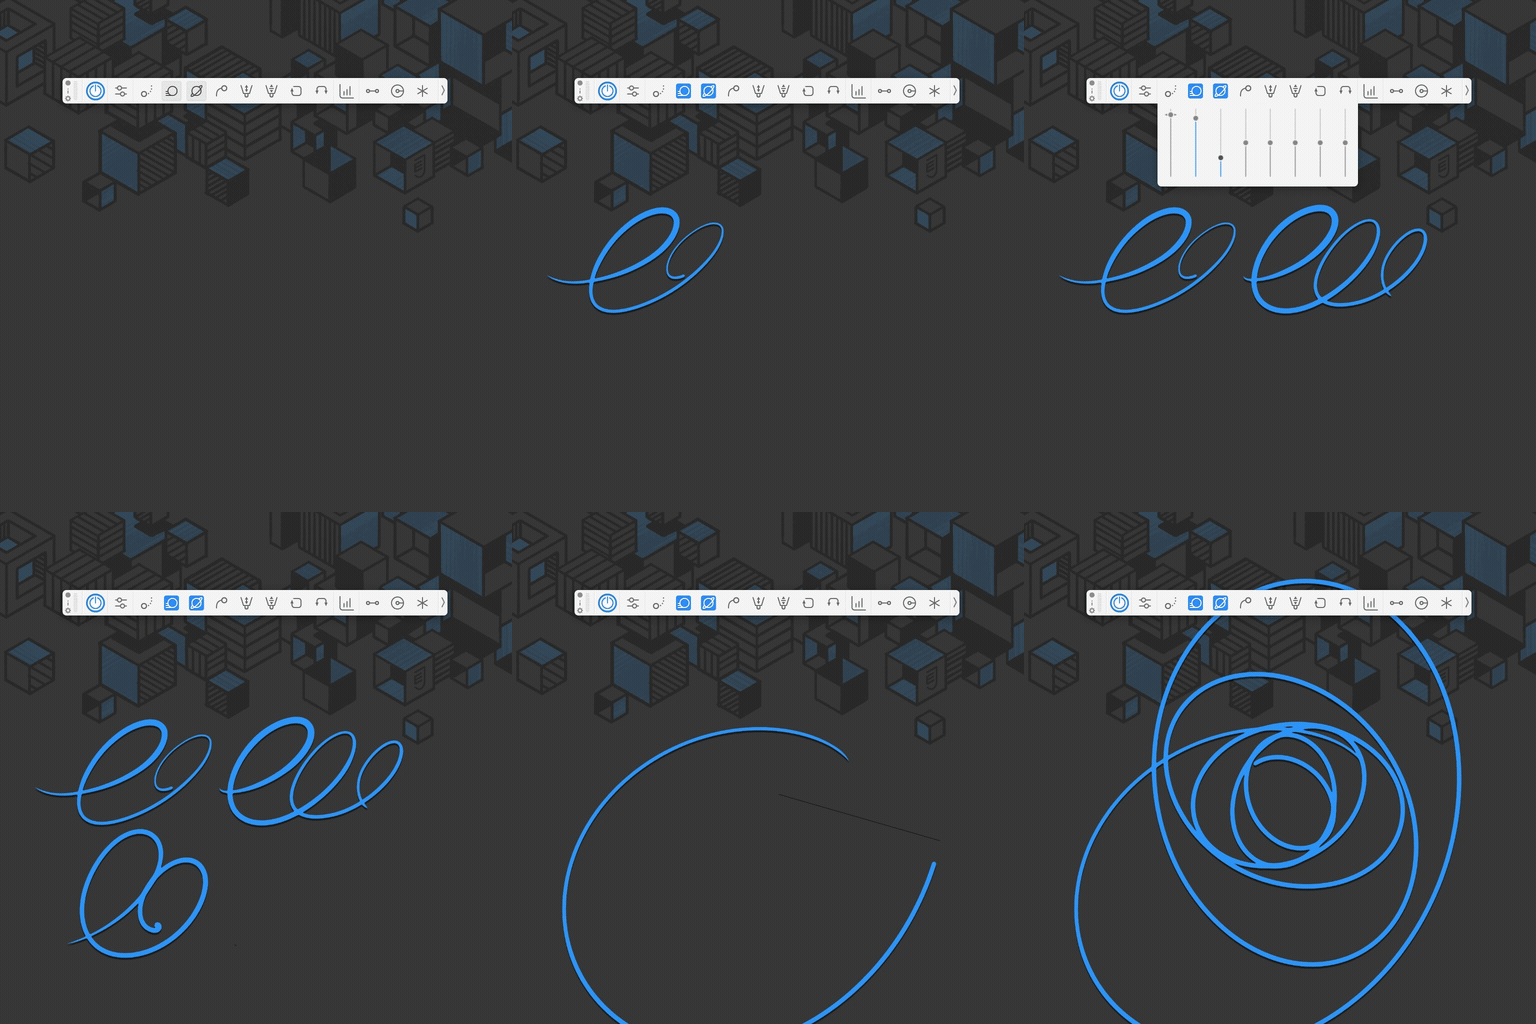
Physics Smoothing
A great new addition to the set! Fast, leightweight, follows up. Comes with a space constant.
1st slider: Smoothing Power
2nd slider: Physics Power
Pro Tip: Combine with tiny amounts of Fluid Position – you’ll see..
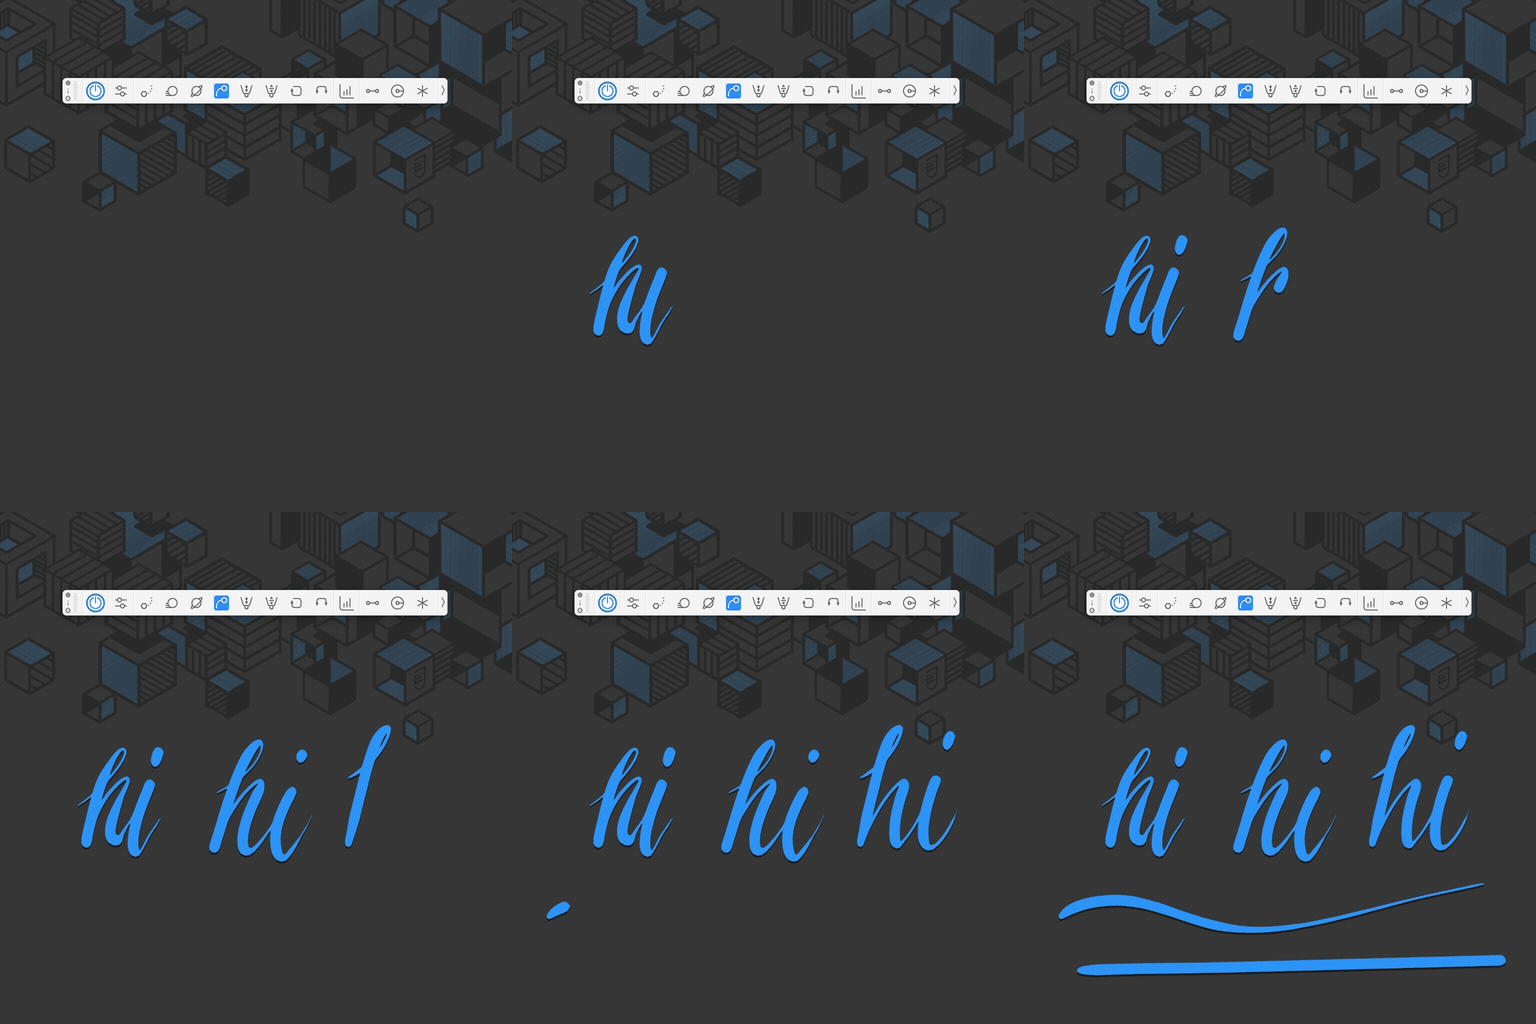
Fluid Position
This algorithm compares your cursor position to its prior one. Drag the slider a bit to remove small noise – drag it all up to draw straight lines.
Pro Tip: If you need an indicator activate ‘Position Pull’ and pull its slider to zero (all the way down).
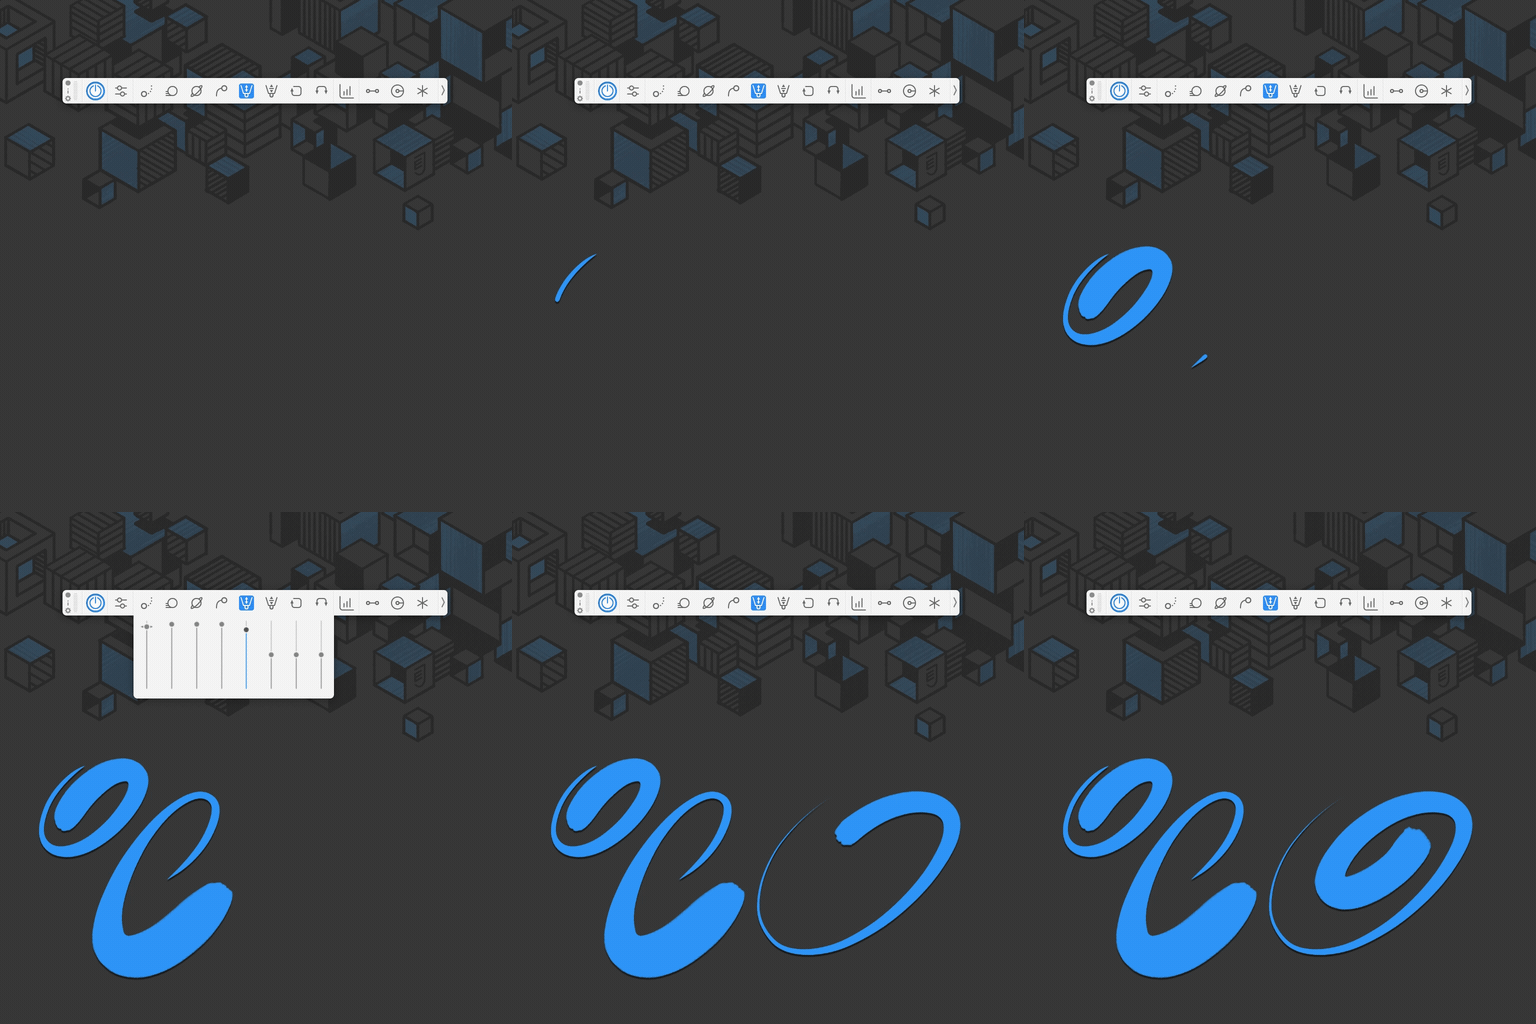
Fluid Pressure
Fluid Pressure builds up smooth and nicely – Good for fine tip inking.
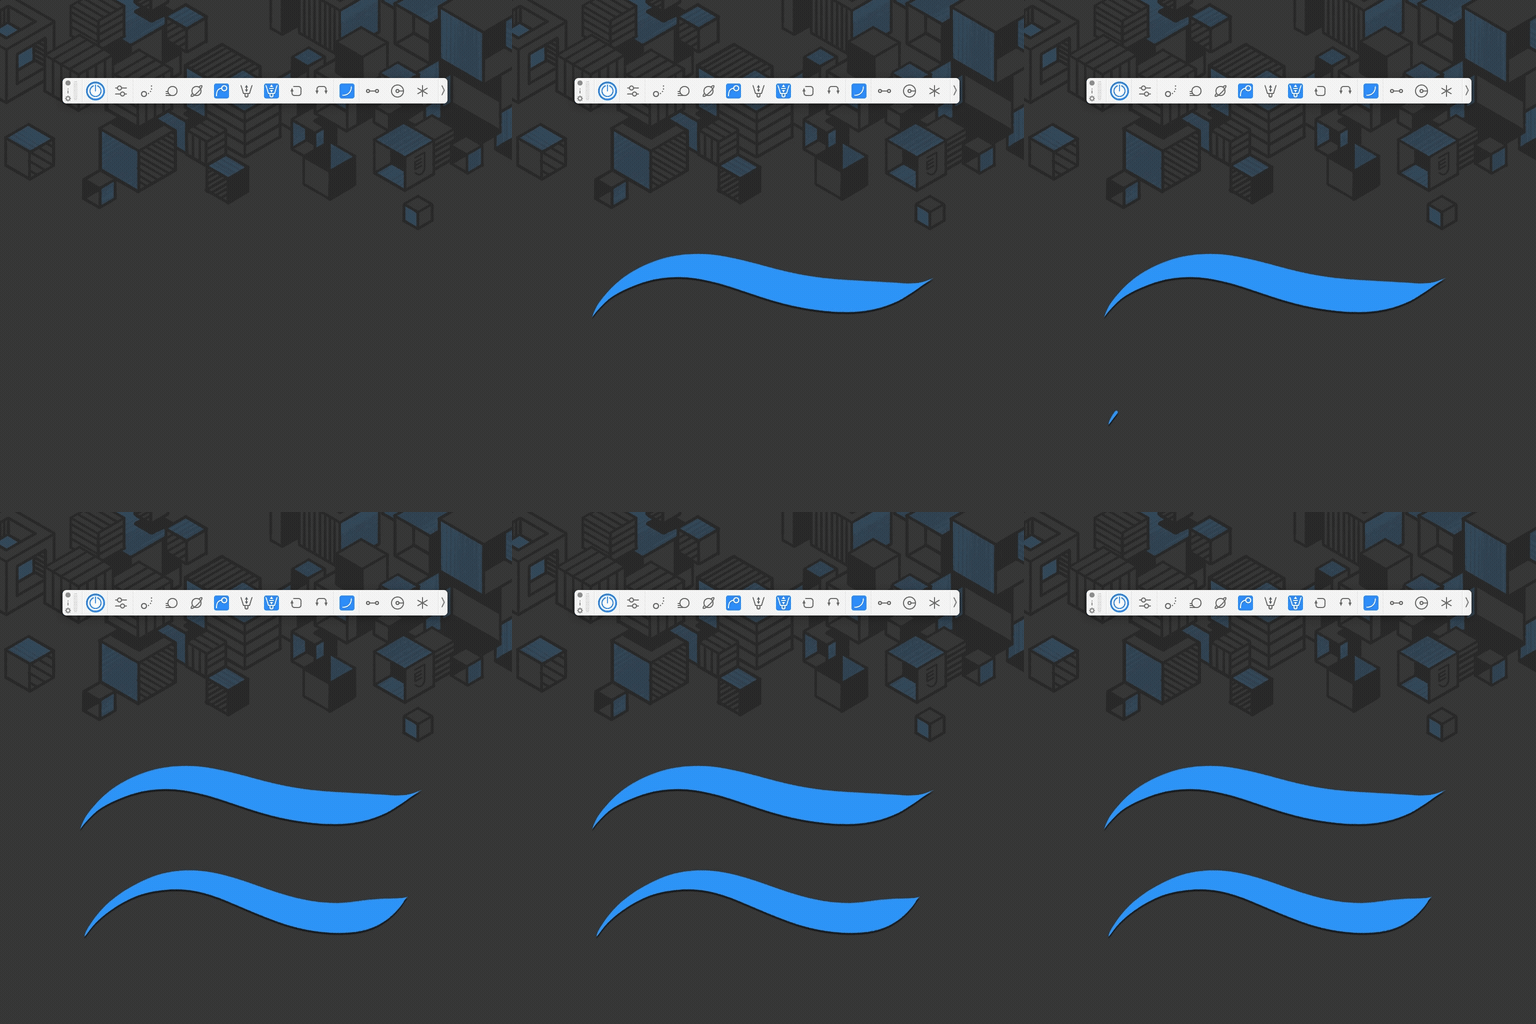
Pressure Buffer
'Buffers up Scotty!' – smooth tips on both sides!
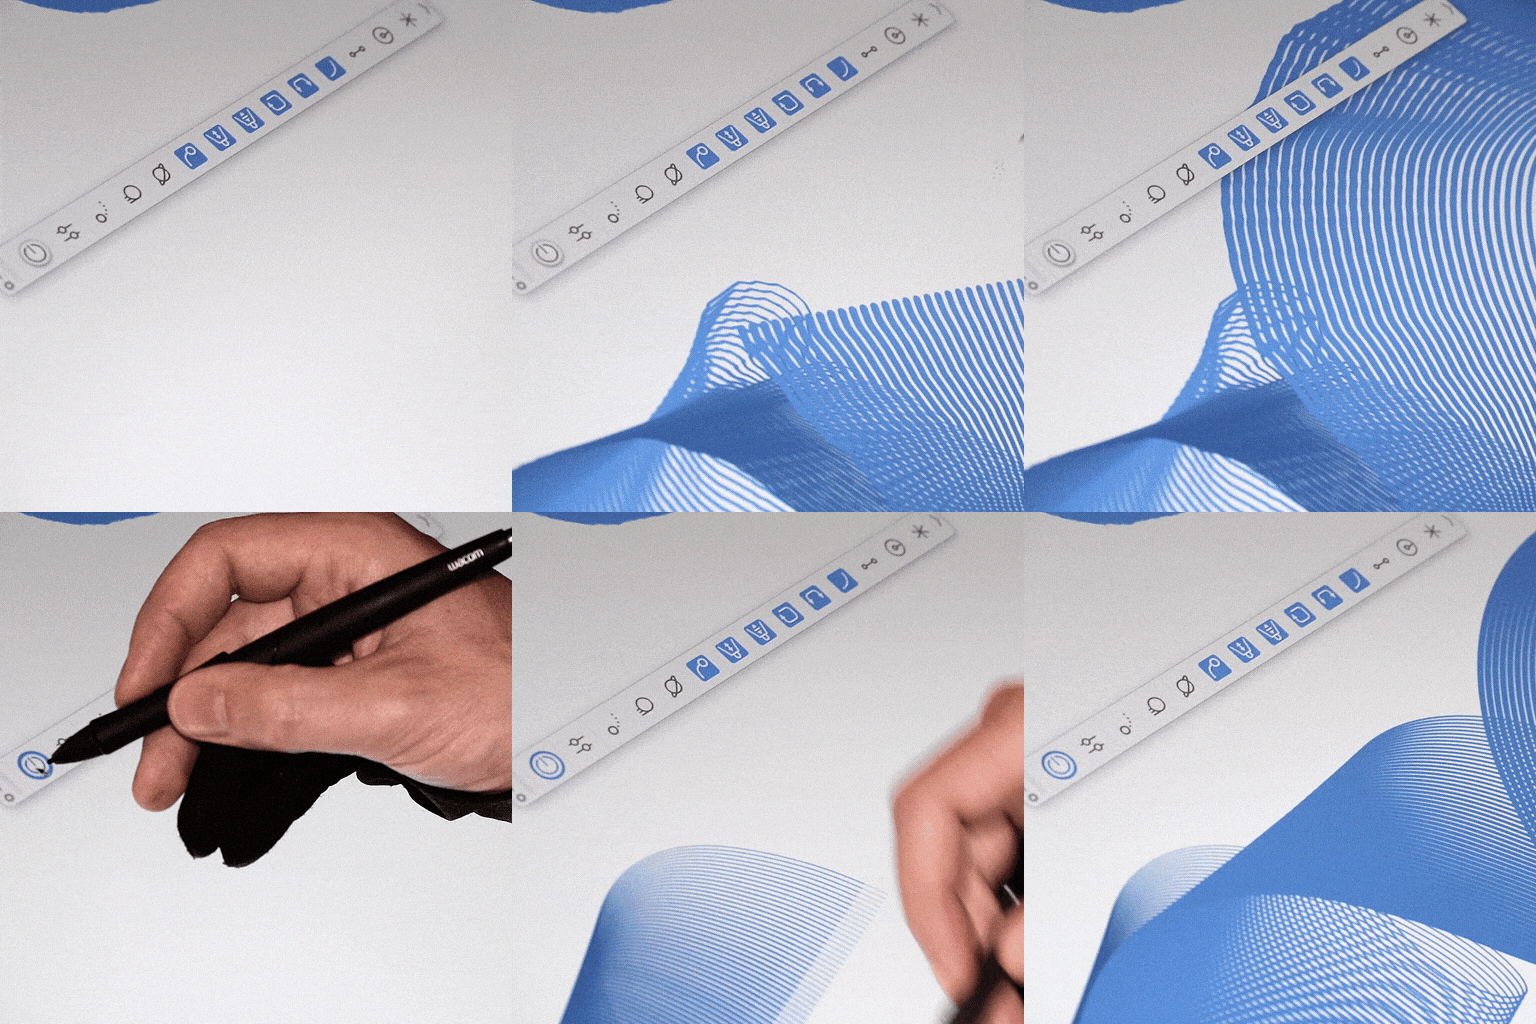
Fluid Rotation and Tilt
Smoothes the twist and/or tilt of your stylus!
Painting with large, rake-like brushes is now more powerful than ever before.
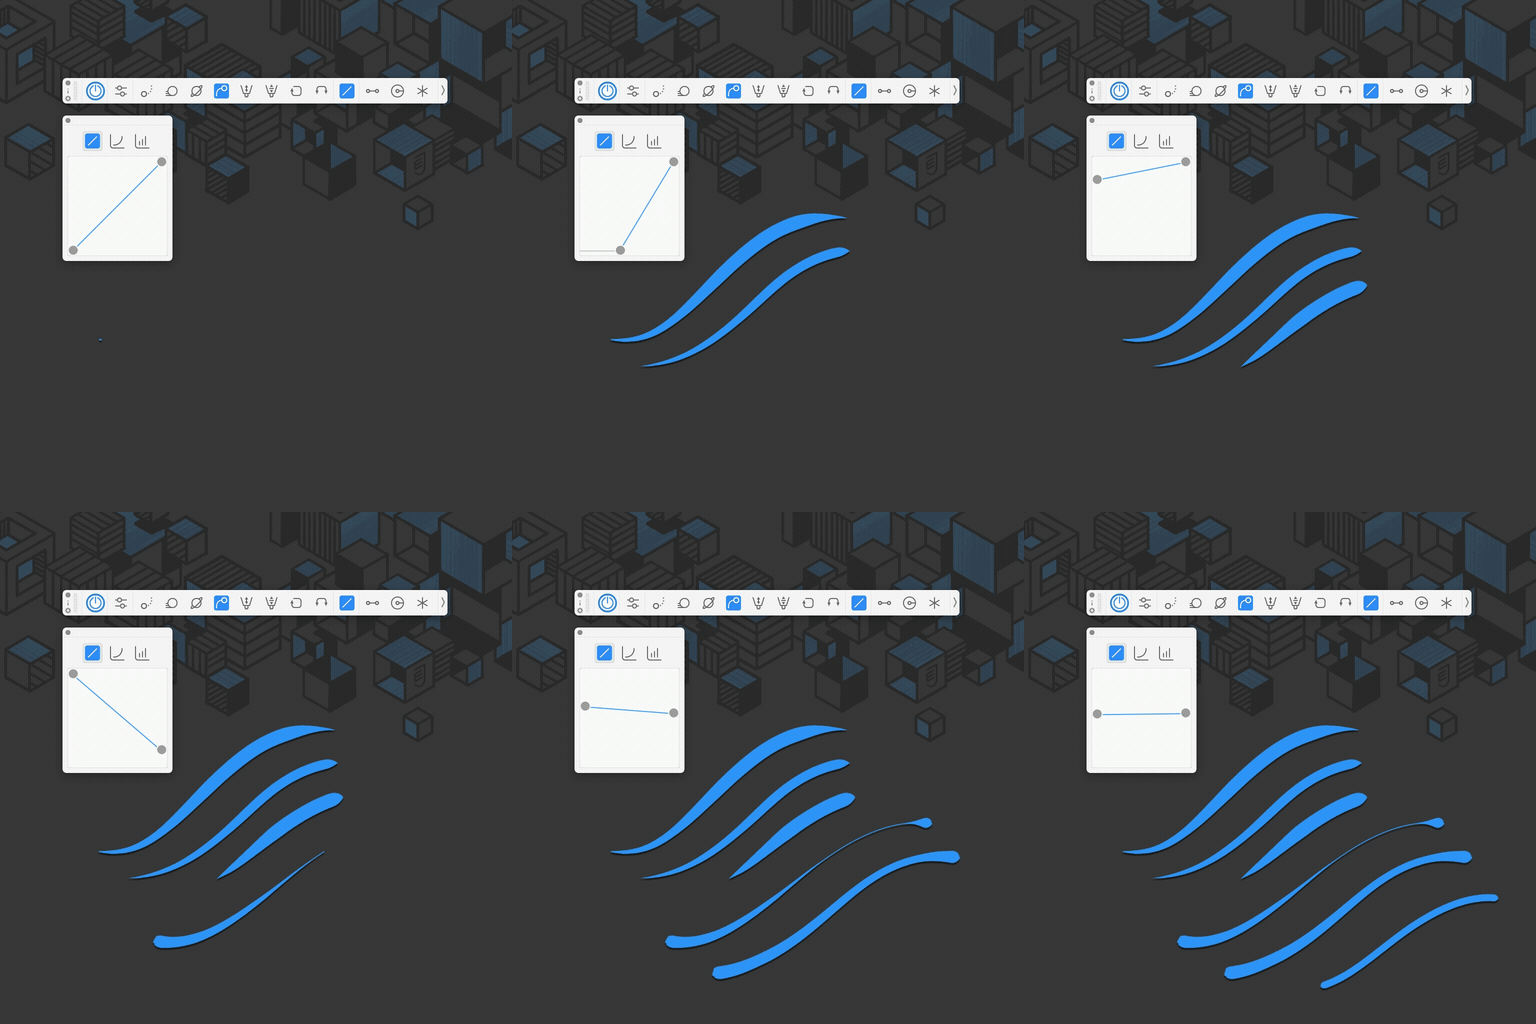
Linear Pressure Mapping
Emulate hart/soft media behavior – even invert pressure.
- tap icon to activate / deactivate
- choose a mapping range
- bottom left = 0% Pressure
- top right = 100% Pressure
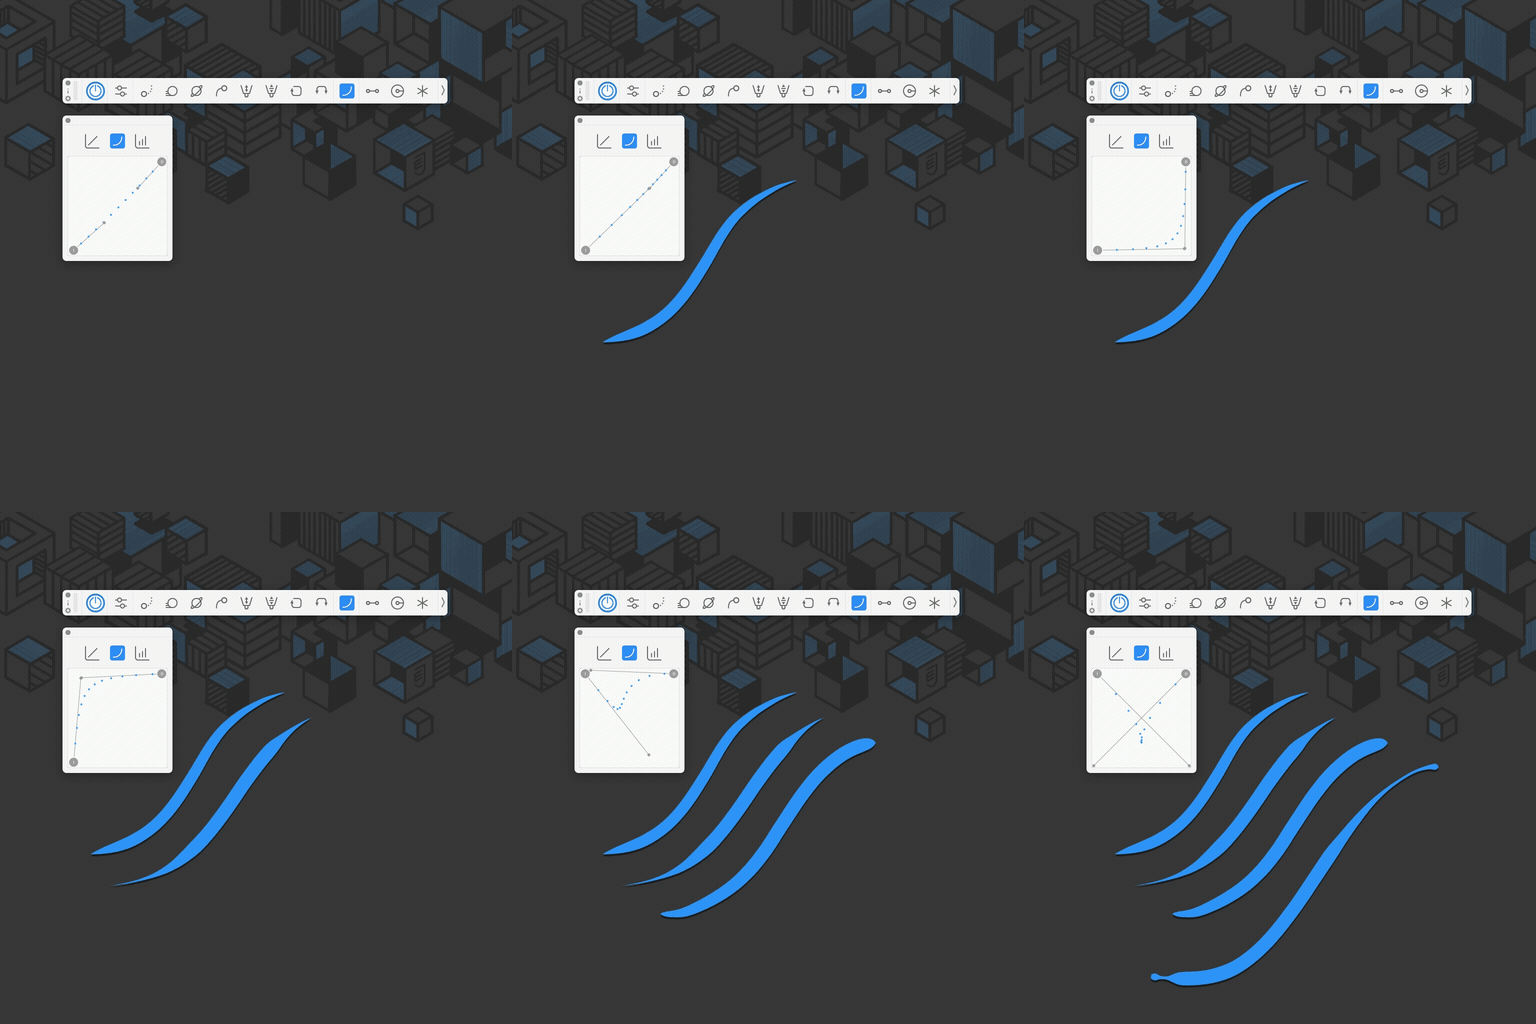
Bezier Pressure Mapping
If you prefer curves over lines I'd suggest this one. It acts even smoother than linear mapping, comes with sticky handles.
- tap icon to activate / deactivate
- choose a mapping range
- I = 0% Pressure
- II = 100% Pressure
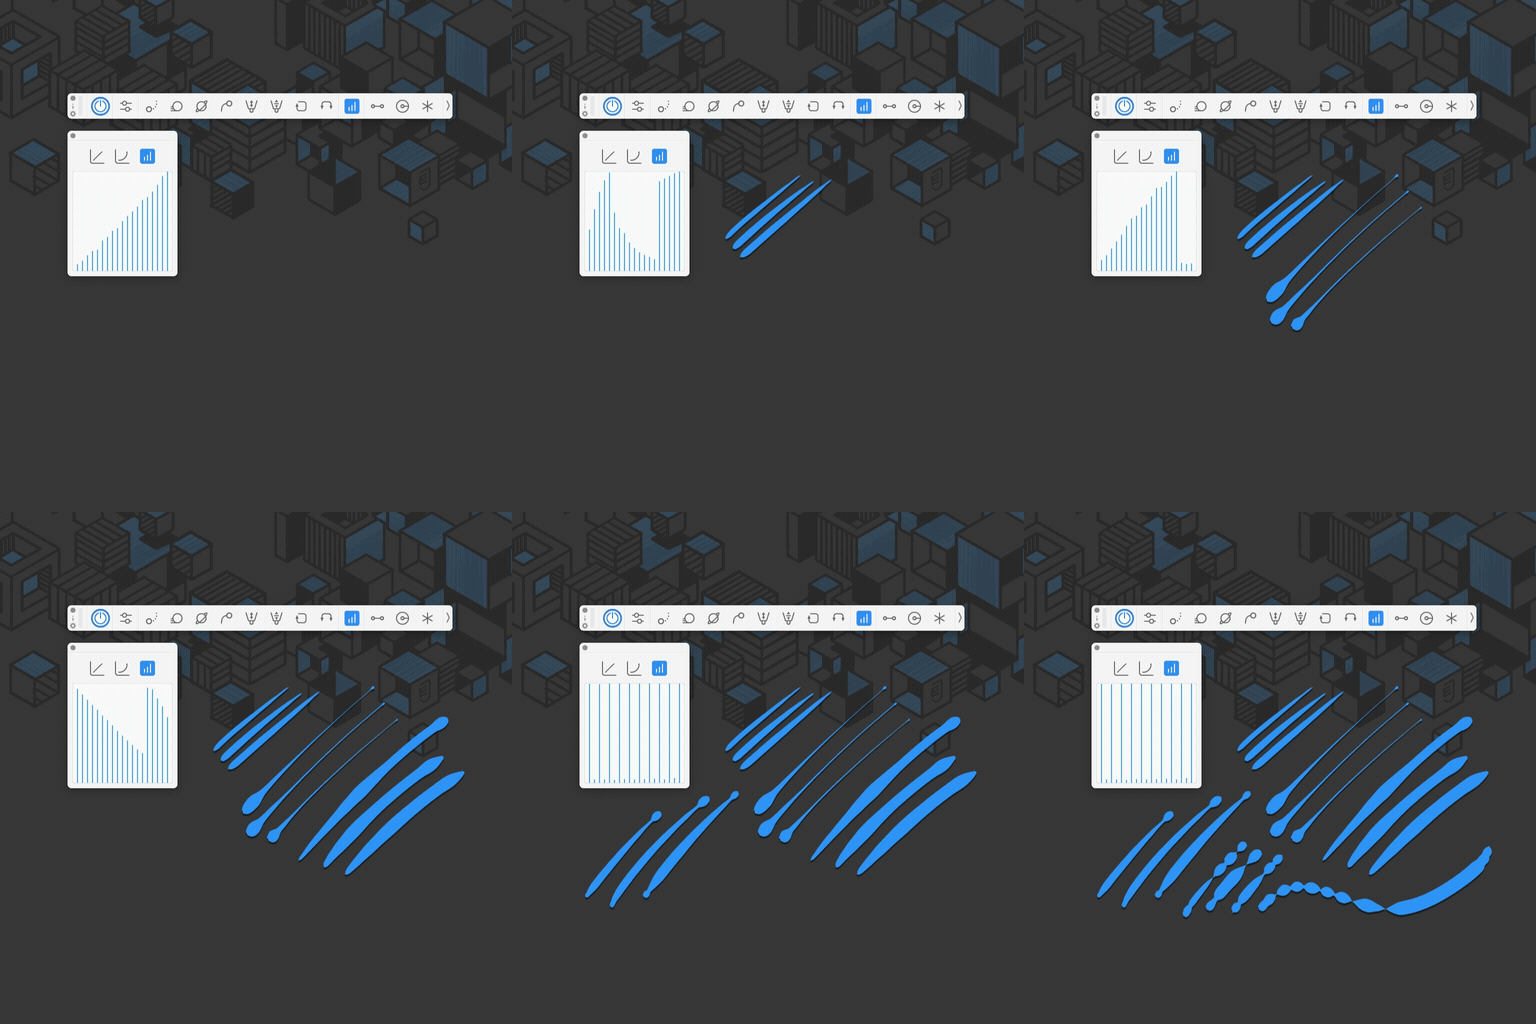
Draw Pressure Mapping
Blazing fast, great for various FX. This is for pressure nerds.
- tap icon to activate / deactivate
- draw a mapping range
- bottom left = 0% Pressure
- top right = 100% Pressure
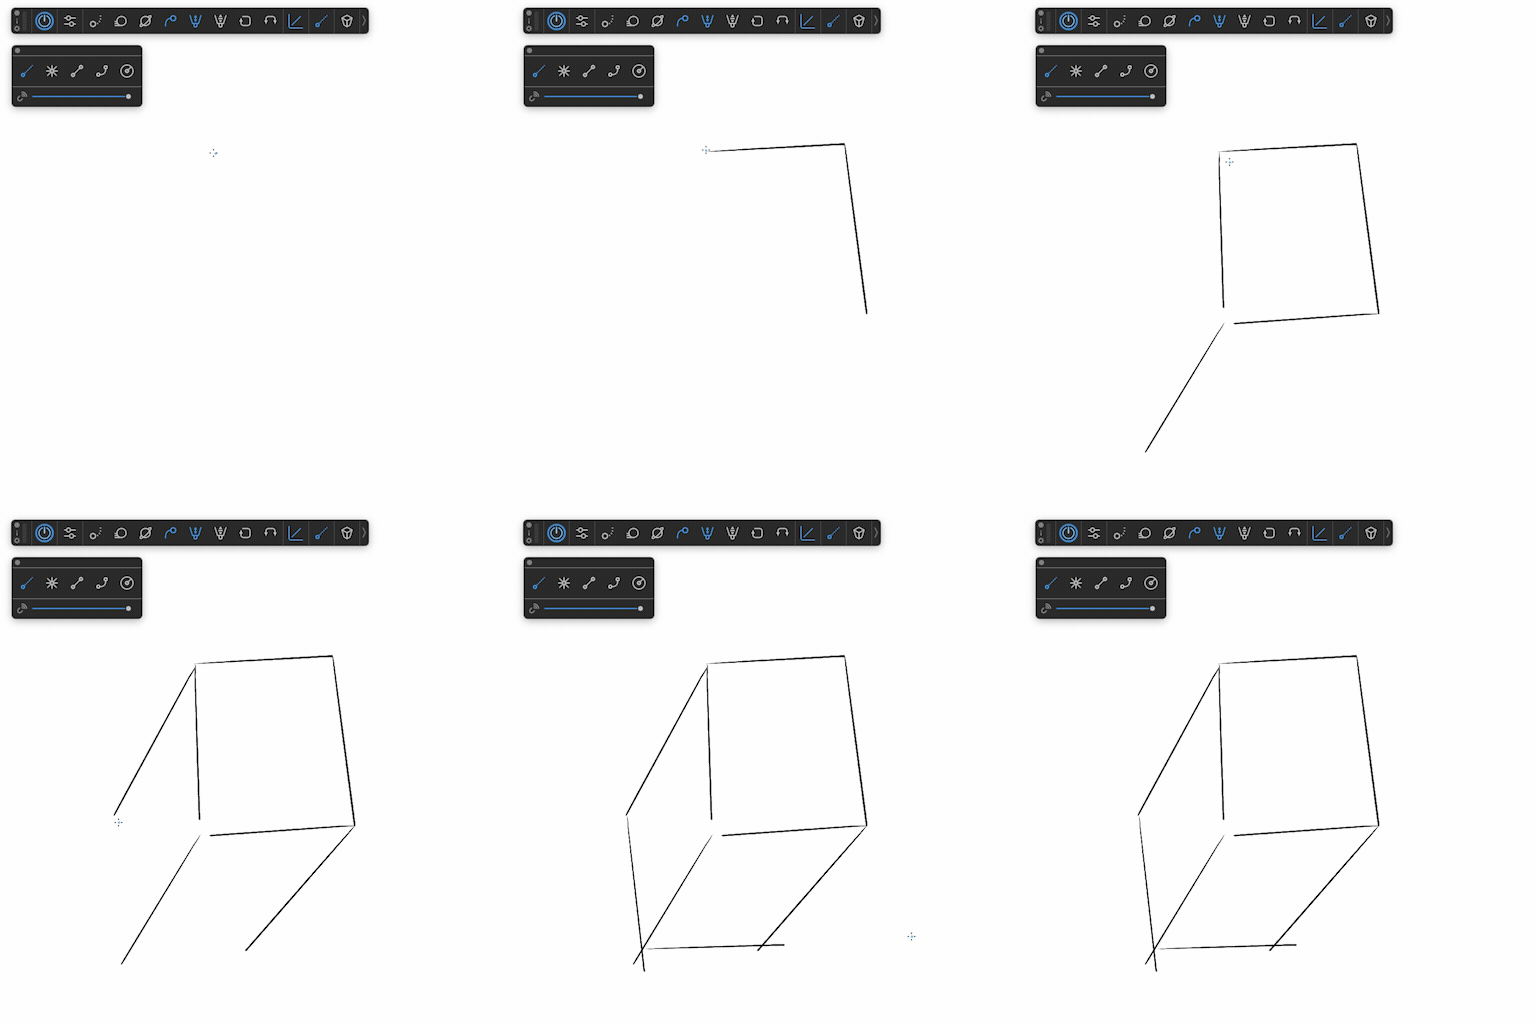
Instant Ruler
Activate ruler function and drag on the canvas – a ruled line plots instantly.
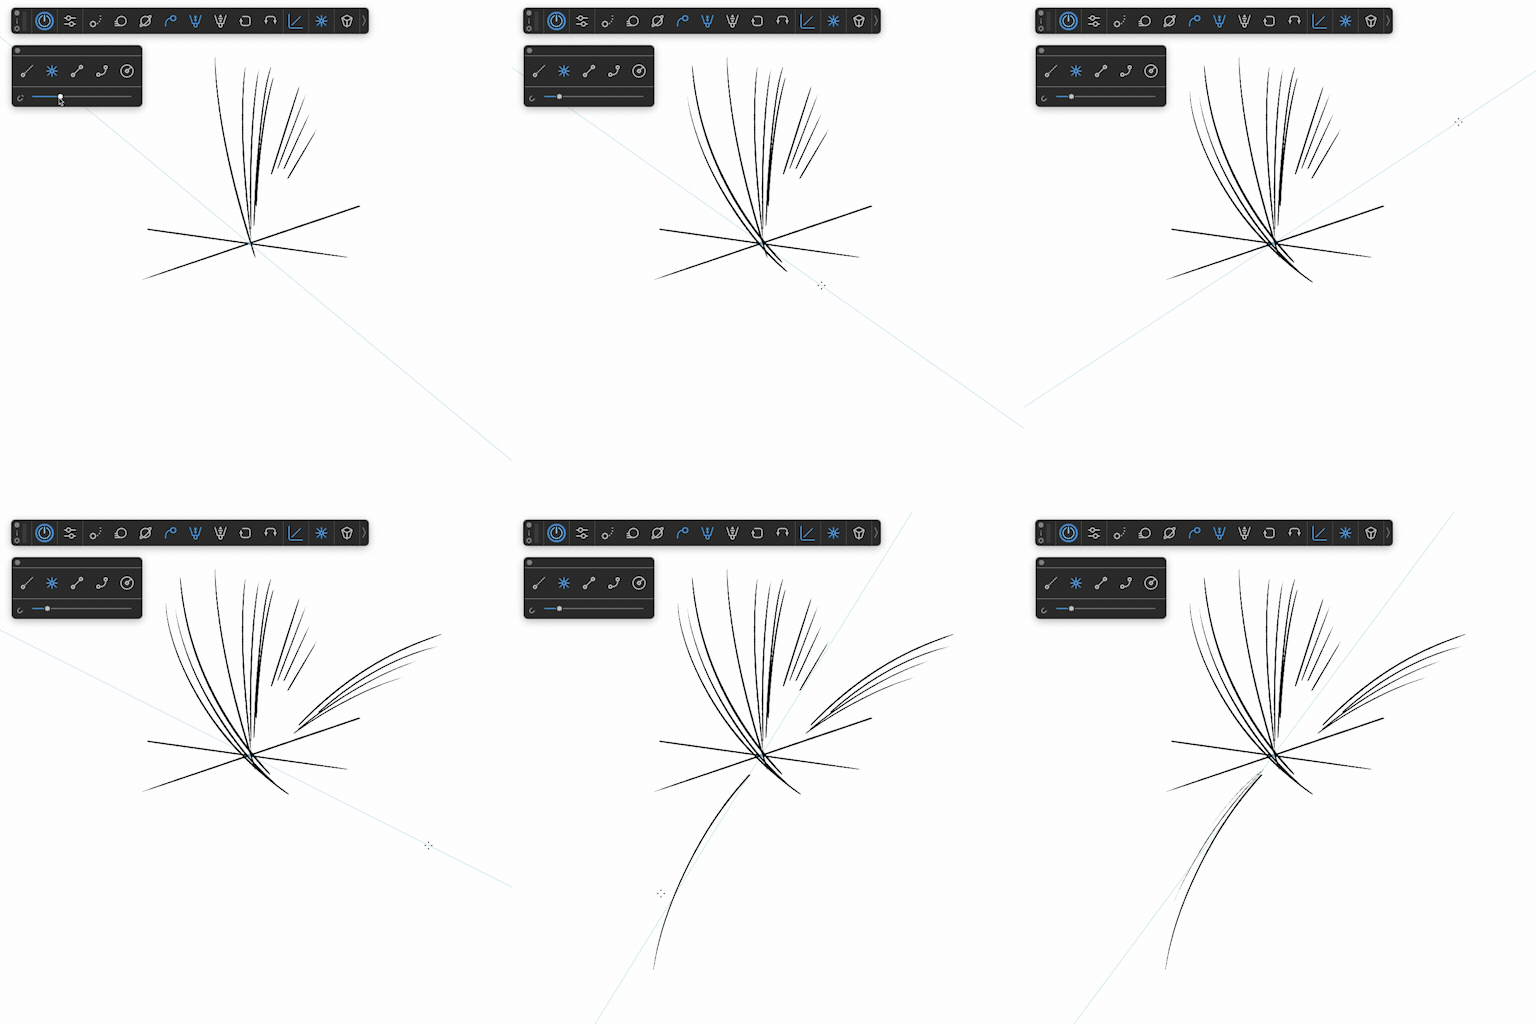
Vanishing Point Ruler
Click on the canvas, one ruler point locks, now draw lines to or through that locked point.
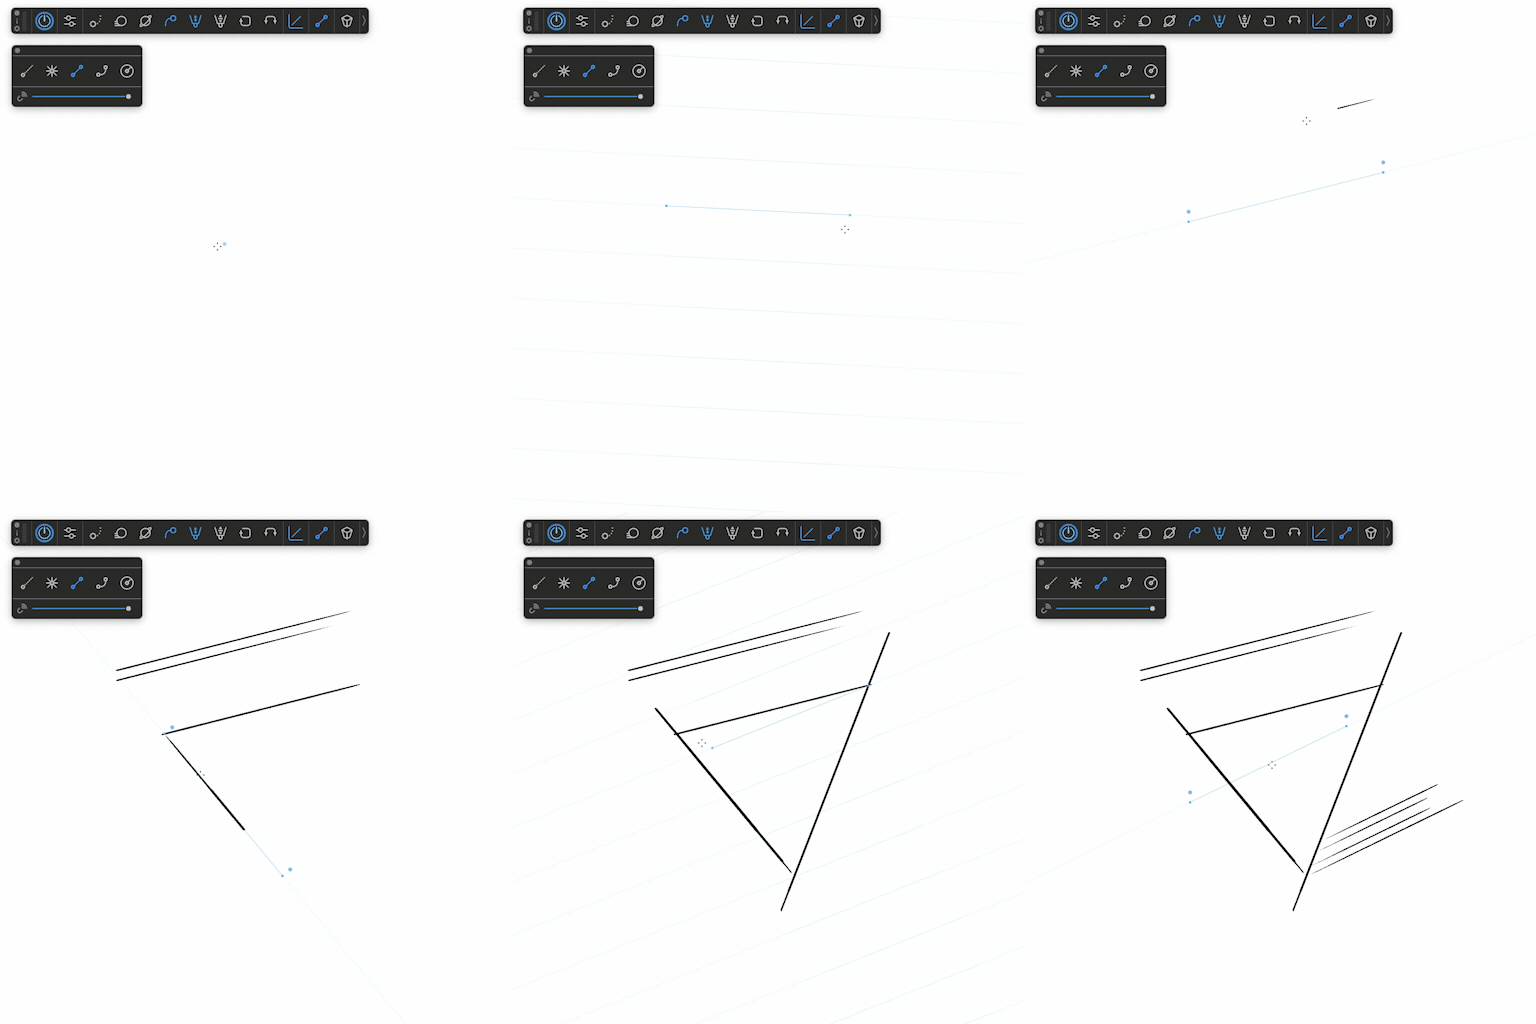
Linear Ruler
-lock 2 points by clicking or by drawing/dragging
-drag center third to move ruler
-click or drag modifier points to reposition endpoints
-doubleclick modifier points to reset ruler
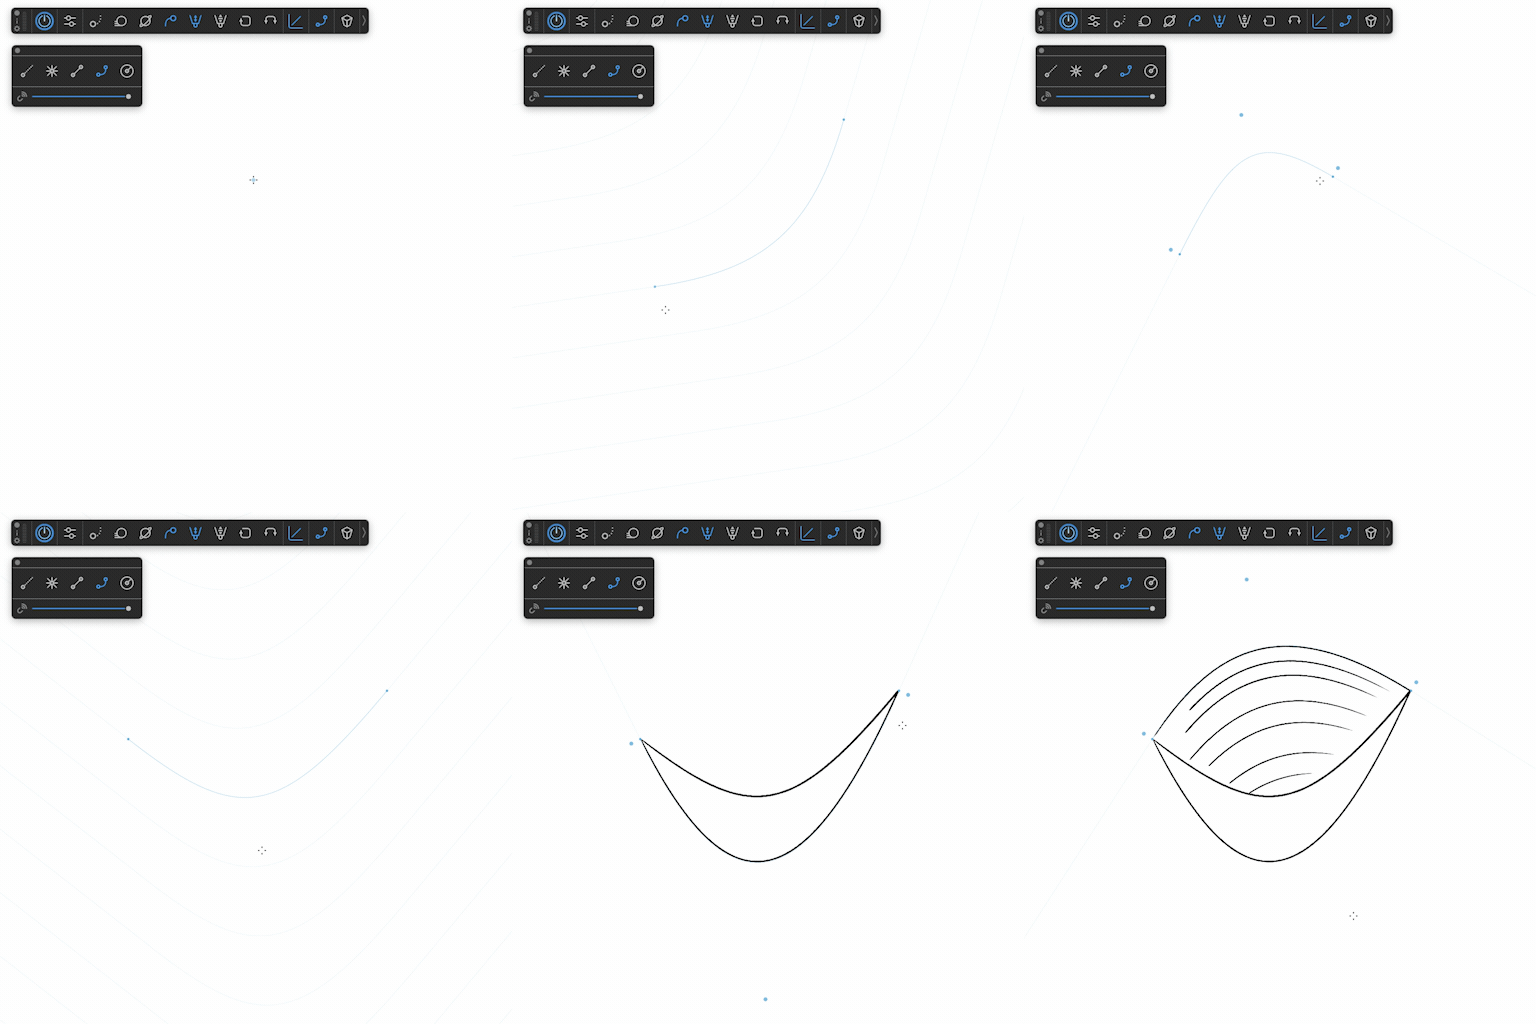
Bendy Ruler
-lock 2 points by clicking or by drawing/dragging
-click again to set curvature
-drag center third to move ruler
-click or drag modifier points to reposition endpoints / curvature
-CMD + drag curvature modifier to tweak curve
-doubleclick modifier points to reset ruler
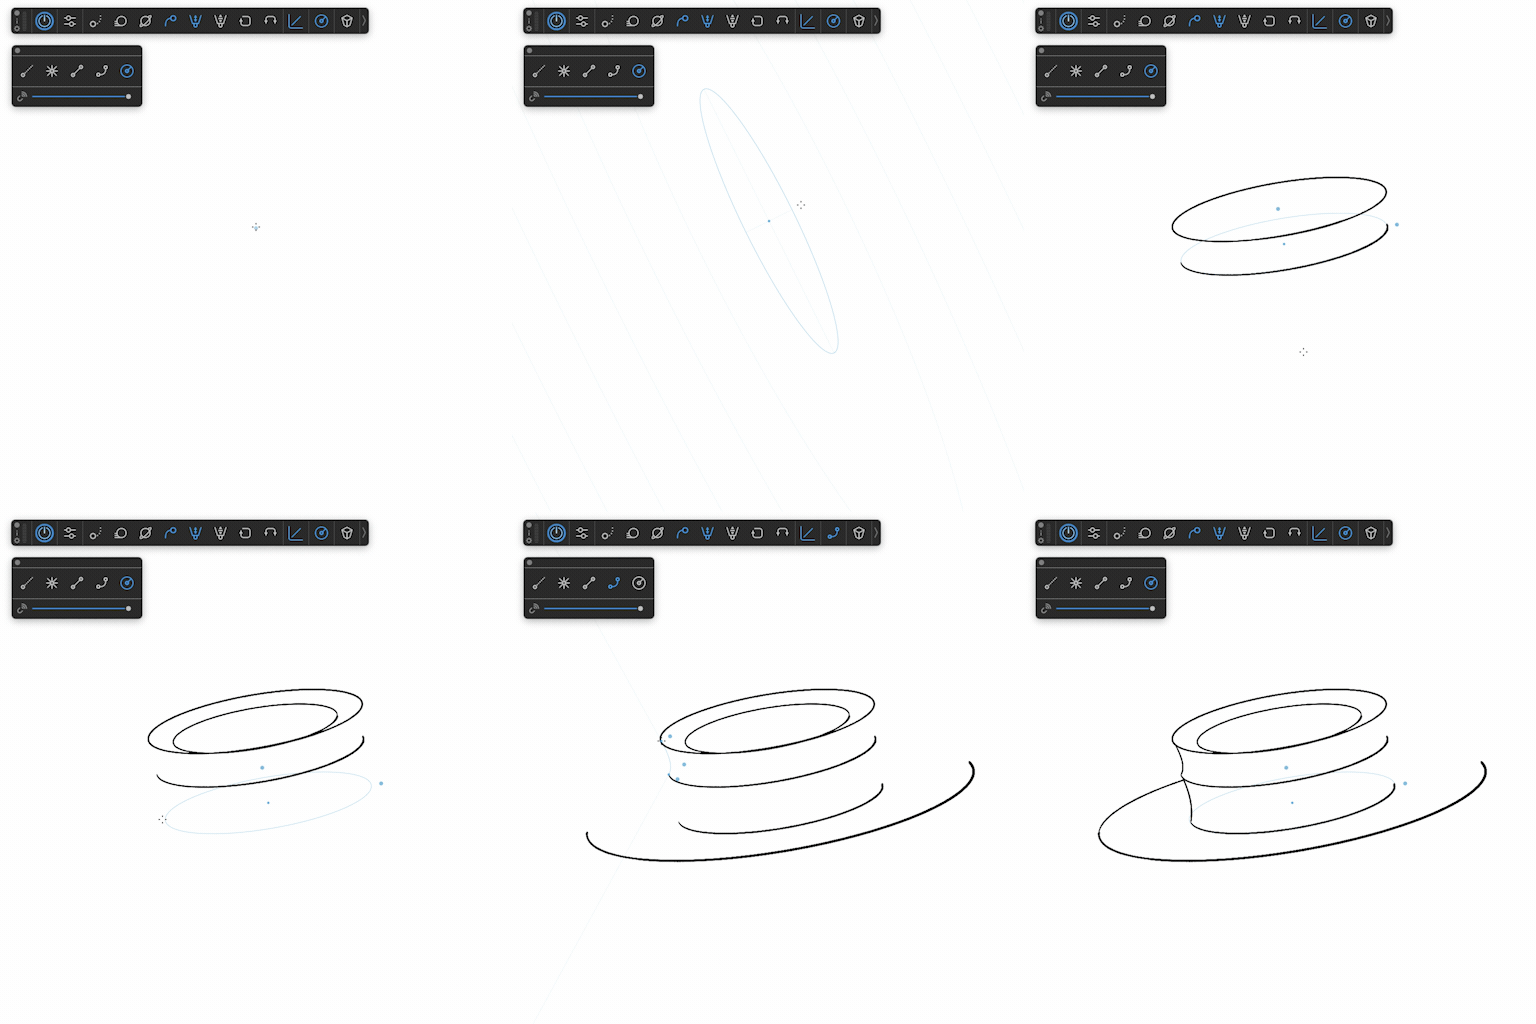
Circular Ruler
-lock 2 points by clicking or by drawing/dragging
-drag / click on center point to move ruler
-SHIFT + drag center point to move ruler according to its X and Y axis
-click or drag outer modifier points to reposition
-SHIFT + drag outer modifier points to get 1:1 ratio
-doubleclick outer modifier points to reset to 1:1 ratio
-doubleclick center point to reset ruler
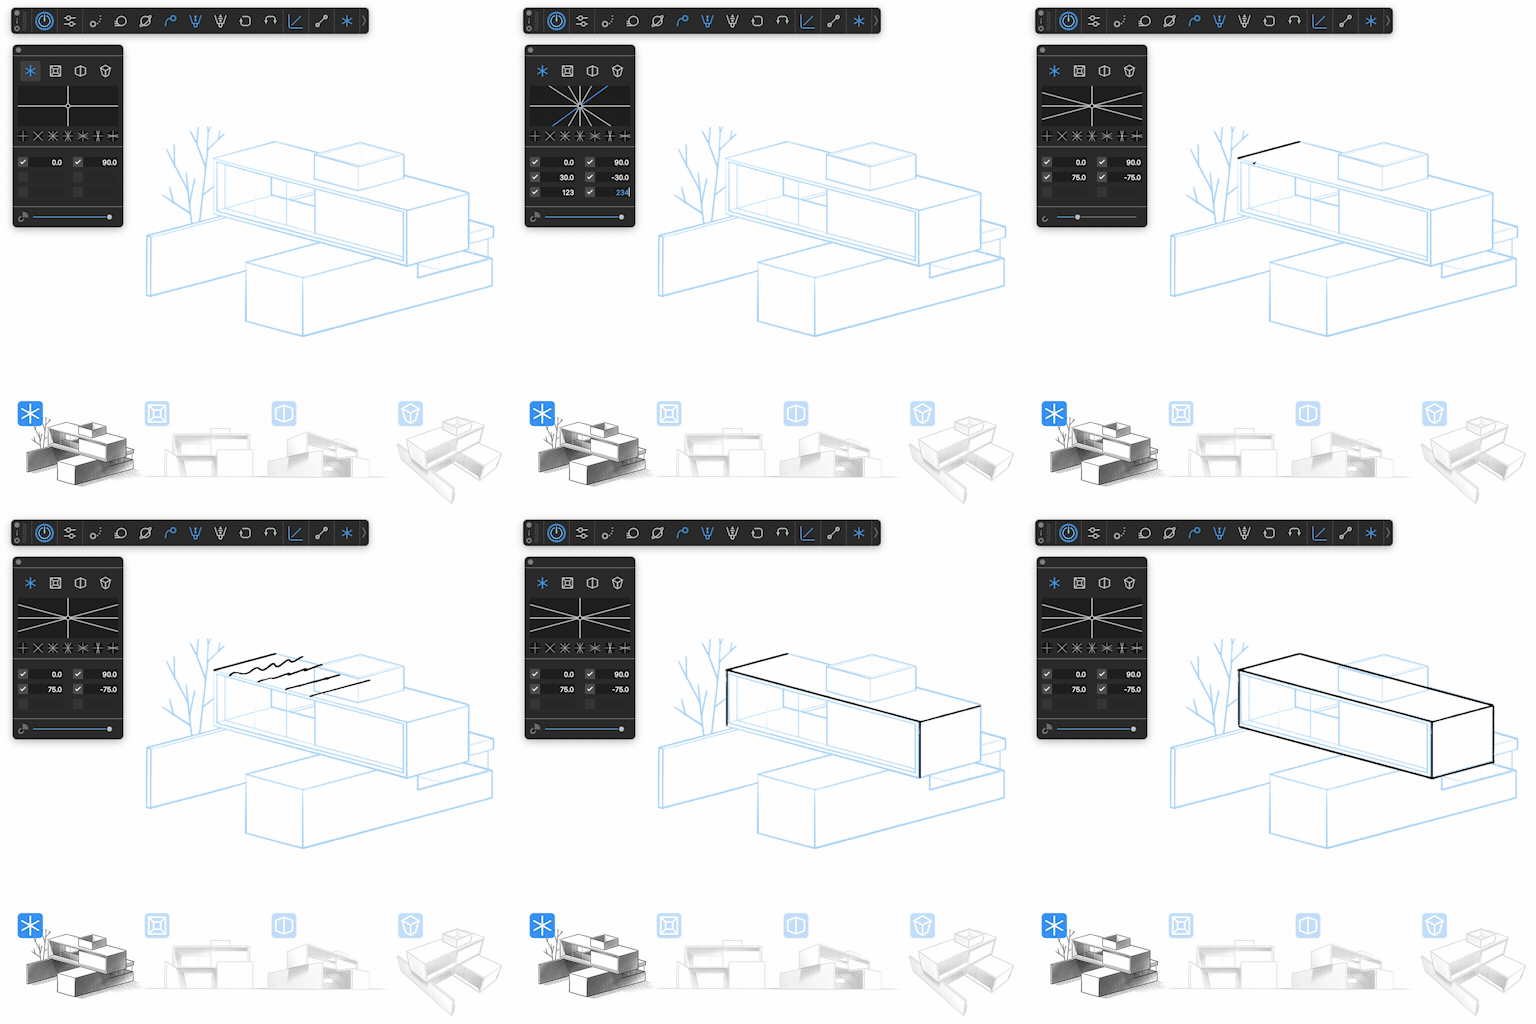
Precise Angles / Iso Perspective
Activate the precise angles panel by clicking the icon on top of the panel.
Next comes the visual indication of all the set angles.
The little icons below represent commonly used angle setups to draw in: 90°,45°, 60°, 30°, 15° and 75°.
These shorthands are built in - you can use the presets panel to store your own presets.
The next part of the panel is for entering the angles manually (you can get very specific here).
Set a checkmark and enter a value to activate the angle.
Magnetiser Slider
Pull the slider to the far right to only draw with the set angles.
The less influence of the magnet the more you can ‘drift’ off the set angles.
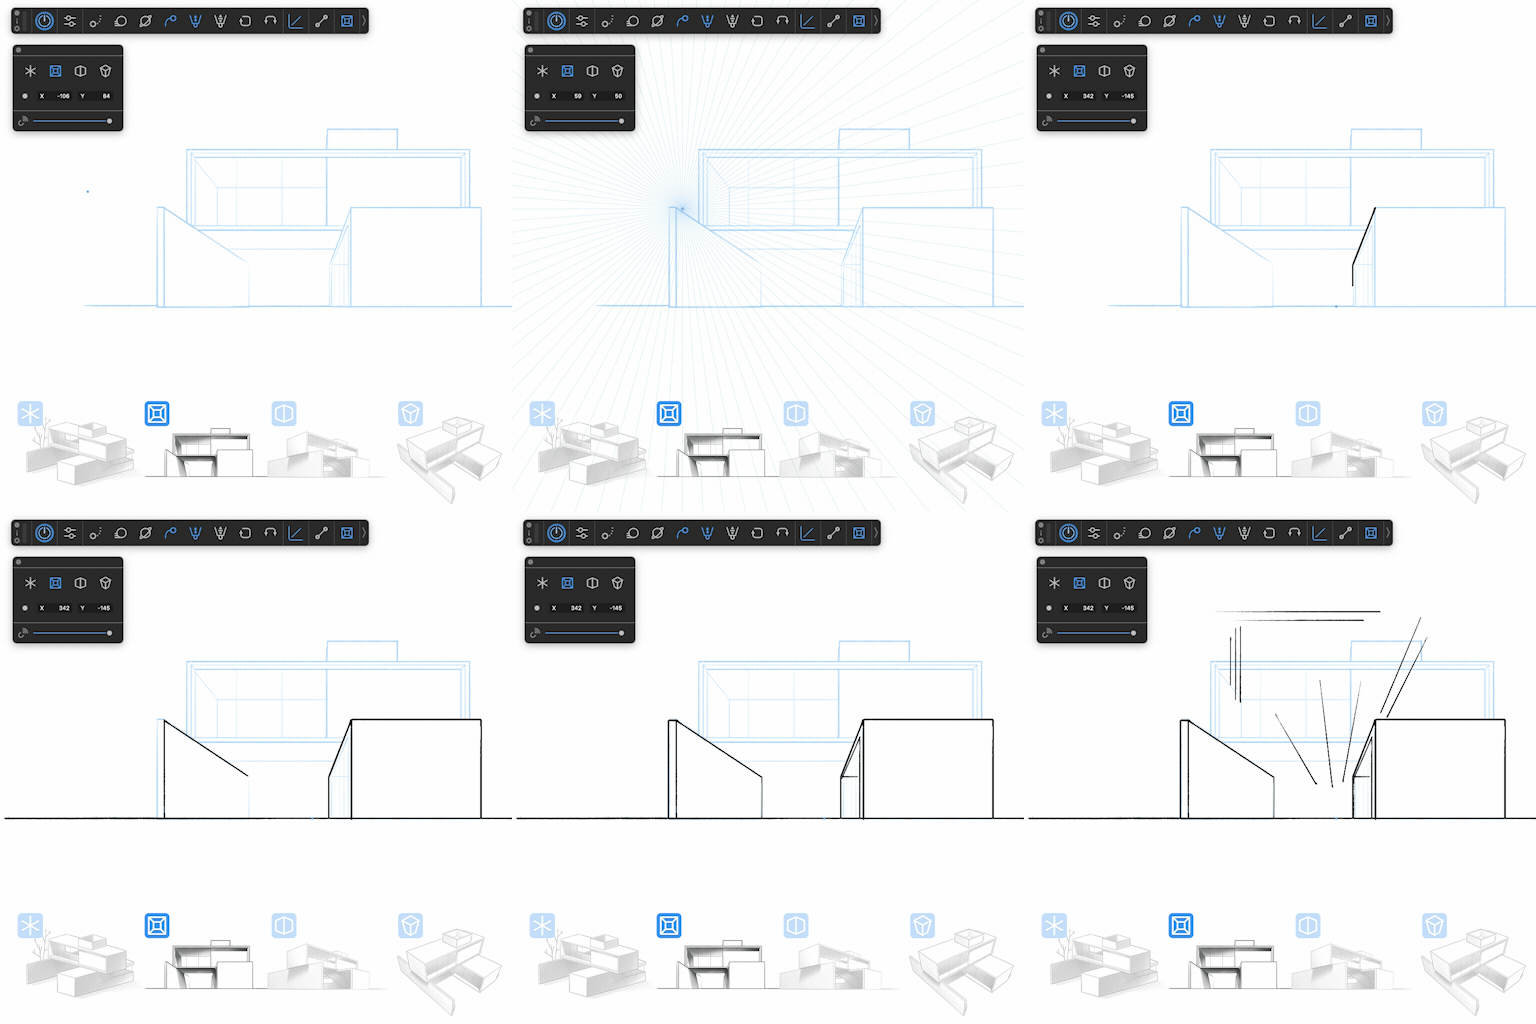
One Vanishing Point Perspective
- click on canvas to set VP
- now draw horizontal, vertical and towards / away from VP
- click / drag on VP to reposition
- click / drag with SHIFT or CMD on VP to reposition x2 or x4
Panel functions
- hover over the VP representation to highlight position
- click on the VP representation to pick up / reset point
- Screen center equals 0/0
- drag L/R in the number box to set X/Y position (SHIFT or CMD also works here)
- double click to enter numeric value - confirm with enter
Setting VPs off Screen
- VPs can be set off screen - a little triangular indicator points at it
- click at indicator to reset VP
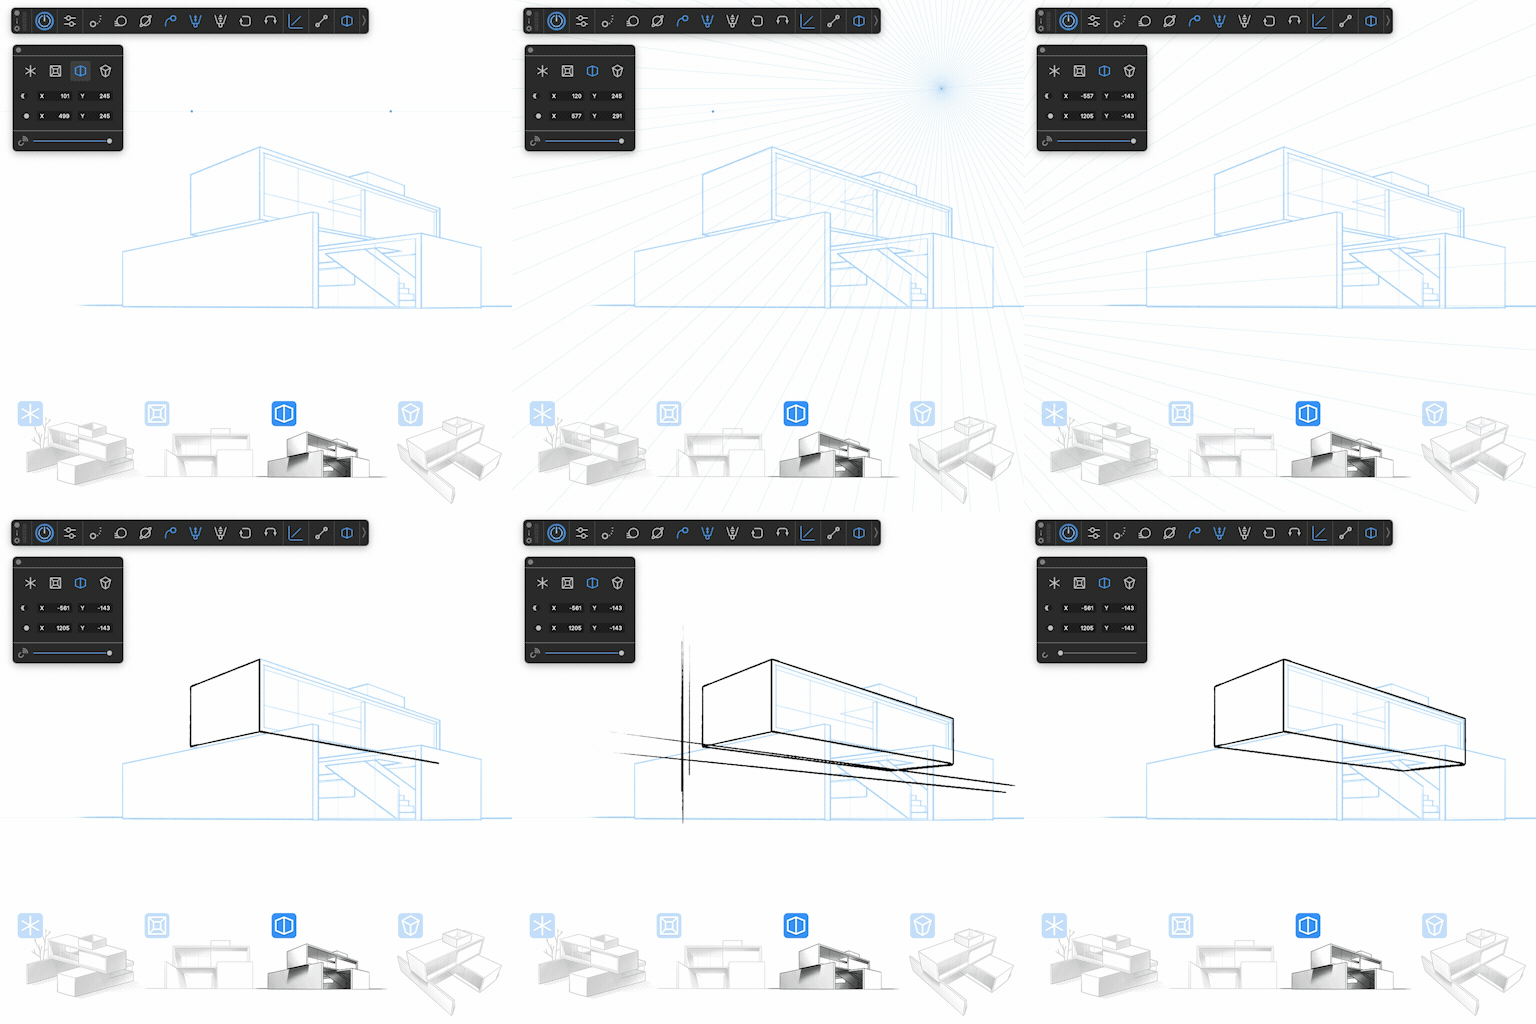
Two Vanishing Point Perspective
- click on canvas to set VPs
- now draw vertical and towards / away from VPs
- click / drag on VPs to reposition
- click / drag with SHIFT or CMD on VP to reposition x2 or x4
Panel functions
- hover over the VP representation to highlight position
- click on the VP representation to pick up / reset point
- Screen center equals 0/0
- drag L/R in the number box to set X/Y position (SHIFT or CMD also works here)
- double click to enter numeric value - confirm with enter
Setting VPs off Screen
- VPs can be set off screen - a little triangular indicator points at it
- click at indicator to reset VP
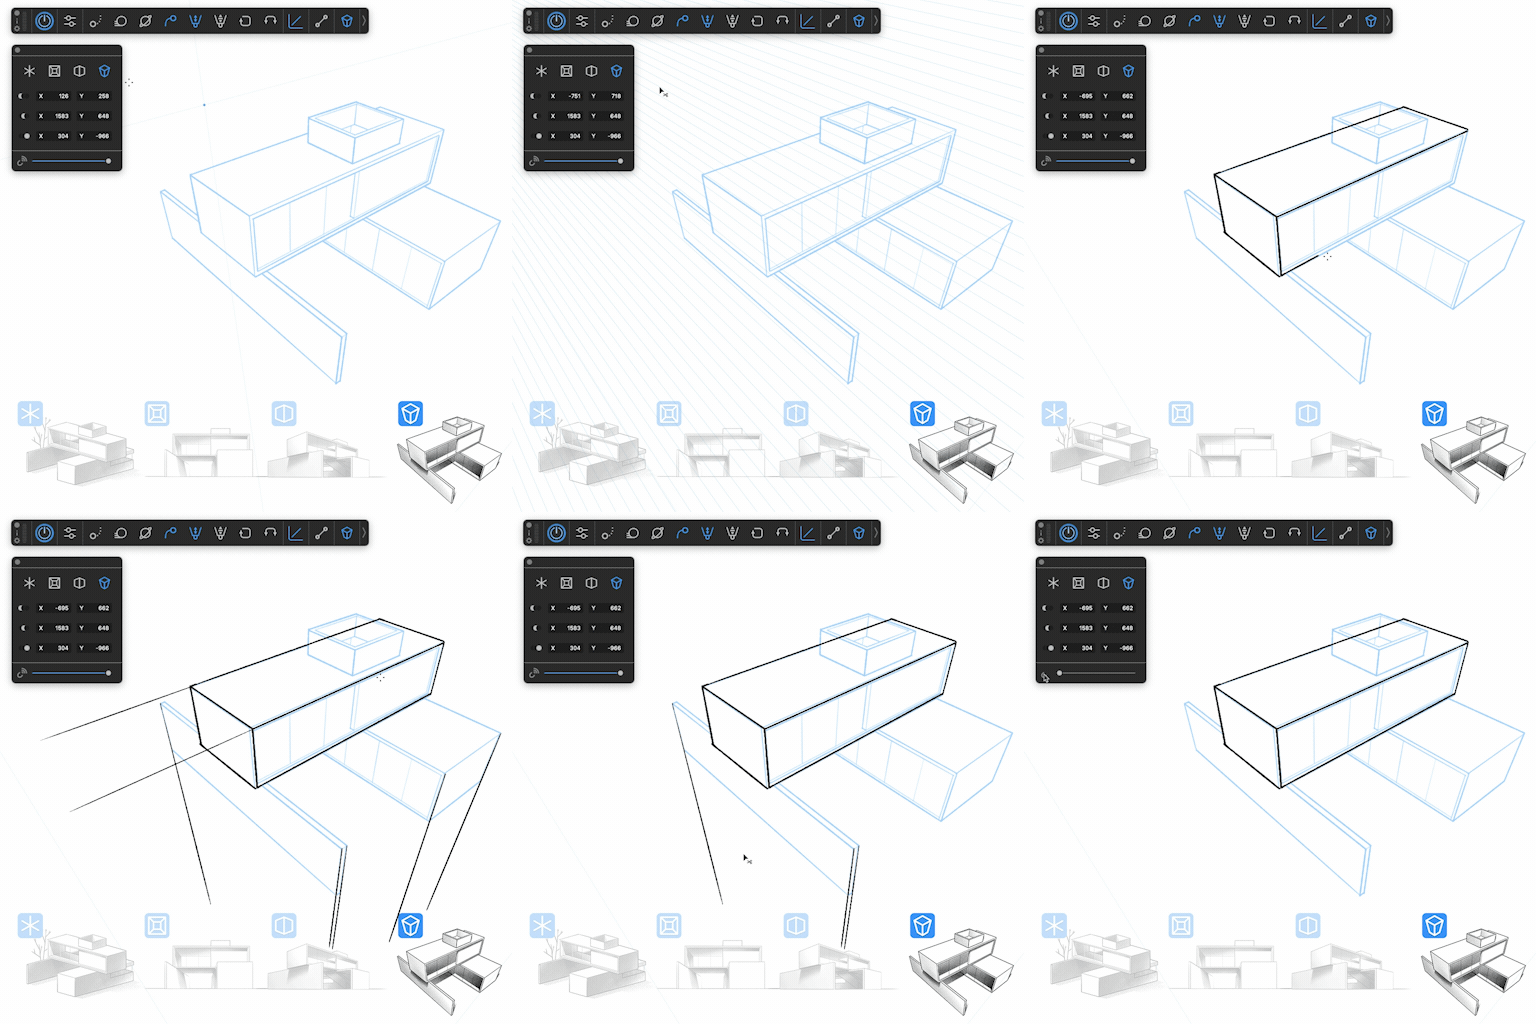
Three Vanishing Points Perspective
- click on canvas to set VPs
- now draw towards / away from VPs
- click / drag on VPs to reposition
- click / drag with SHIFT or CMD on VP to reposition x2 or x4
Panel functions
- hover over the VP representation to highlight position
- click on the VP representation to pick up / reset point
- Screen center equals 0/0
- drag L/R in the number box to set X/Y position (SHIFT or CMD also works here)
- double click to enter numeric value - confirm with enter
Setting VPs off Screen
- VPs can be set off screen - a little triangular indicator points at it
- click at indicator to reset VP


