

Hej Stylus! V4 User Guide


What is Hej Stylus! V4?
Hej Stylus is the control layer your design tools do not own. It is a systemwide pen stabilizer for macOS that adds smoothing, pressure curves, rulers, perspective, a grid, and composition guides to every app that takes a pen, with no setup per app.
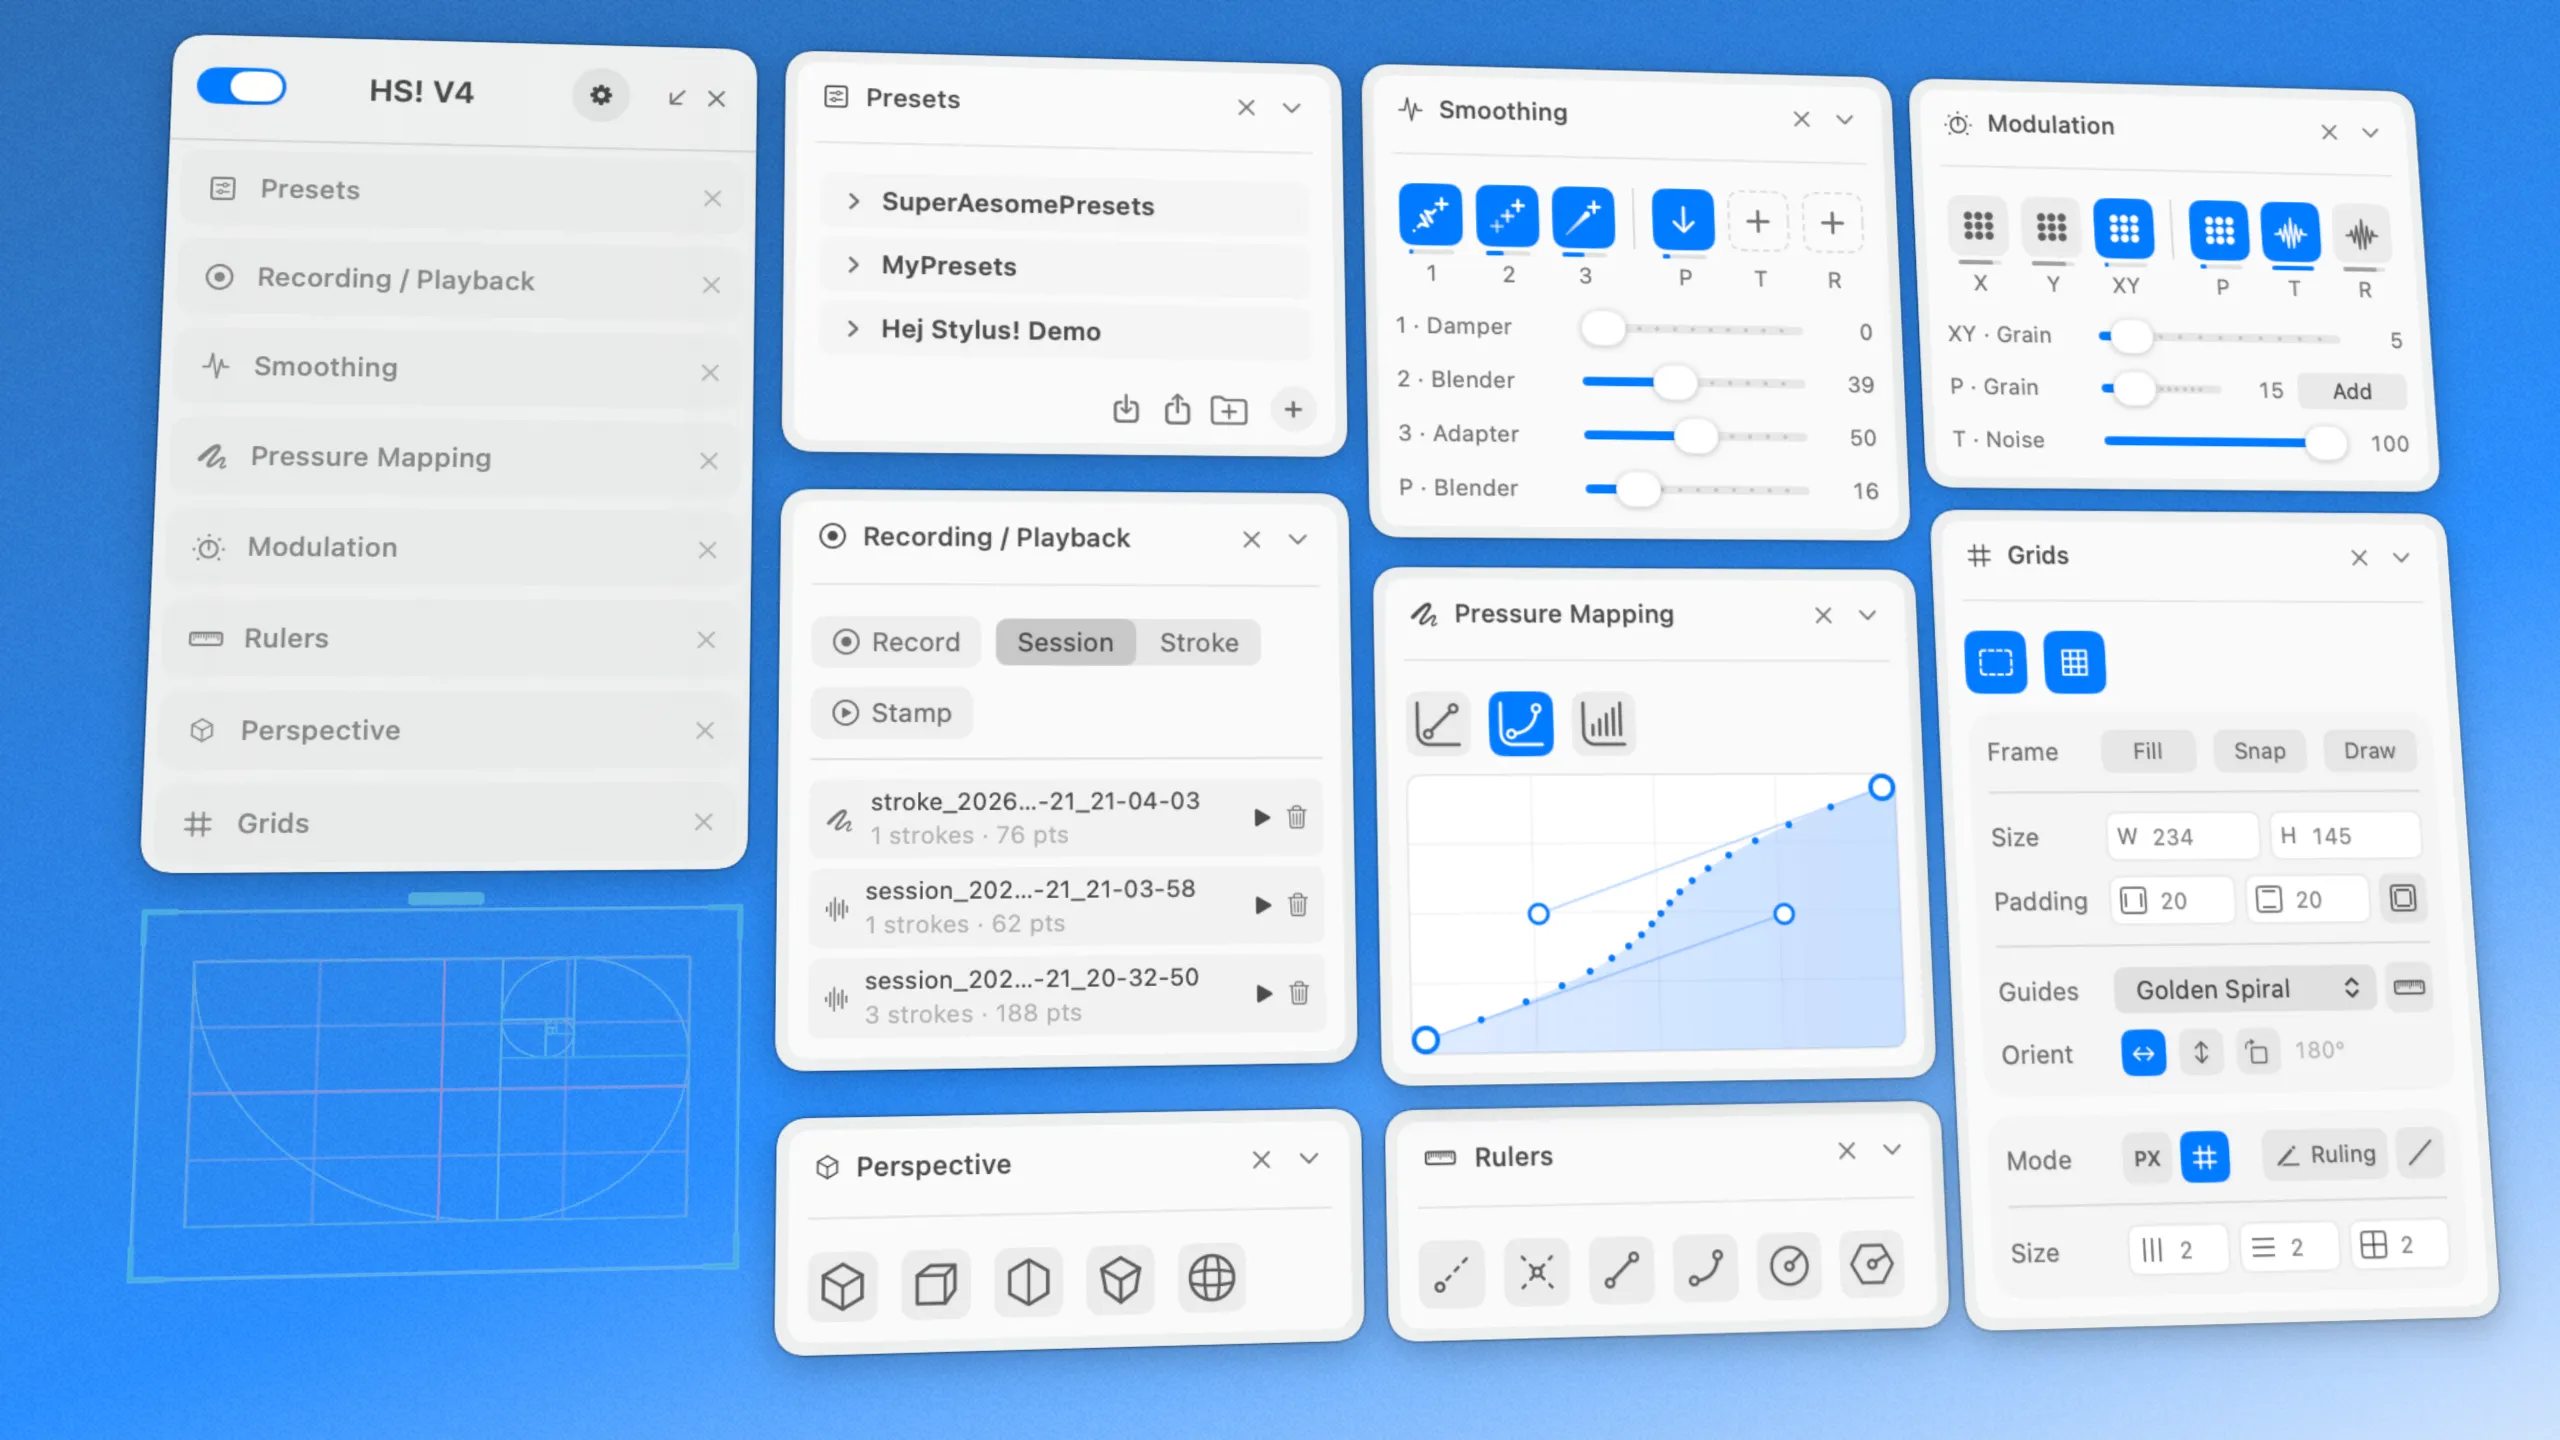
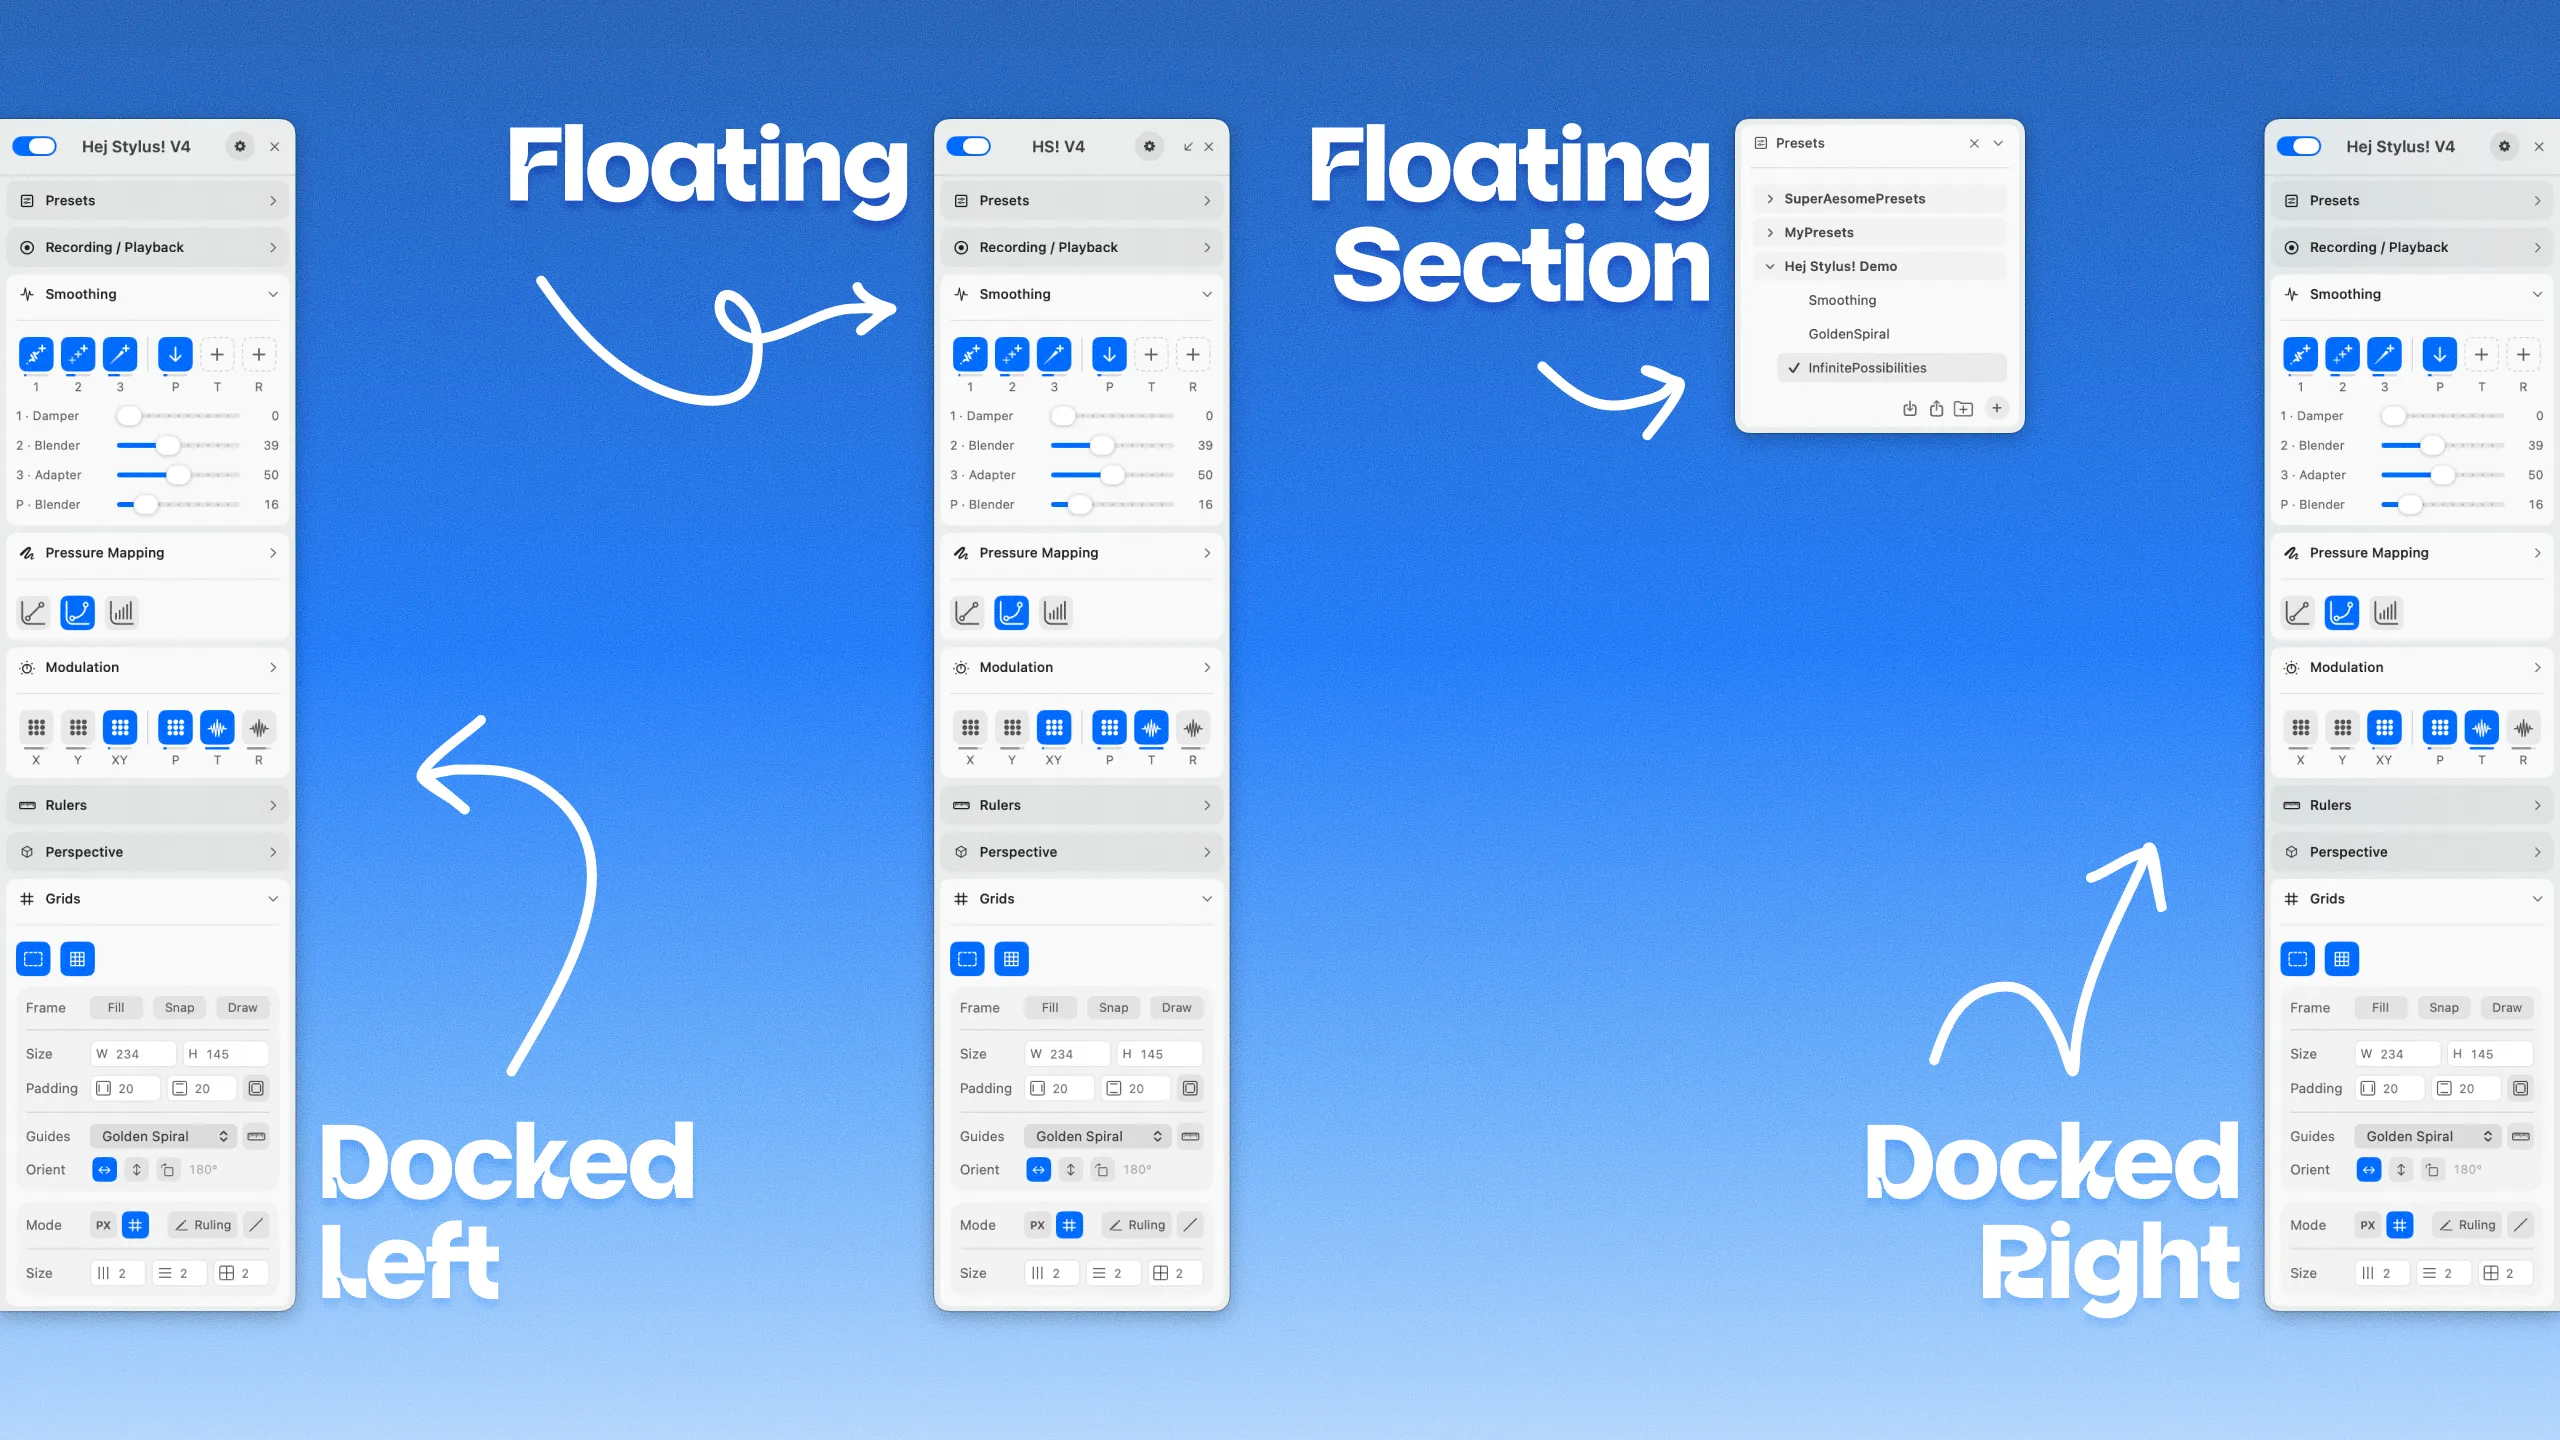
Switch a feature on once and it works everywhere you draw. Hej Stylus runs as a menubar agent, so there is no Dock icon and no window to manage. The interface is dockable, and every panel section can collapse, hide, or detach into its own window, so you keep only the controls you need on screen.
What you draw through Hej Stylus never changes your file. It works through a click-through screen overlay: rulers, grids, and guides appear on top of the screen, but nothing is written into your document. Your strokes reach your app exactly as that app records them, shaped only by the aids you switched on.
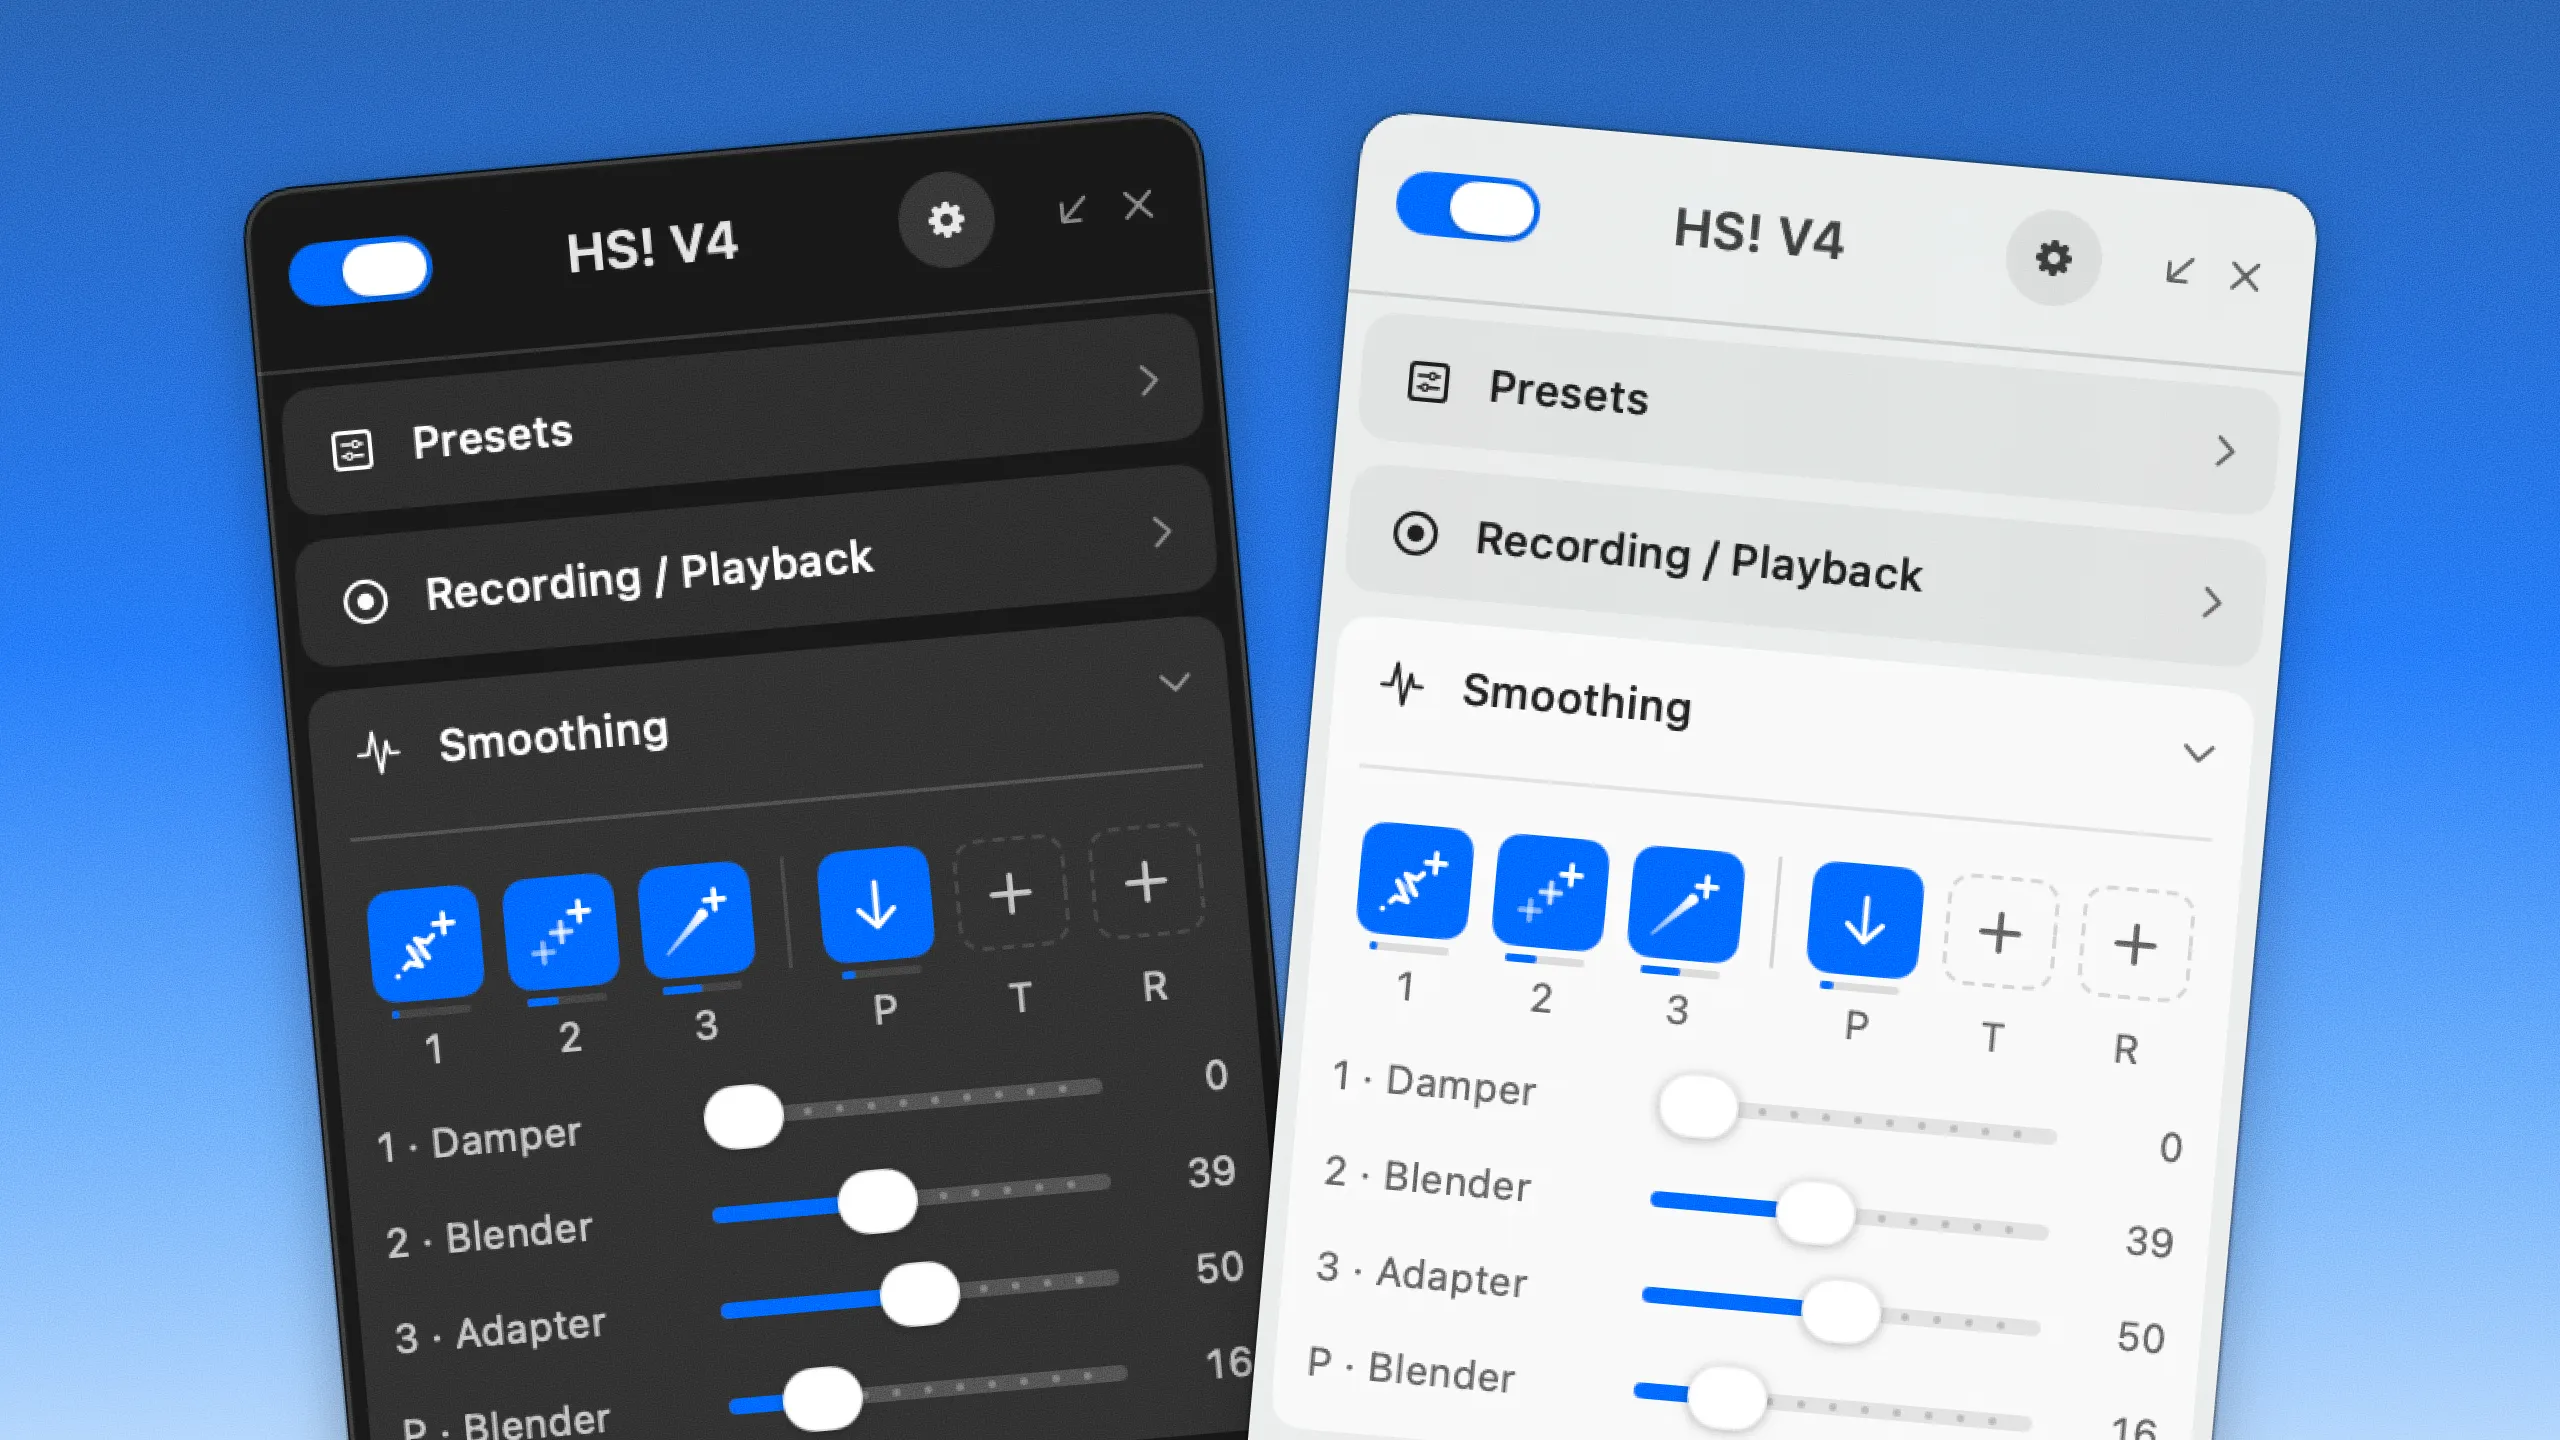
The interface is in English and supports both light and dark appearance.
The Interface
Hej Stylus! runs as a menubar agent. It has no Dock icon and no main window to manage: you reach everything from its menubar item and from the panel itself.
The panel is a dockable user interface. Each section can be collapsed to save space, hidden when you do not need it, or detached into its own floating window so you can place it wherever it suits your work. The interface is in English.
While you draw, the active tools show as a click-through screen overlay. The overlay sits on top of your screen for reference only, so clicks and strokes pass straight through to the app underneath. Nothing is written into your document.
Smoothing
Smoothing stabilizes the incoming pen signal before it reaches your tool. The panel holds six slots in one row: three for position, one for pressure, one for tilt, one for rotation.
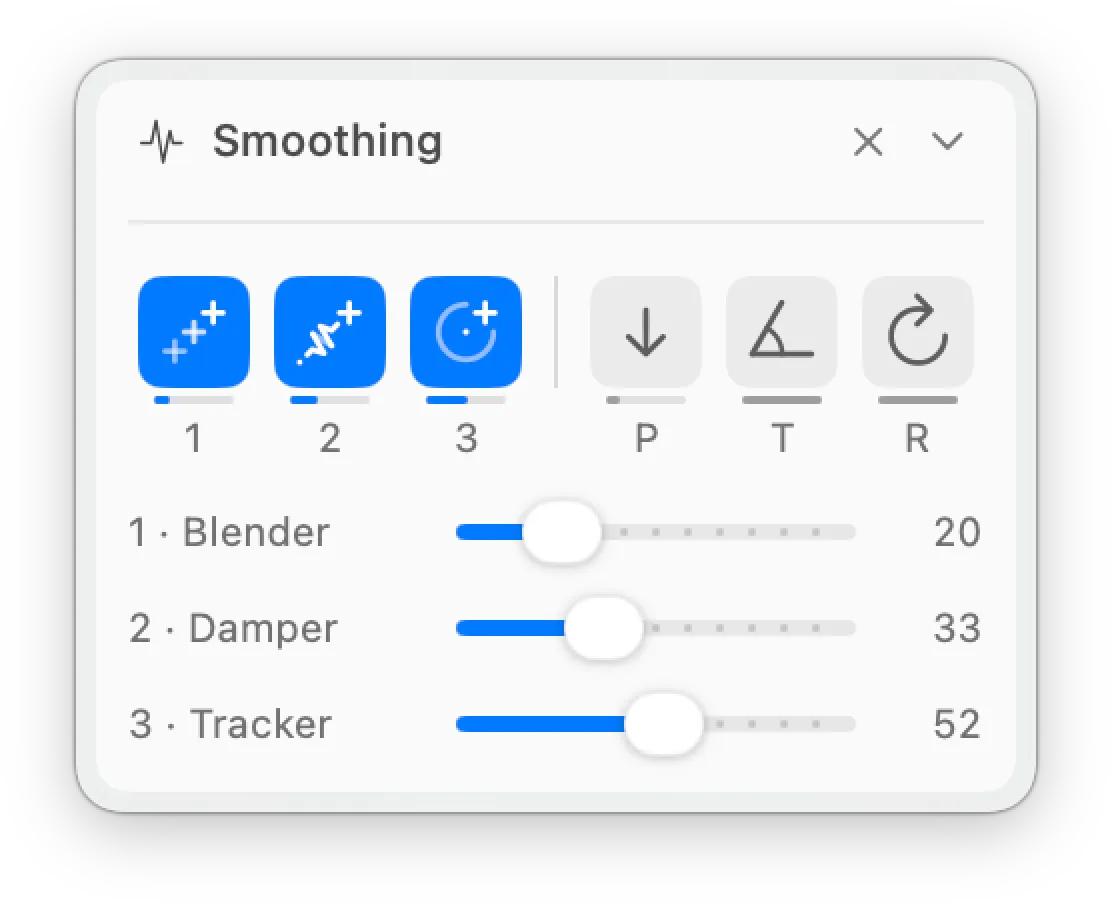
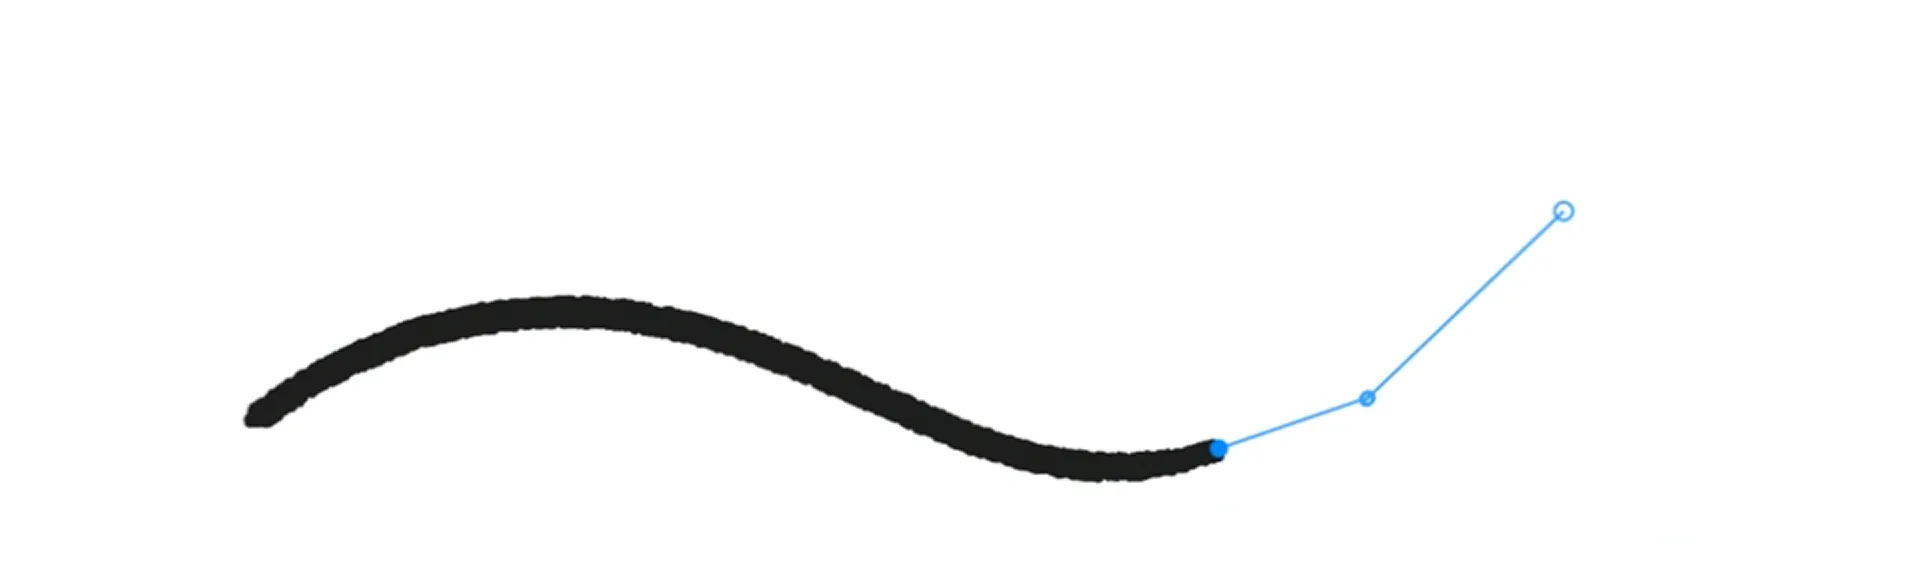
The three position slots run as a chain. Each filter works on the output of the one before it, so you can stack up to three position filters in sequence. The pressure, tilt and rotation slots each hold a single filter for their own channel.
Each slot carries its own strength slider, from zero to one hundred. Tap a slot icon to switch that slot on or off. Right-click the icon, or press and hold it, to pick its filter.
Filters
Ten filters are available, spread over four channels (position seven, pressure six, tilt four, rotation three). You choose a filter per slot from the list for that channel.
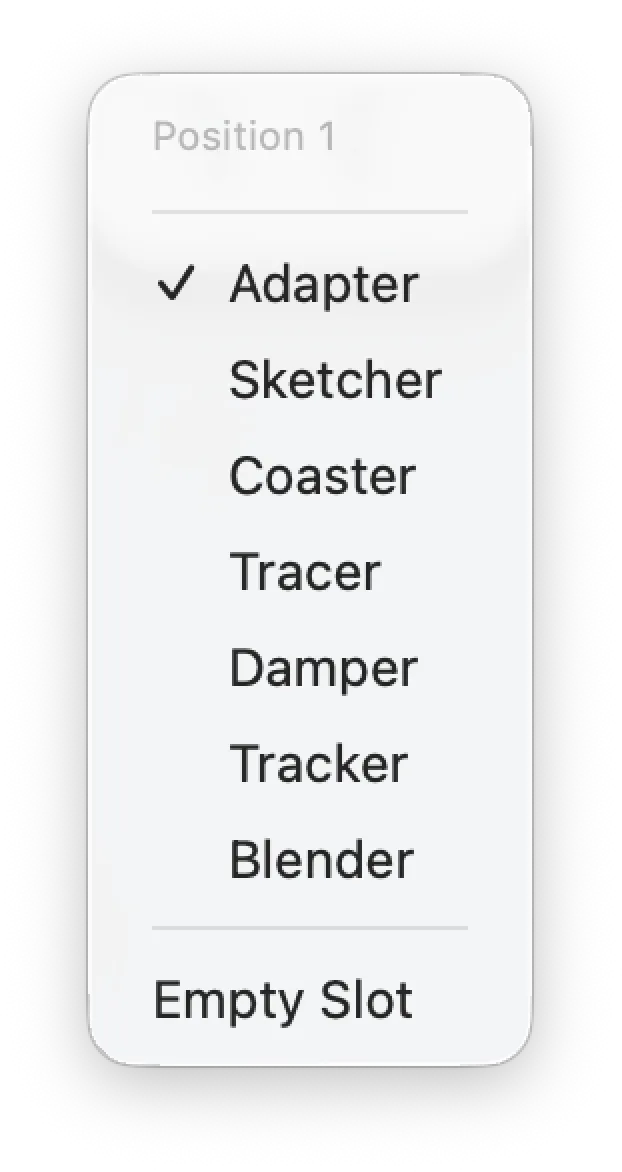
- Position: Adapter, Sketcher, Coaster, Tracer, Damper, Tracker, Blender
- Pressure: Buffer, Blender, Coaster, Tracer, CatchUp, Coupler
- Tilt: Blender, Coaster, Tracer, Adapter
- Rotation: Blender, Coaster, Tracer
Pressure Mapping
Pressure mapping reshapes how pen pressure translates into output. It offers three curve modes.
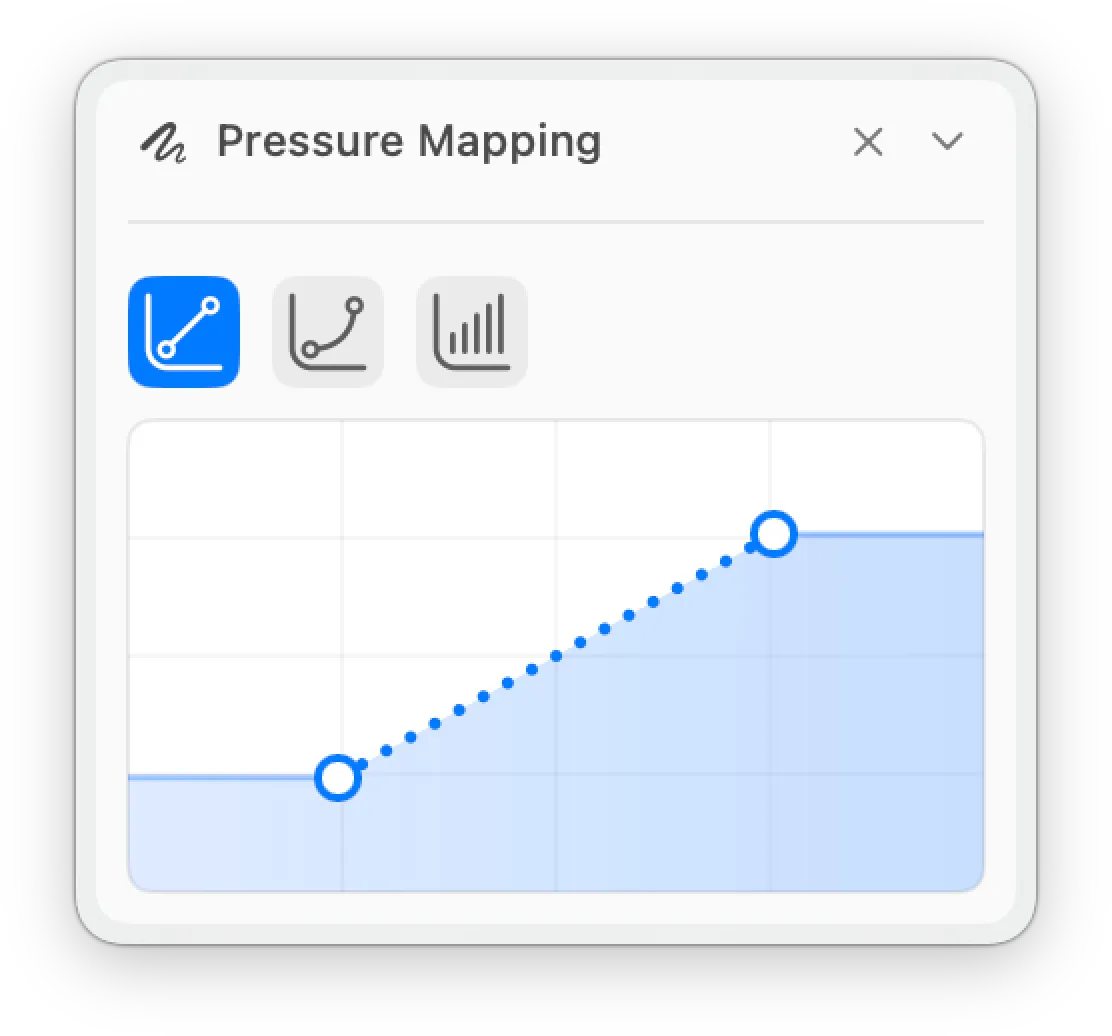
Linear. Two draggable breakpoints set the input range and the output levels. Drag the lower breakpoint to set where pressure starts to register, drag the upper one to set where it reaches full output.
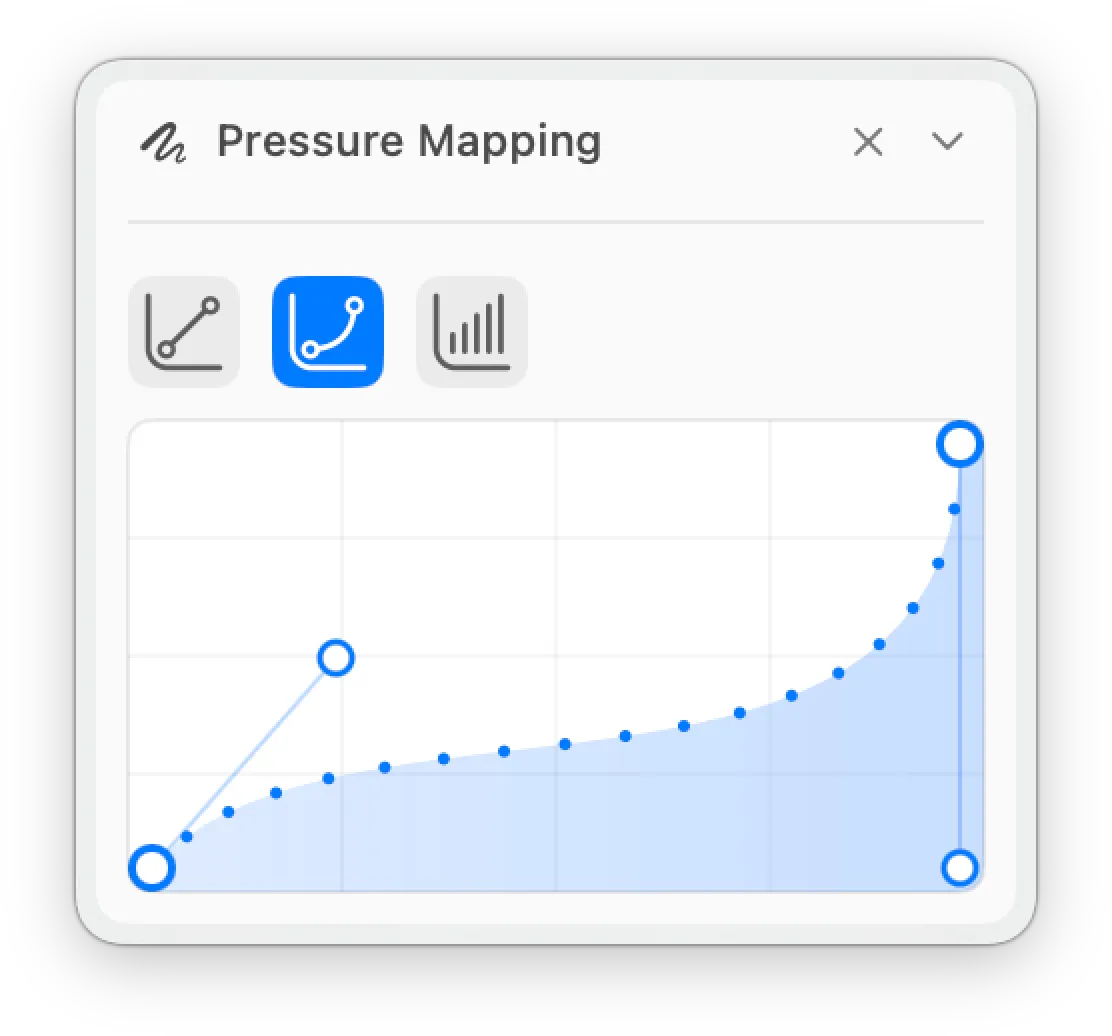
Bezier. The same two breakpoints gain two control handles, which together form a cubic curve. Drag the handles to ease the response in or out, so light and heavy pressure can be shaped independently.
Draw. The curve is drawn freehand across forty support points. Any gaps you leave are interpolated, so a few quick strokes produce a complete curve.
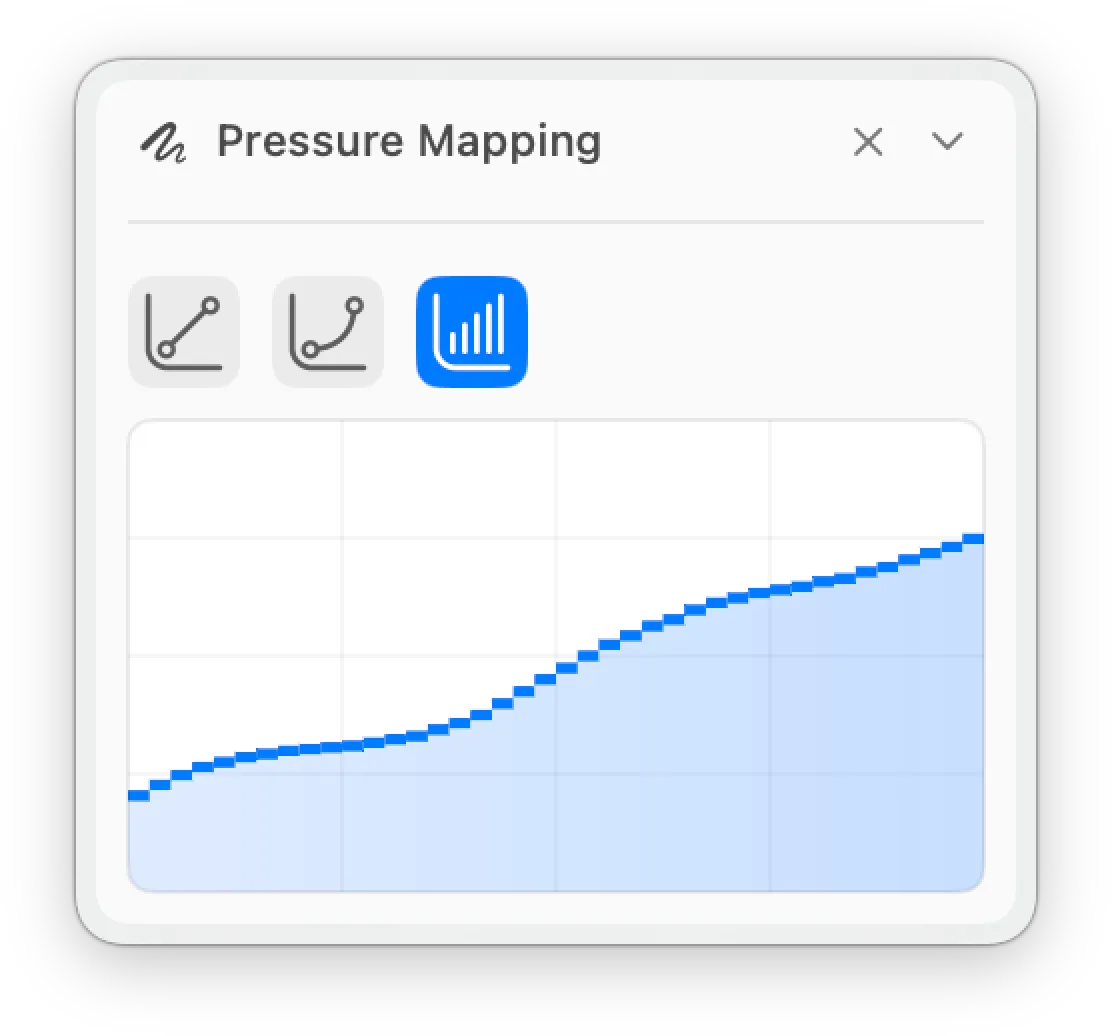
In every mode, pressure below the first breakpoint and above the last breakpoint stays constant.
Pressure mapping runs after smoothing, so it shapes the already smoothed pressure signal.
Draw curves made in version 3 are resampled to forty points on import.
Rulers
Rulers constrain your stroke to a guide while you draw. Hej Stylus! gives you six ruler tools:
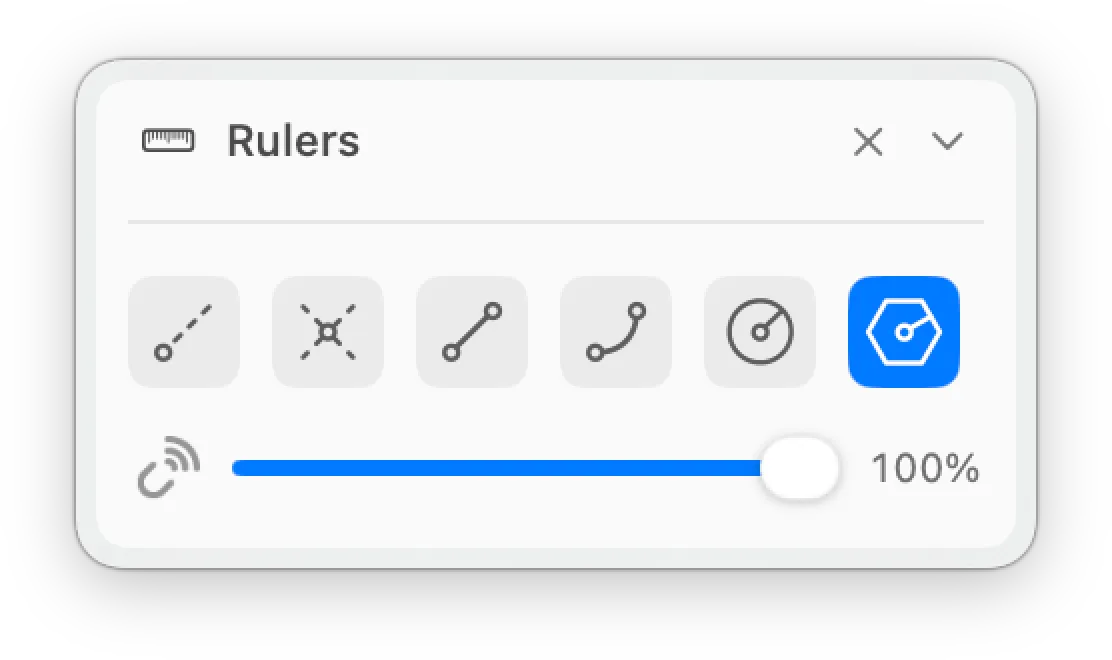
- Instant
- Vanishing Point
- Linear
- Bezier
- Circular
- Form
The Vanishing Point ruler fans guide rays out from a single point. Choose one of six ray counts: 16, 48, 64, 92, 184 or 360.
The Form ruler offers three Burmester curves for drawing smooth, variable-radius arcs.

Use the magnet strength slider to set how firmly the cursor is pulled onto the guide, from 0 to 100 percent. At 0 the guide is only a reference; at 100 the stroke snaps hard to it.
To switch rulers off, click the active ruler icon again.
Perspective
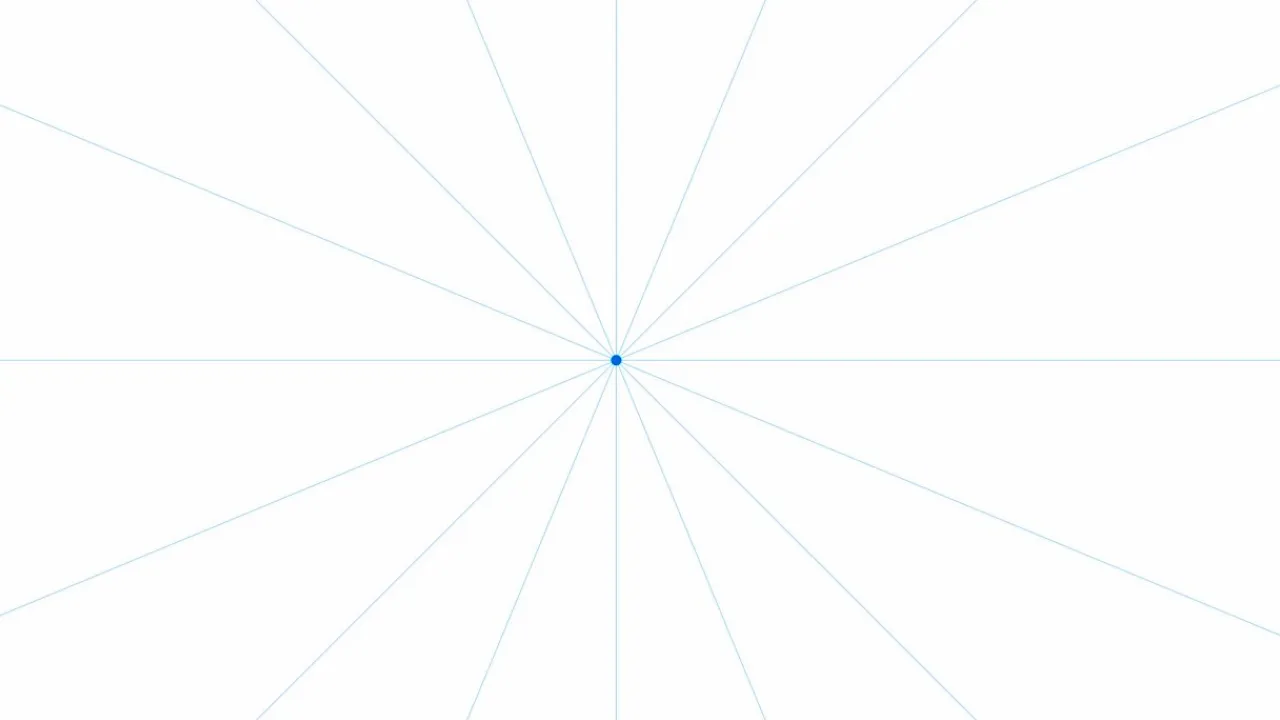
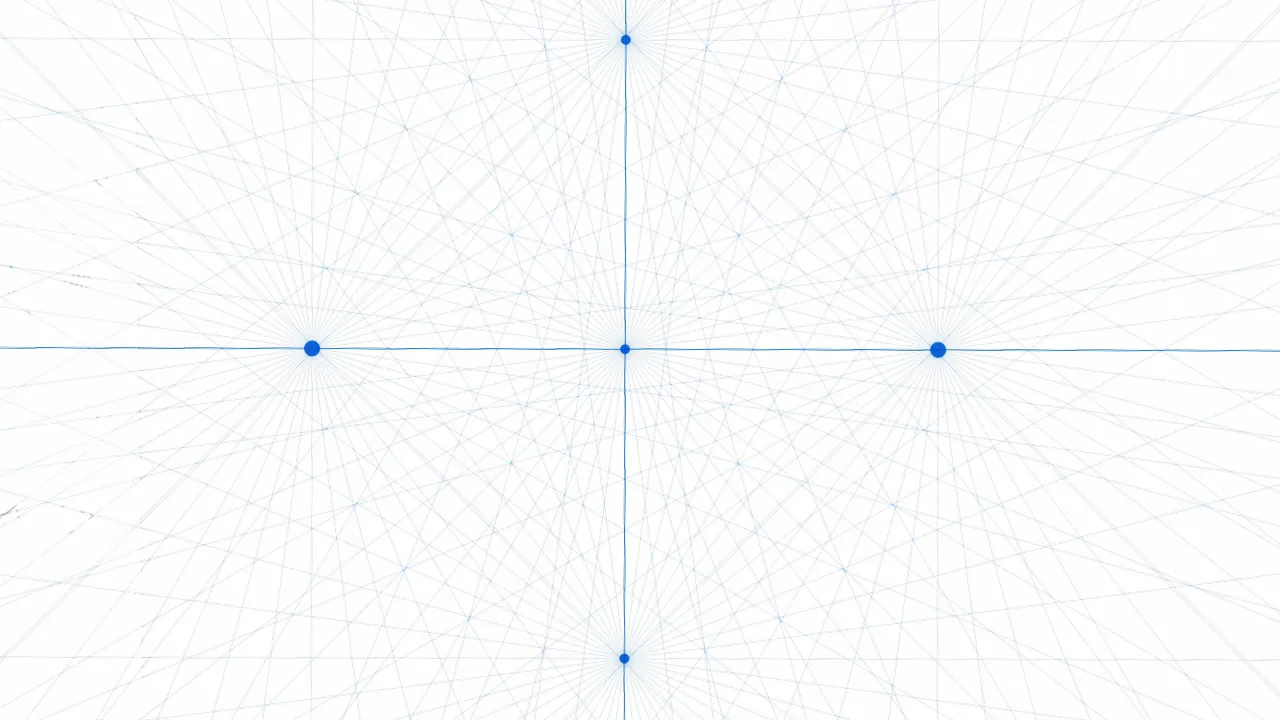
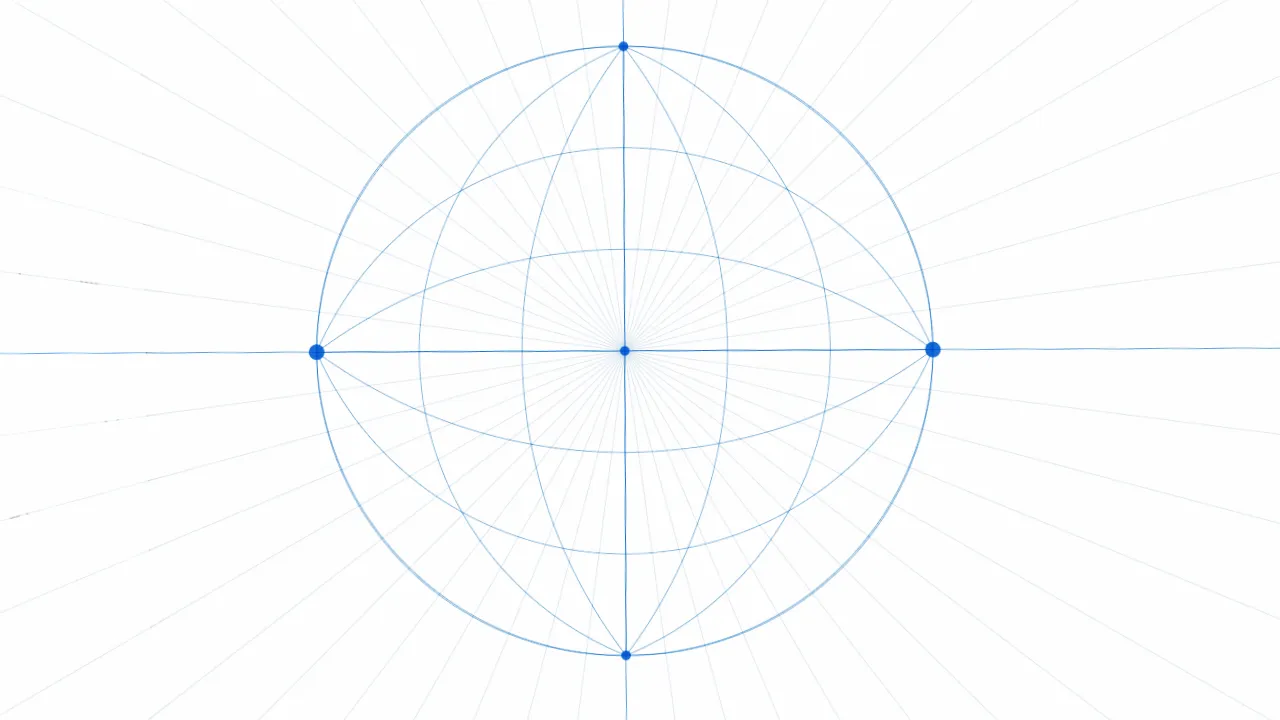
Perspective lays snapping vanishing-point guides over the canvas. It offers five modes: Precise Angles, 1-Point, 2-Point, 3-Point and 4-Point. Each mode has one snap strength slider, from zero to one hundred percent, that sets how strongly the cursor snaps to the guides. The number of guide rays drawn from each vanishing point is set in Preferences, with six values ranging from 16 to 360.
Perspective and Rulers are mutually exclusive: switching one on switches the other off.
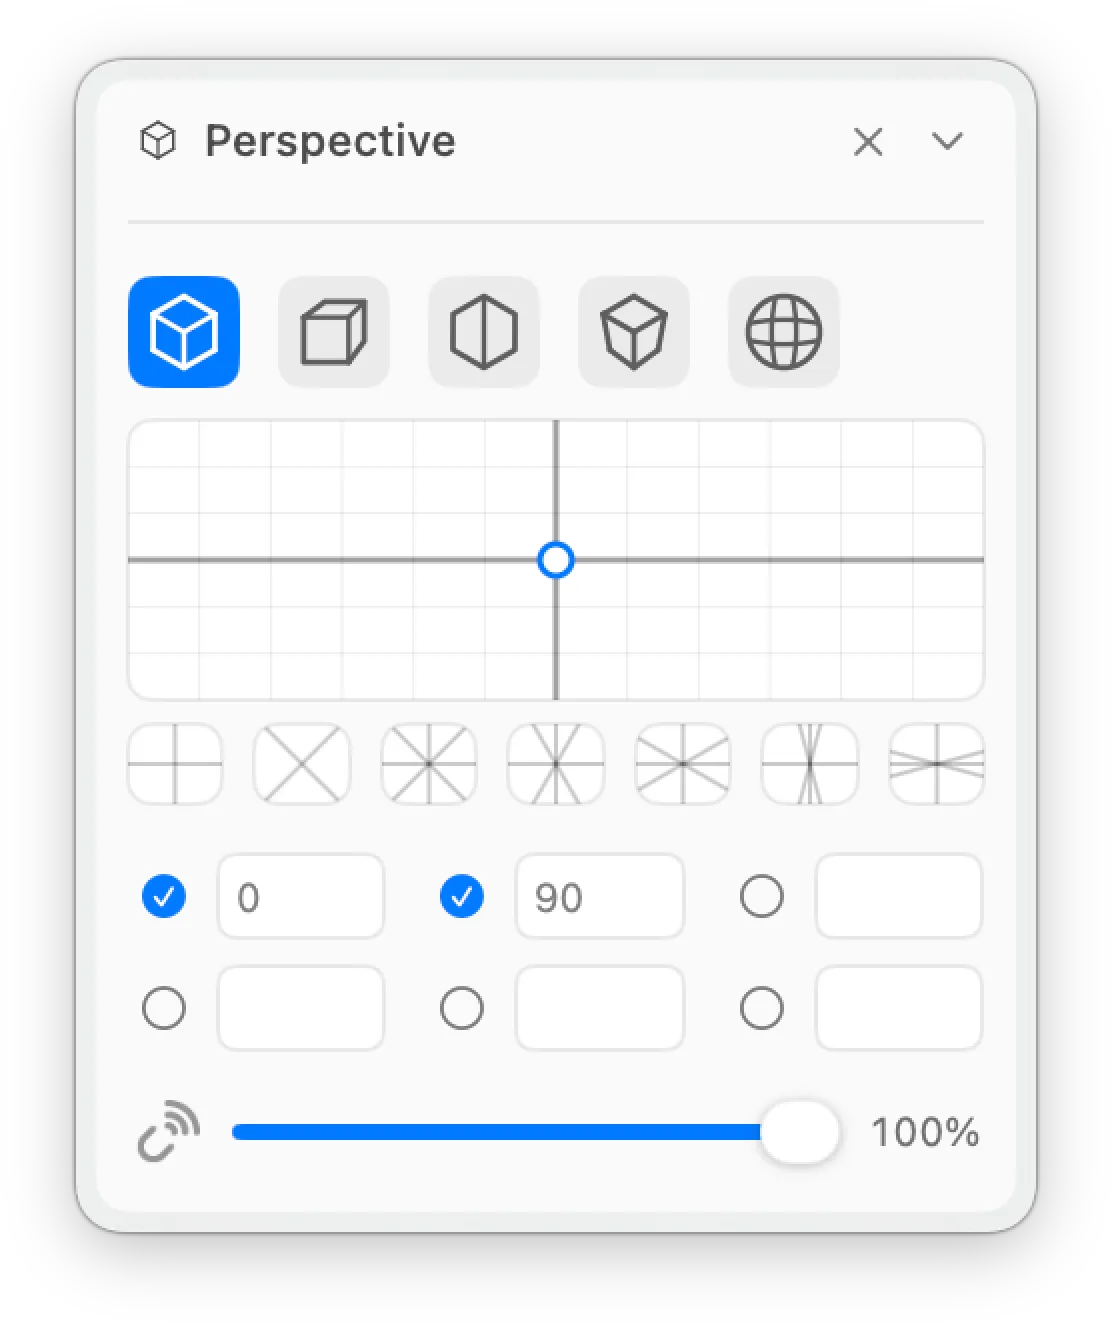
Precise Angles
Precise Angles sets guide directions by angle rather than by vanishing point. It gives you six angle slots, each with numeric entry, and seven one-click presets. A live angle preview updates as you change the values.
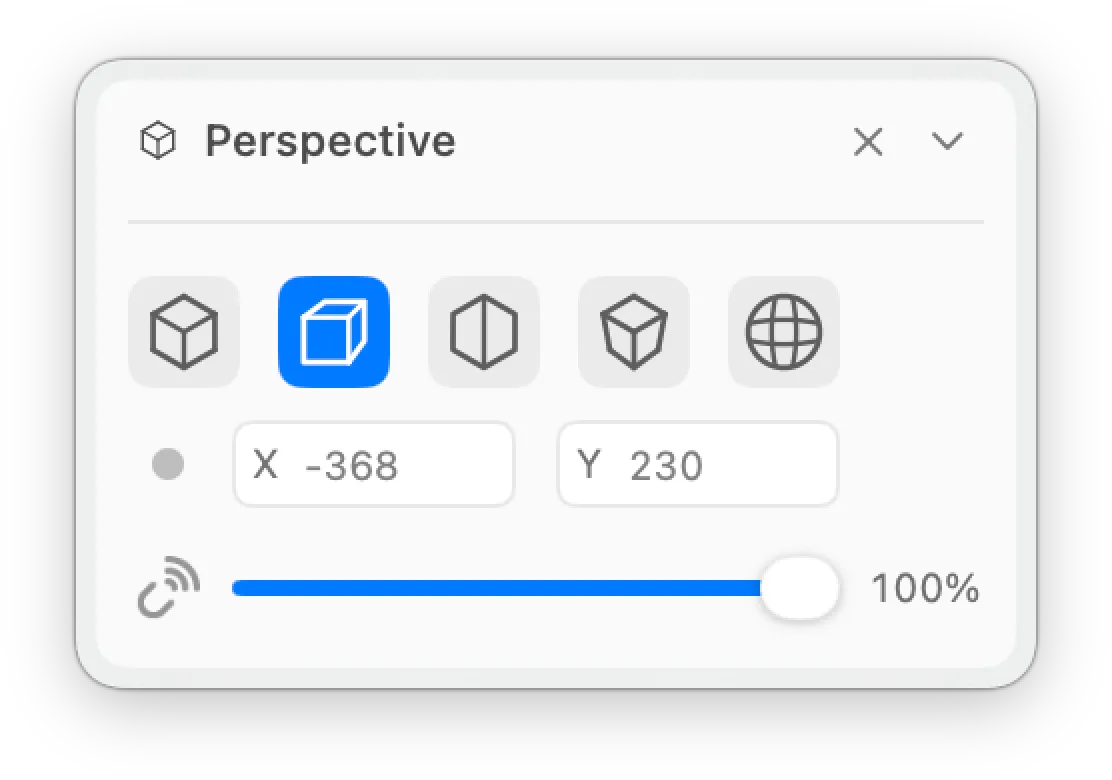
1-Point
1-Point mode draws guides toward a single vanishing point. The vanishing point has its own X and Y number fields.
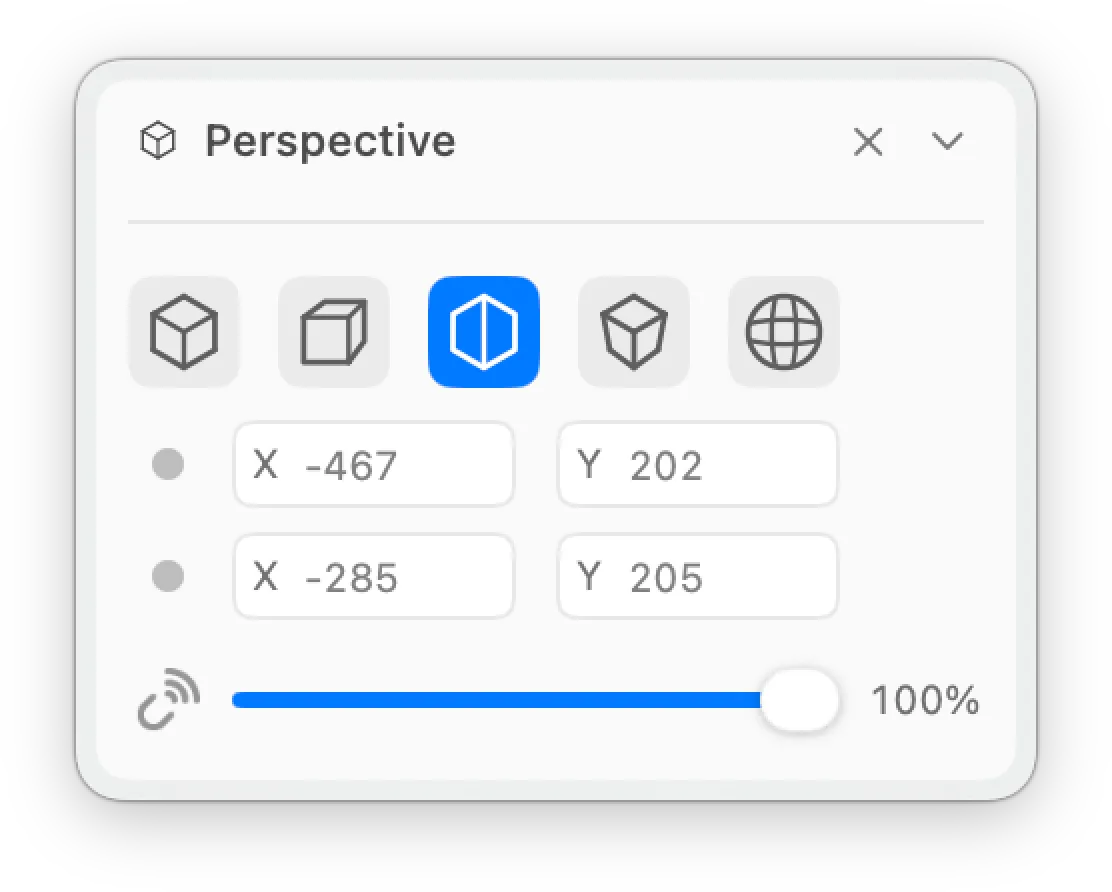
2-Point
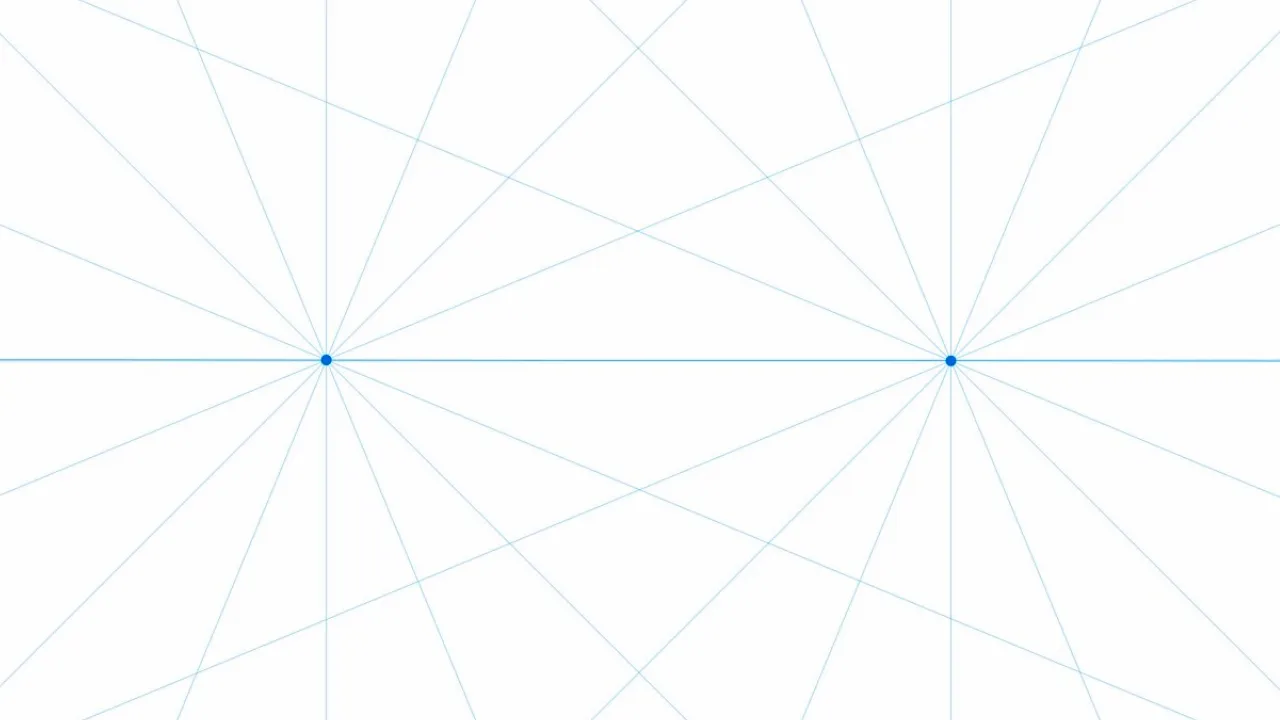
2-Point mode uses two vanishing points. Each vanishing point has its own X and Y number fields.
3-Point
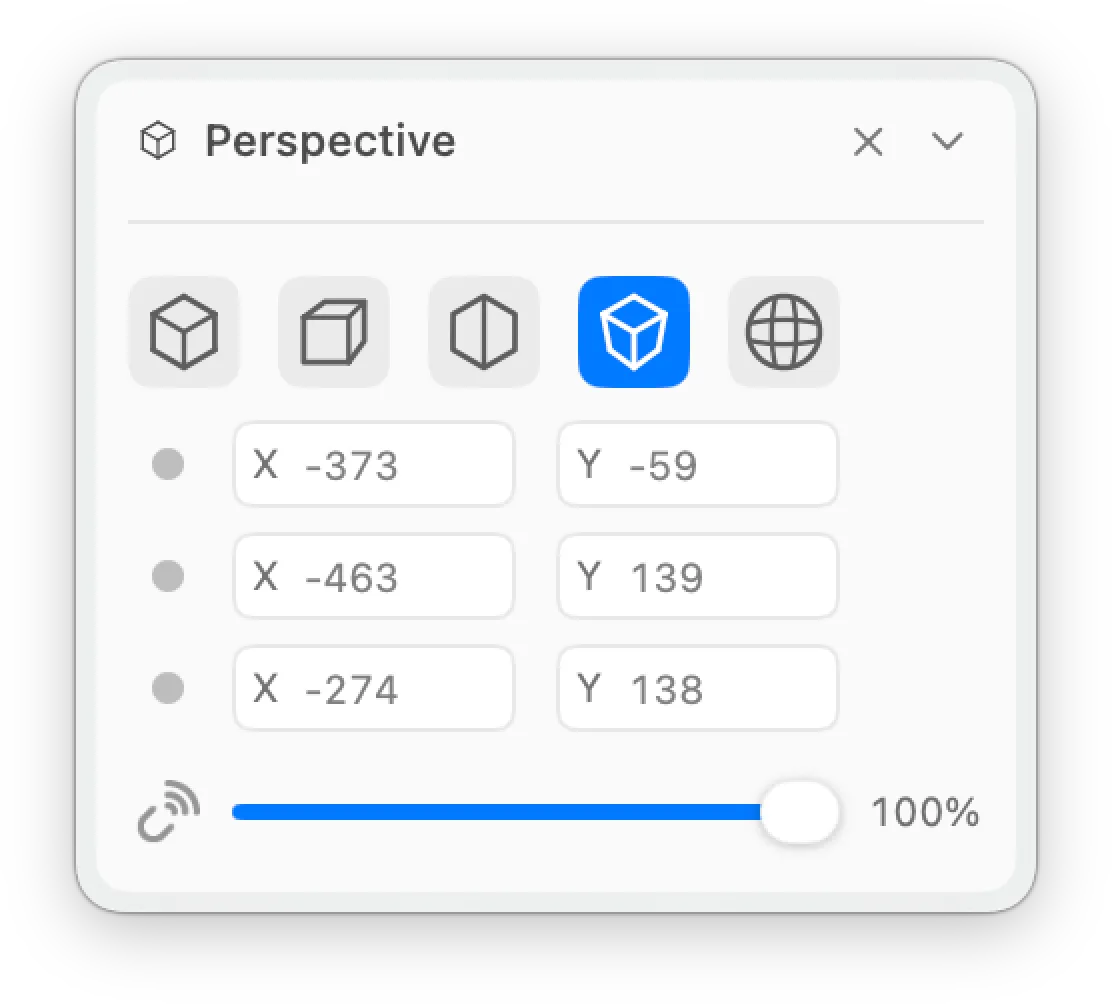
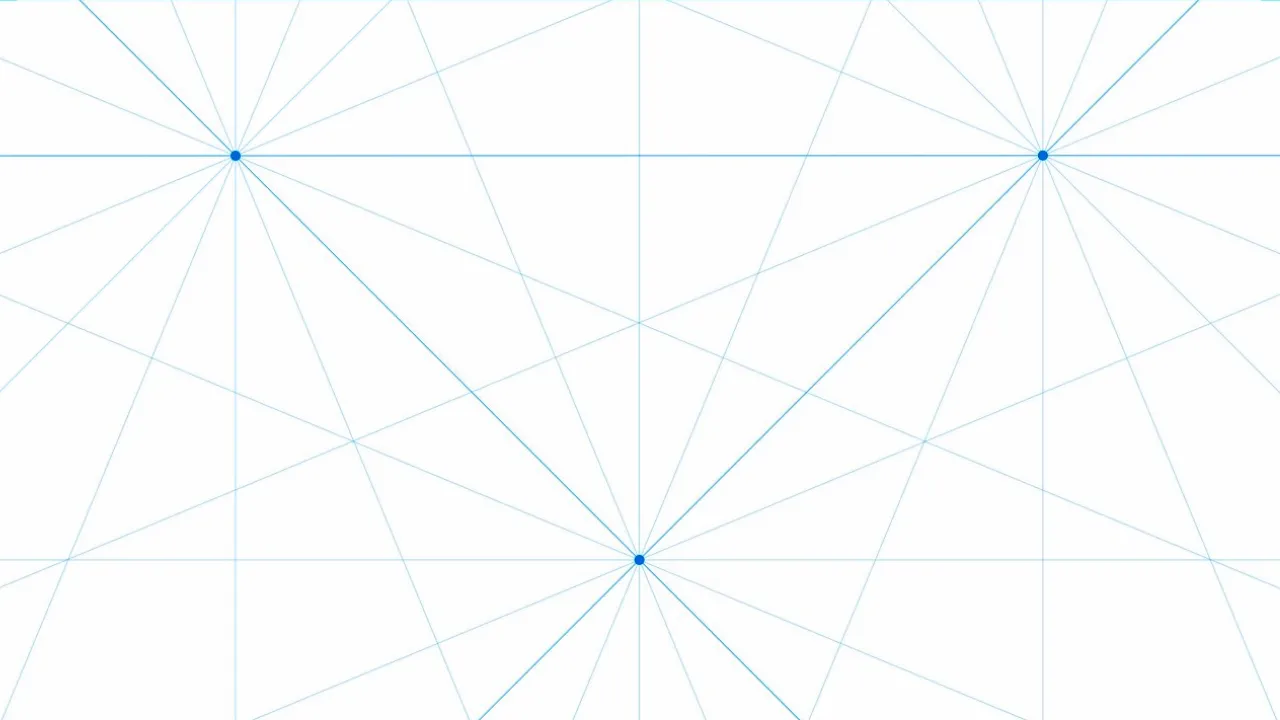
3-Point mode uses three vanishing points. Each vanishing point has its own X and Y number fields.
4-Point
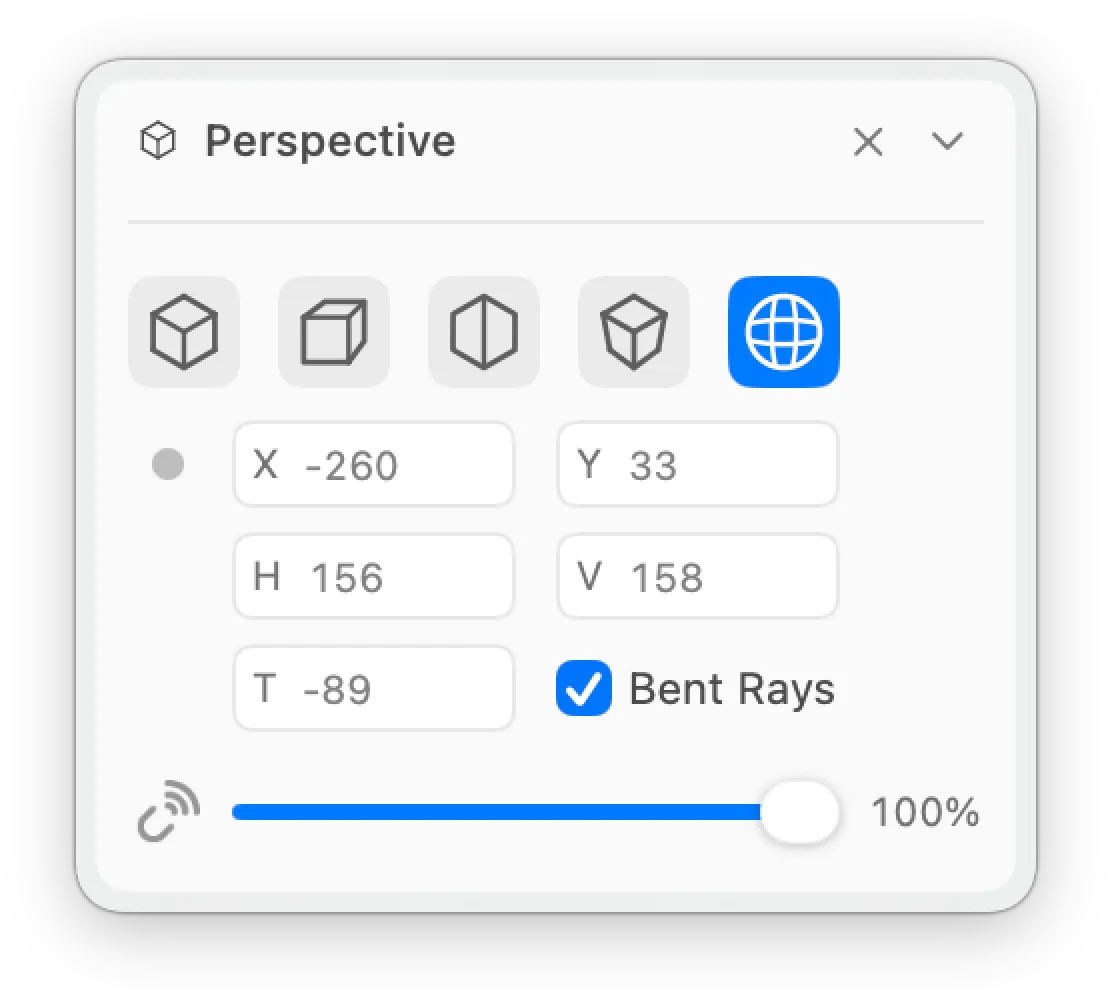
4-Point mode is parametric. Instead of placing vanishing points one by one, you set a center point, a horizontal axis distance and a vertical axis distance, and a tilt. Bent Rays is an optional setting.
Grid
The grid lays an even overlay across the frame. It has two sizing modes.
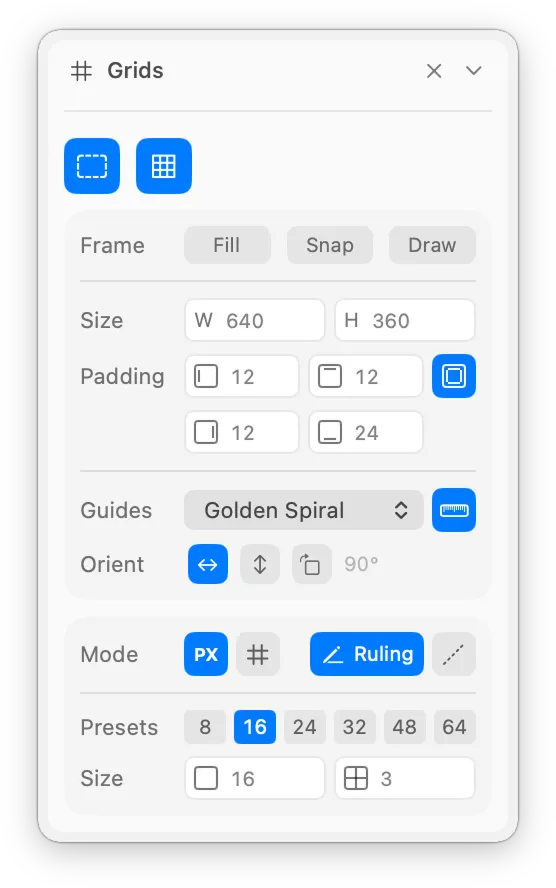
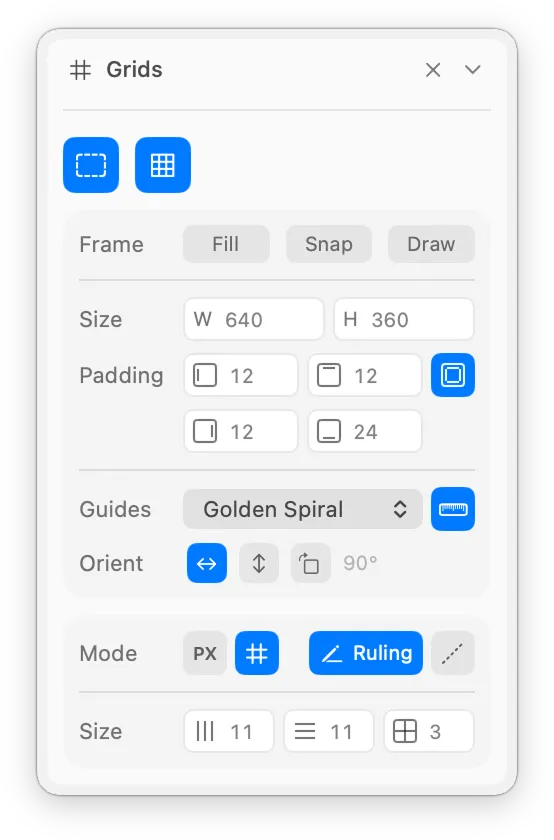
Set the cell size directly in pixels, anywhere from 1 to 1000, with six one-click presets at 8, 16, 24, 32, 48 and 64 pixels. Or switch to divisions and set the number of columns and rows separately, each from 1 to 64, so the spacing scales with the frame instead of staying at a fixed pixel size.
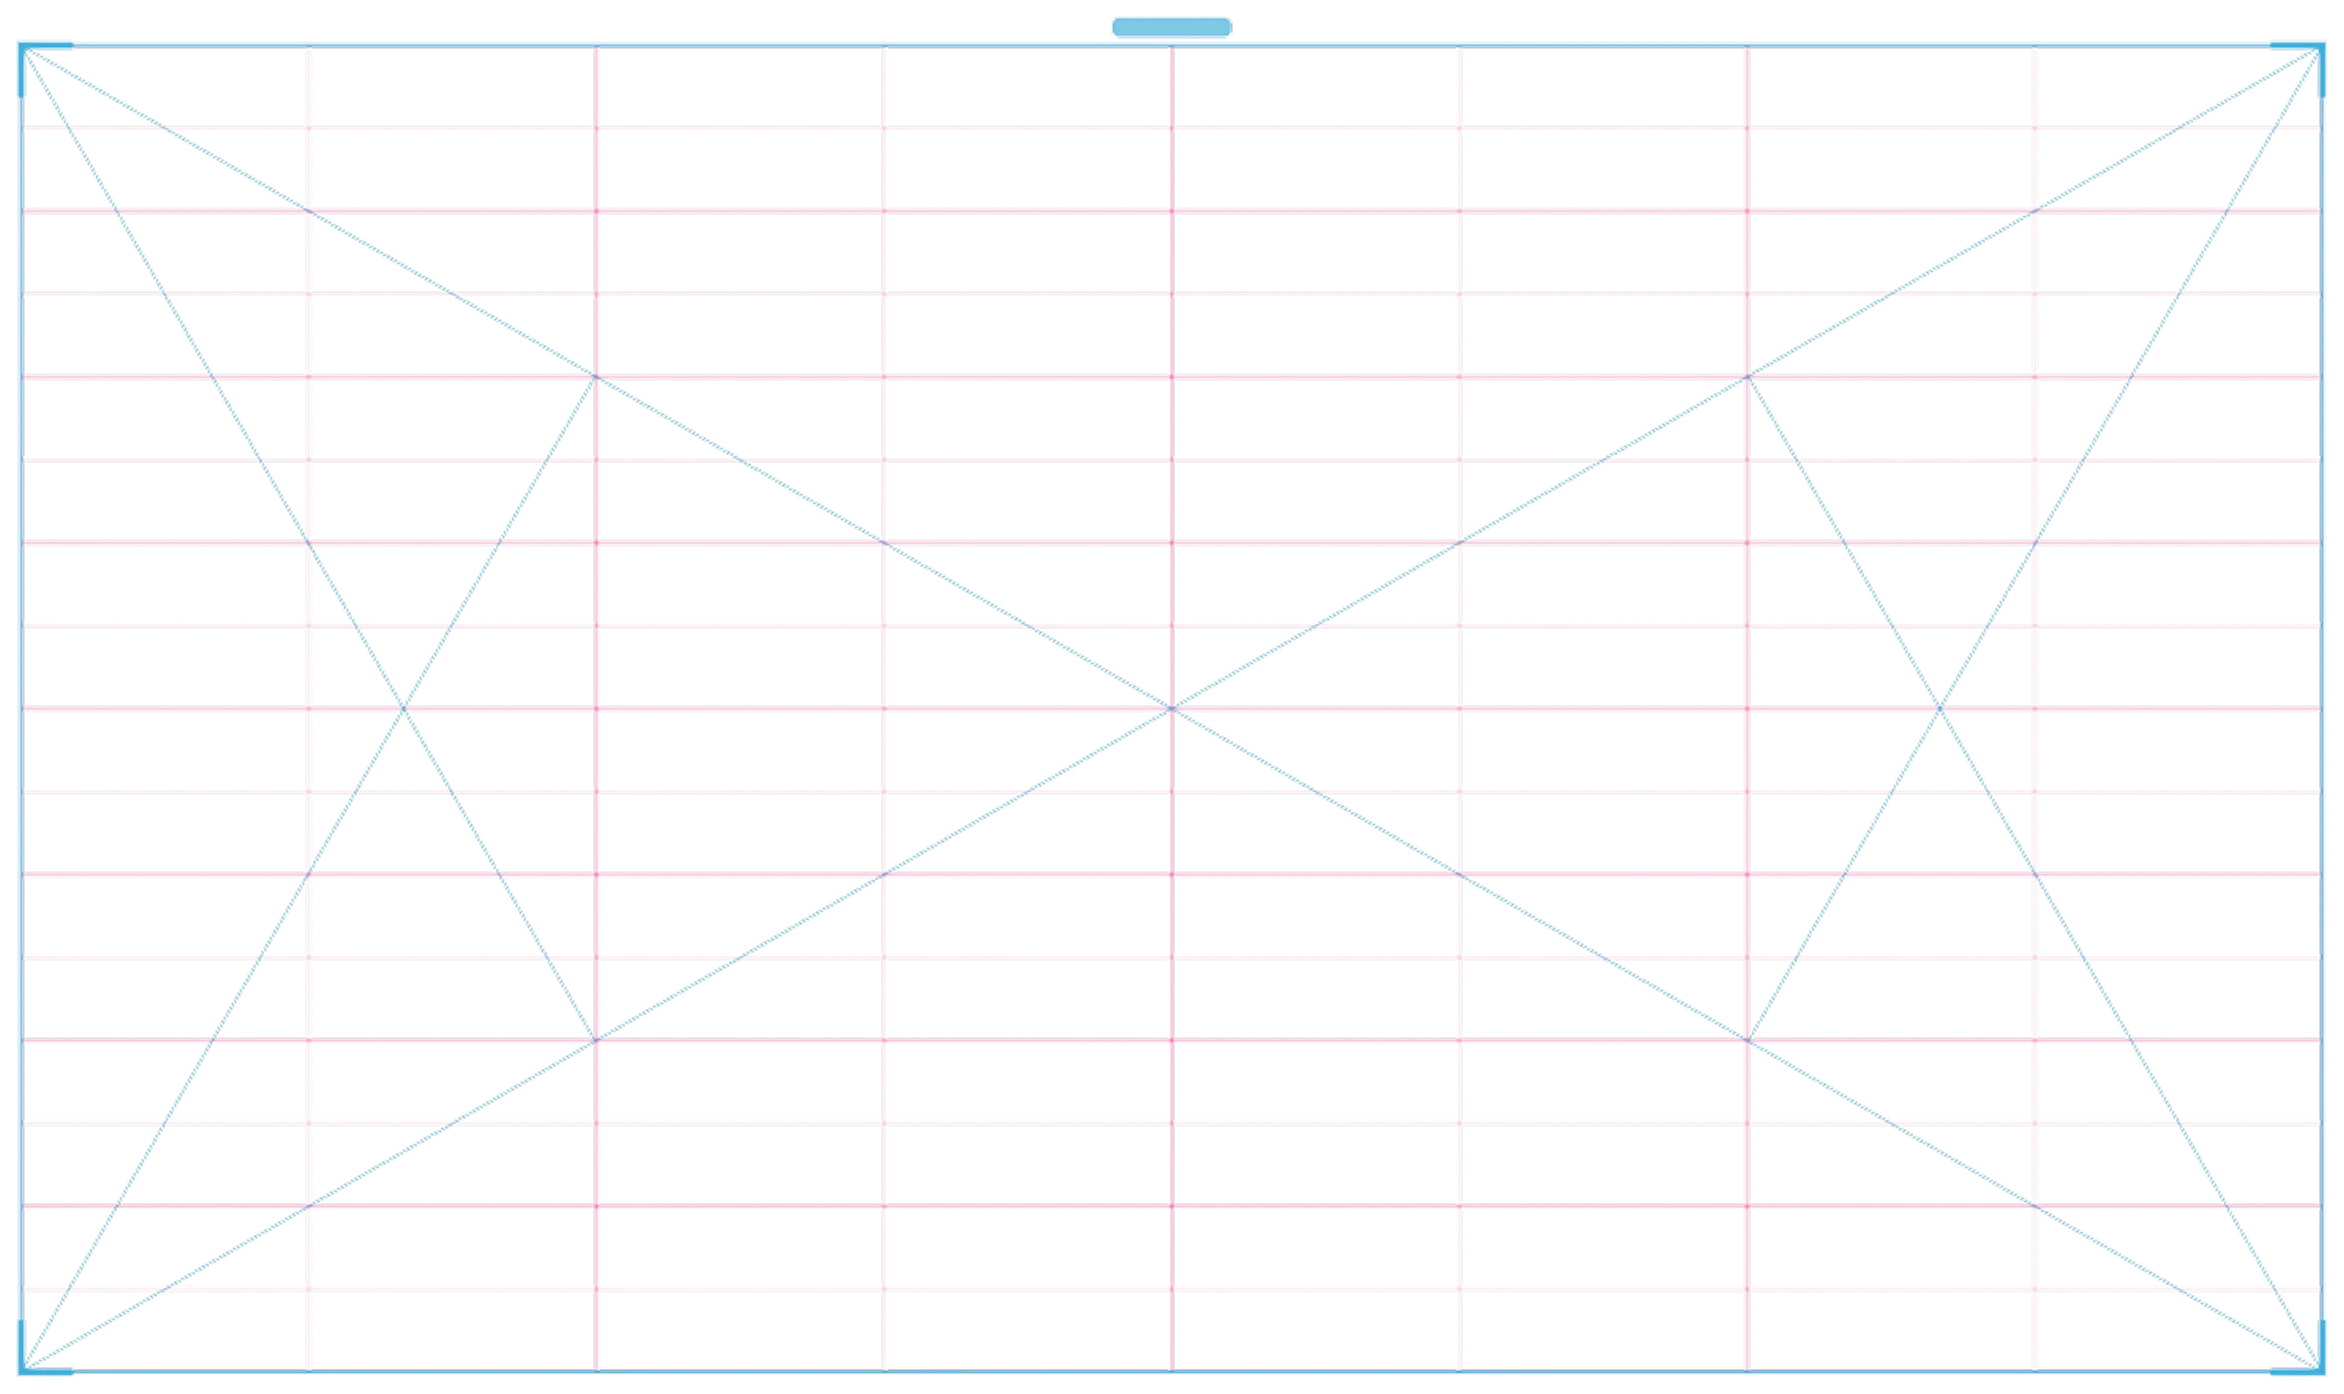
A sub-grid splits every cell a further 1 to 10 times, in both modes, drawn at half opacity so the main cells stay readable.
Lines are solid or dotted, the colour is free to choose, and opacity runs from 10 to 100 percent.
Every number can be typed or set by dragging. Hold Shift while dragging to step in double increments, hold Command to step in quadruple.
Turn on Ruling to snap the cursor to the grid as you draw.
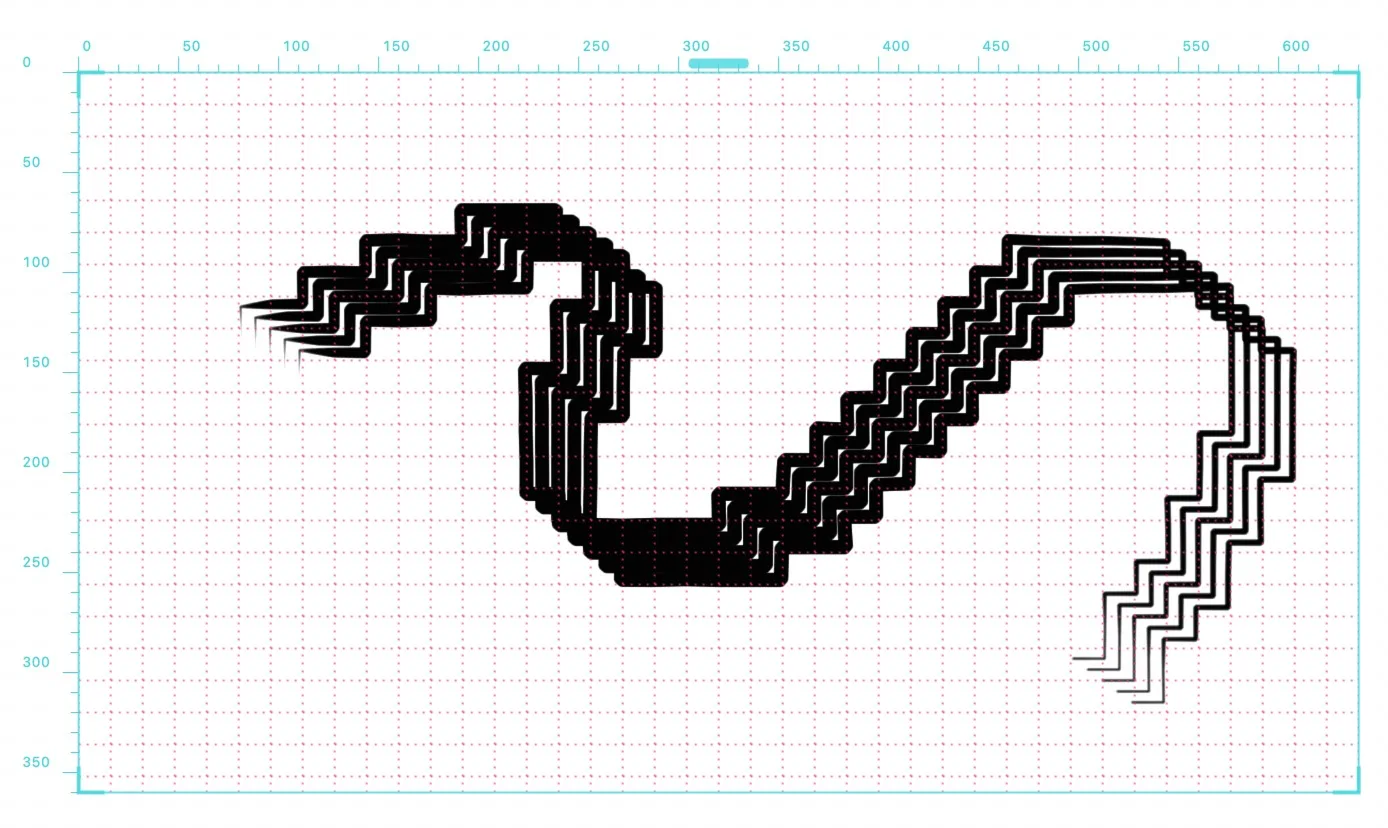
Locking the frame and grid
The grid lives inside the frame. You can pick the frame up on screen: drag the bar above it to move it, and drag a corner or the left, right or bottom edge to resize it. Once the frame sits where you want it, you can lock it.
While the frame is on, a lock appears at the right end of the icon row in the Grids section. Click it, and the bar, the corners and the edges no longer catch your pen. Every click and stroke passes through to your app, so the frame and the grid cannot shift while you draw. On screen, a small lock takes the place of the bar.
To unlock, click the lock in the Grids section again. While the frame is locked, the Draw button in the Frame row is unavailable. Draw waits for your next click on screen to drag out a new frame, and a locked frame must not take that click. The Fill and Snap buttons next to it, which fit the frame to the screen or to the front window, the number fields and presets still change the frame, because those are deliberate moves in the panel.
The lock is a global setting, not part of a preset. It stays set when you turn the frame off and on again, and after a restart.
Composition Guides
Composition Guides lay classical framing aids over the canvas so you can align your drawing against them while you work. The overlay is click-through, and nothing is written into your document.
Hej Stylus! provides twenty-four guide types with forty-six selectable figures in total, organised into five groups: Divisions, Diagonals and Armatures, Ratios, Spirals and Circles, and Video.
Divisions split the frame into regular sections. The rule of thirds is the familiar case: two horizontal and two vertical lines mark the thirds of the frame.

Diagonals and Armatures draw diagonal lines and armature figures across the frame, connecting corners and dividing the space along its diagonals.

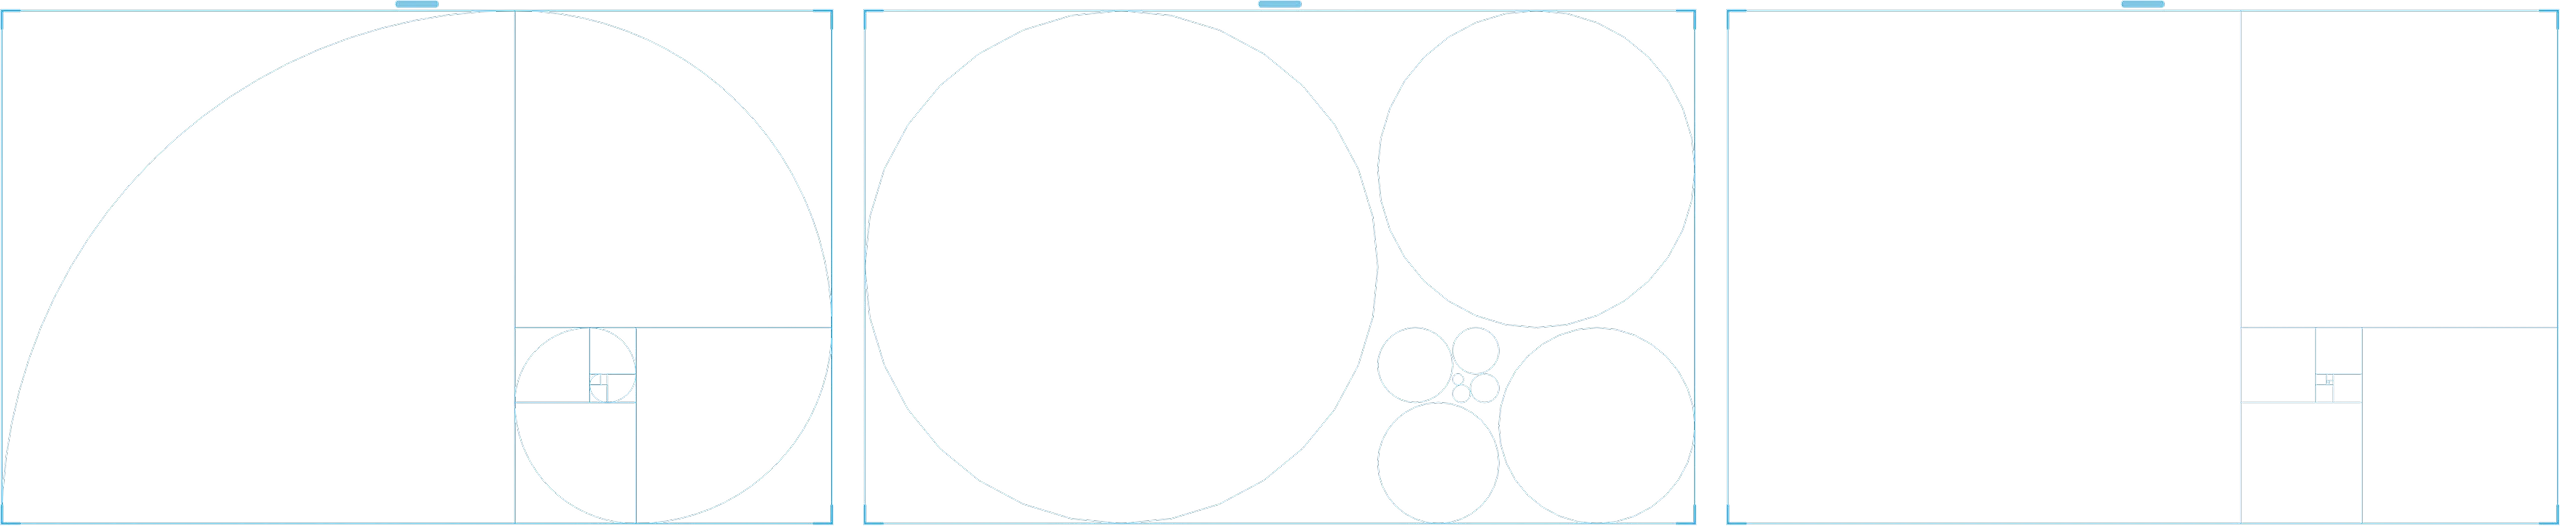
Ratios cover the classical proportion systems: phi (the golden ratio), root rectangles, and rabatement, where the short side of the frame is folded onto the long side to mark a square.

Spirals and Circles hold the spiral and circular figures, including the golden spiral and concentric circles.
Video adds film framing aids: title-safe and action-safe areas, and quincunx markers.
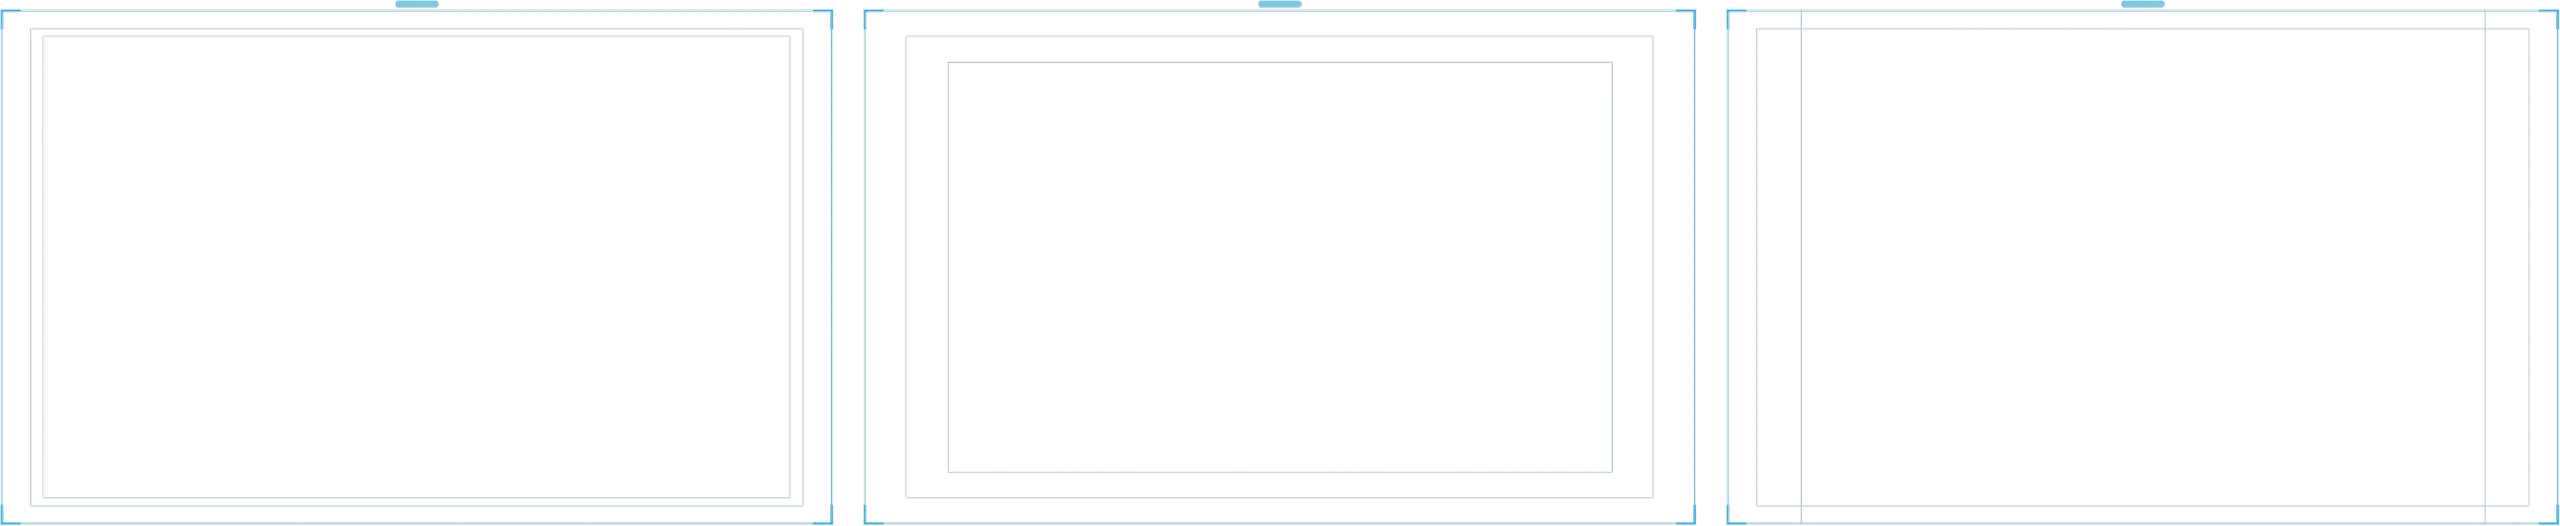
The figures above are representative. They are not the full set of forty-six.
Orientation and aspect ratio
Nineteen of the figures are handed, so you can adapt an asymmetric figure to your composition: flip it horizontally, flip it vertically, or rotate it in ninety-degree steps. Twenty-two of the figures carry their own aspect ratio.
Modulation: Noise and Grain
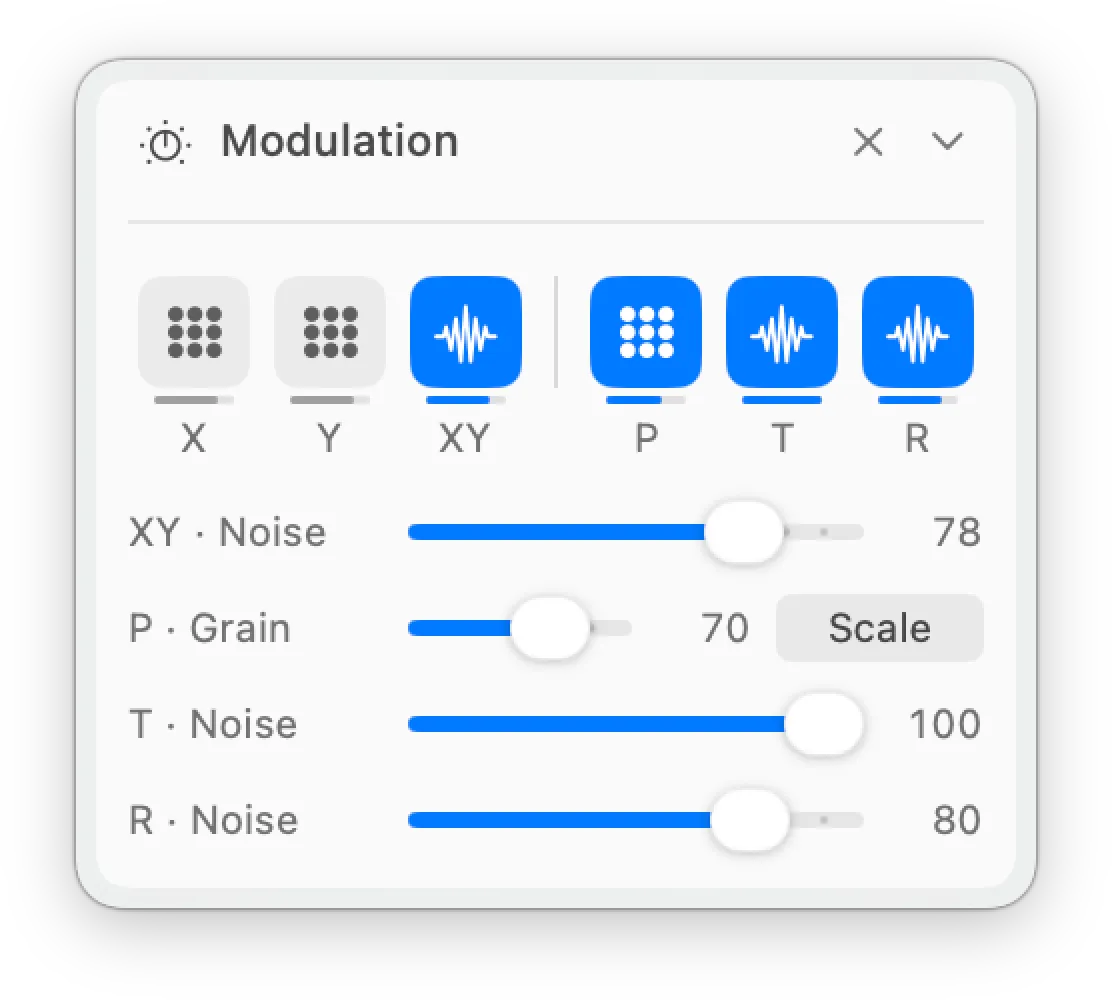
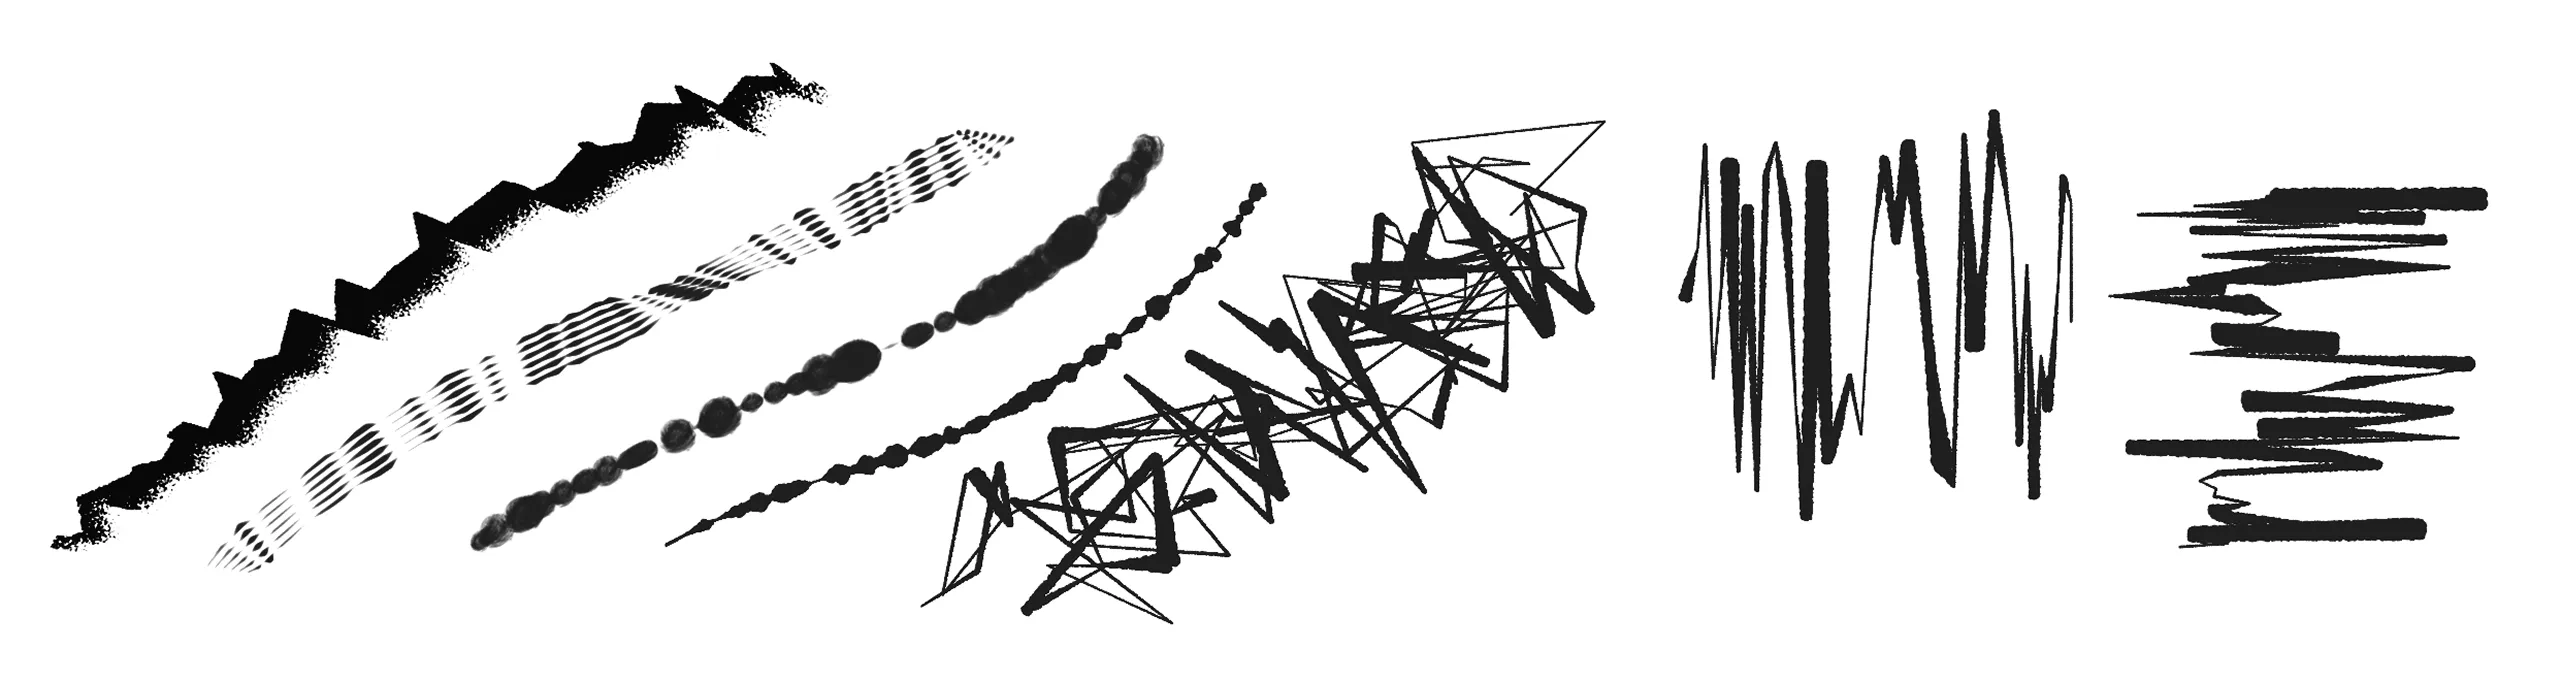
Modulation adds controlled randomness to your stroke. Pick a target, choose a source, and set how much.
Targets
There are six targets you can modulate:
- Position X
- Position Y
- Position XY
- Pressure
- Tilt
- Rotation
Sources
Each target offers two sources:
- Noise: a smoothly wandering value, good for slow, organic drift.
- Grain: a fresh random value on every event, good for texture and jitter.
Amount
Every slot has an Amount from 0 to 100 percent. The Amount follows a convex curve, so the lower half of the slider covers the subtle range and gives you fine control where it matters most.
Modes
Pressure modulation has three modes:
- Scale: multiplies the incoming pressure.
- Add: adds to the incoming pressure.
- Replace: substitutes the modulated value for the incoming pressure.
Modulation on Position, Tilt and Rotation is additive.
Range
At full Amount, Position reaches plus or minus 200 pixels, and Rotation reaches plus or minus 180 degrees.
Where it runs
Modulation runs after smoothing and after pressure mapping. Grain is applied last, so it is not smoothed away.
Every stroke gets its own seed, so the pattern does not repeat from one stroke to the next.
Presets
A preset captures the full tool state in one place: your smoothing slots, the pressure curve, the grid, the composition guides, and the modulation settings. Build a setup once, save it, and return to it later without rebuilding it by hand.
One thing stays out of presets. The grid colour is a global setting. It does not change when you load a different preset.
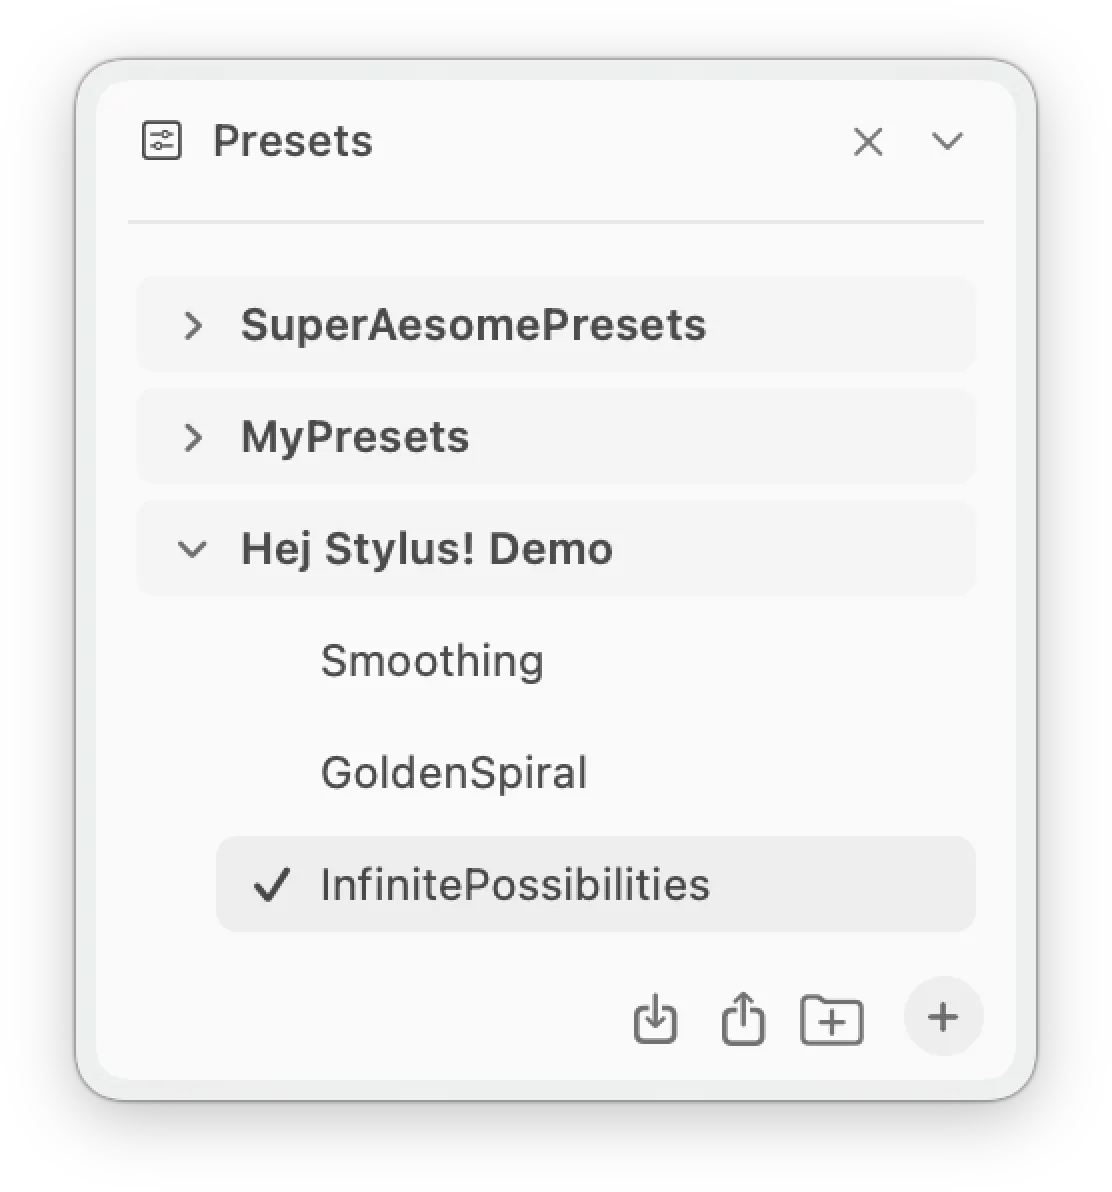
Use the presets panel to open the preset folder, load a saved preset, save the current state, or start a new one.
Recording and Playback
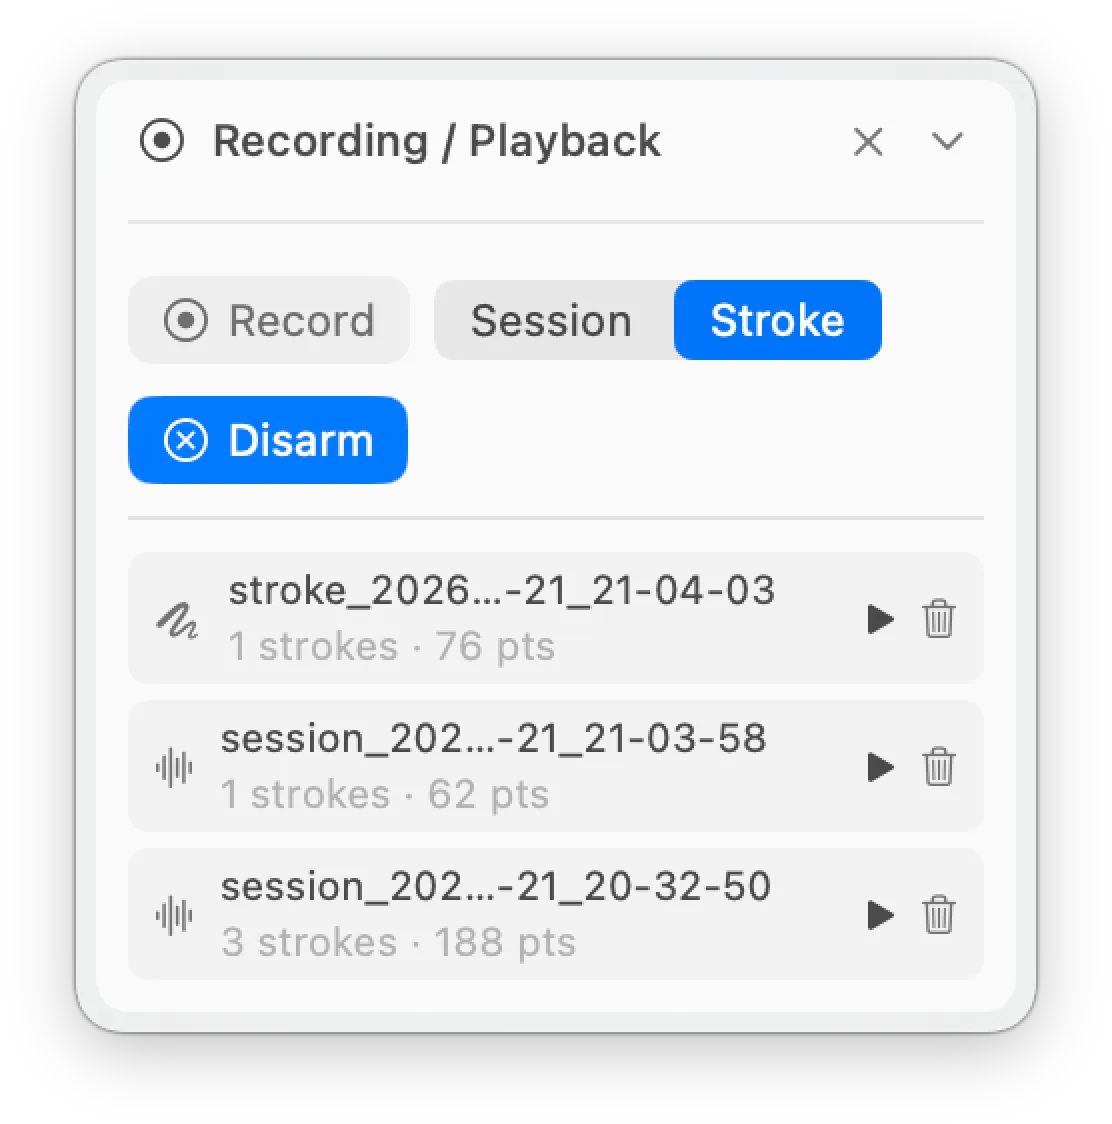
The Recording and Playback panel lets you capture your pen input and play it back later.
Record
- Choose what to capture: a whole Session or a single Stroke.
- Start recording, then draw as usual.
Playback
- Recorded strokes and sessions are listed in the panel.
- Select an entry from the list to play it back.
Preferences
Open Preferences from the gear icon in the panel header. It has four tabs: Options, Applications, Shortcuts and Guide.
Options
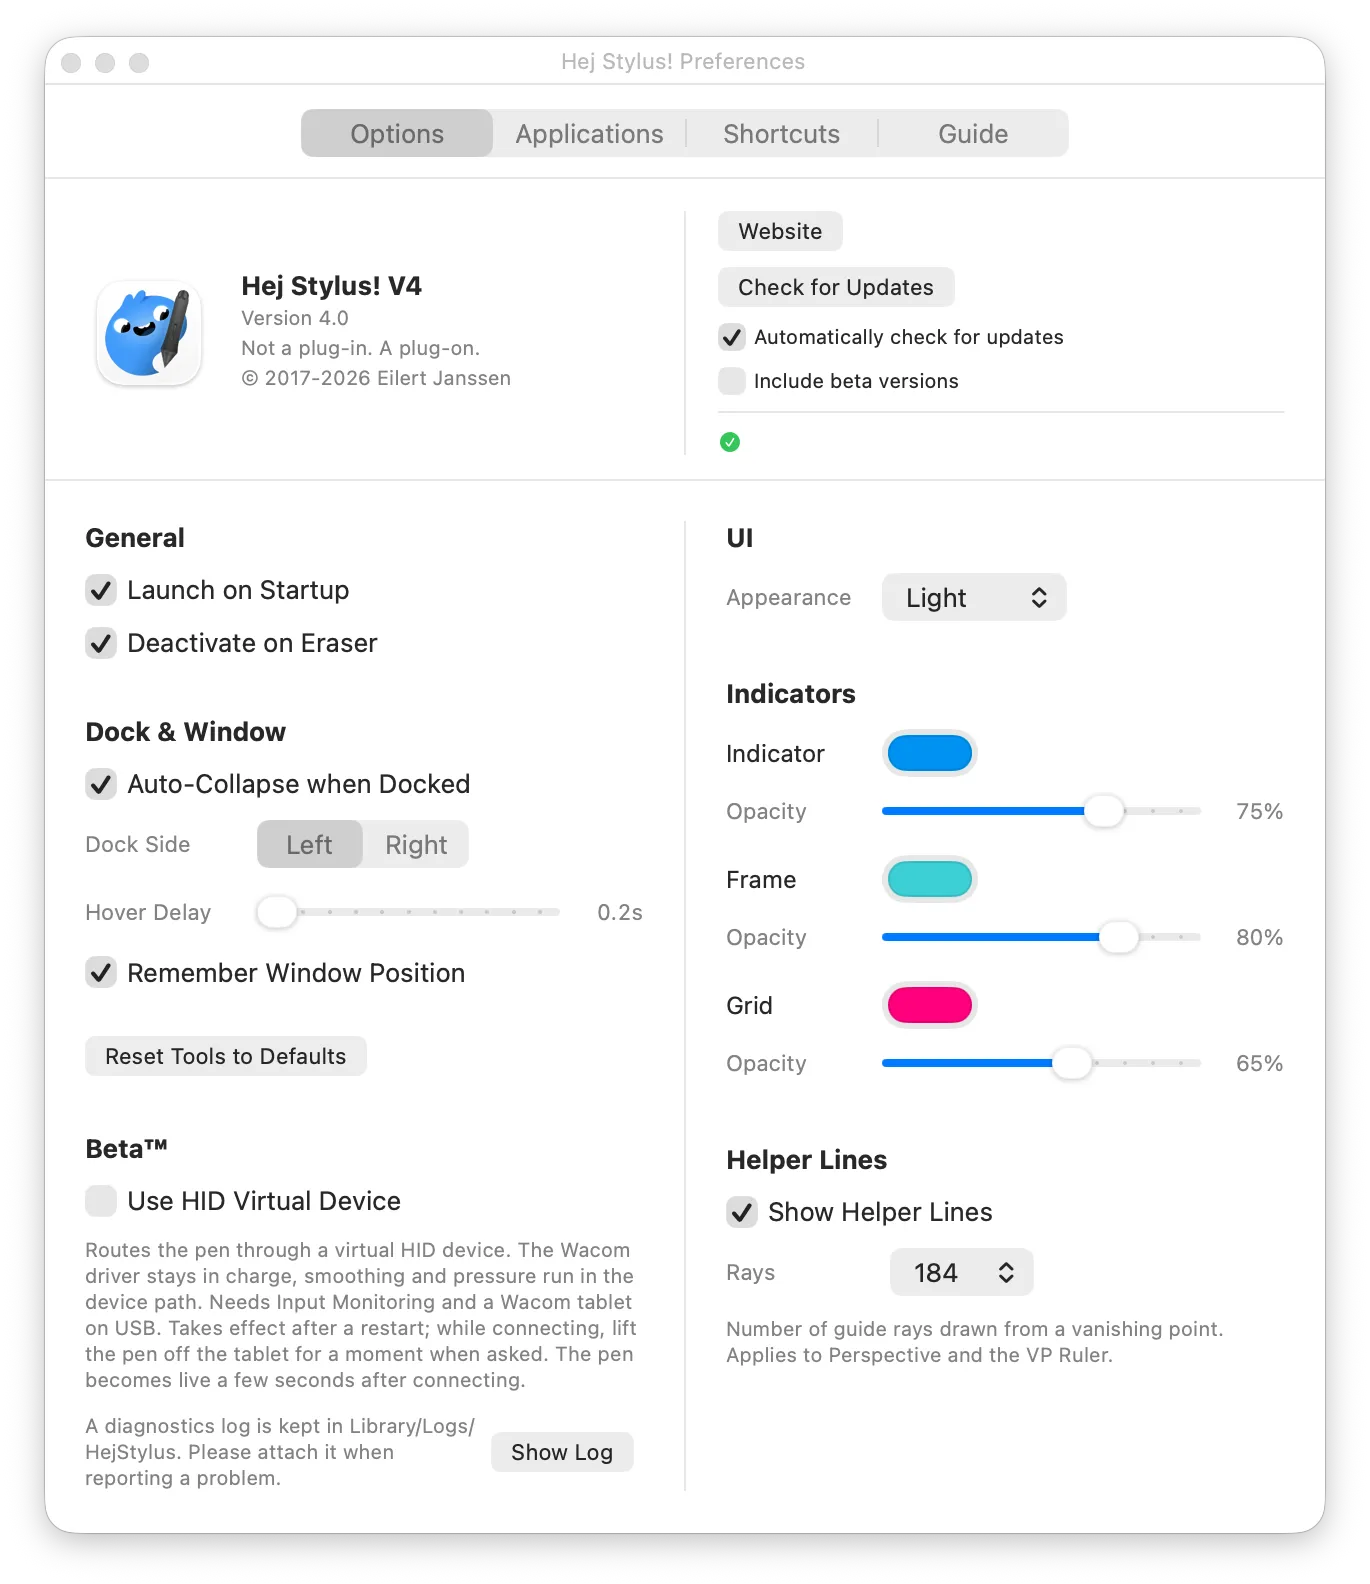
- General: Launch on Startup, Deactivate on Eraser.
- Dock and Window: Auto-Collapse when Docked, Dock Side (left or right), Hover Delay, Remember Window Position, and Reset Tools to Defaults.
- UI: Appearance switches the interface between Light and Dark.
- Indicators: set the colour and opacity of the Indicator, the Frame and the Grid independently.
- Helper Lines: Show Helper Lines, and Rays sets the number of guide rays drawn from a vanishing point (it applies to Perspective and the VP Ruler).
- Updates: check manually, check automatically, and optionally include beta versions.
- Beta, Use HID Virtual Device: routes the pen through a virtual HID device. It needs Input Monitoring and a Wacom tablet on USB, and takes effect after a restart.
Applications
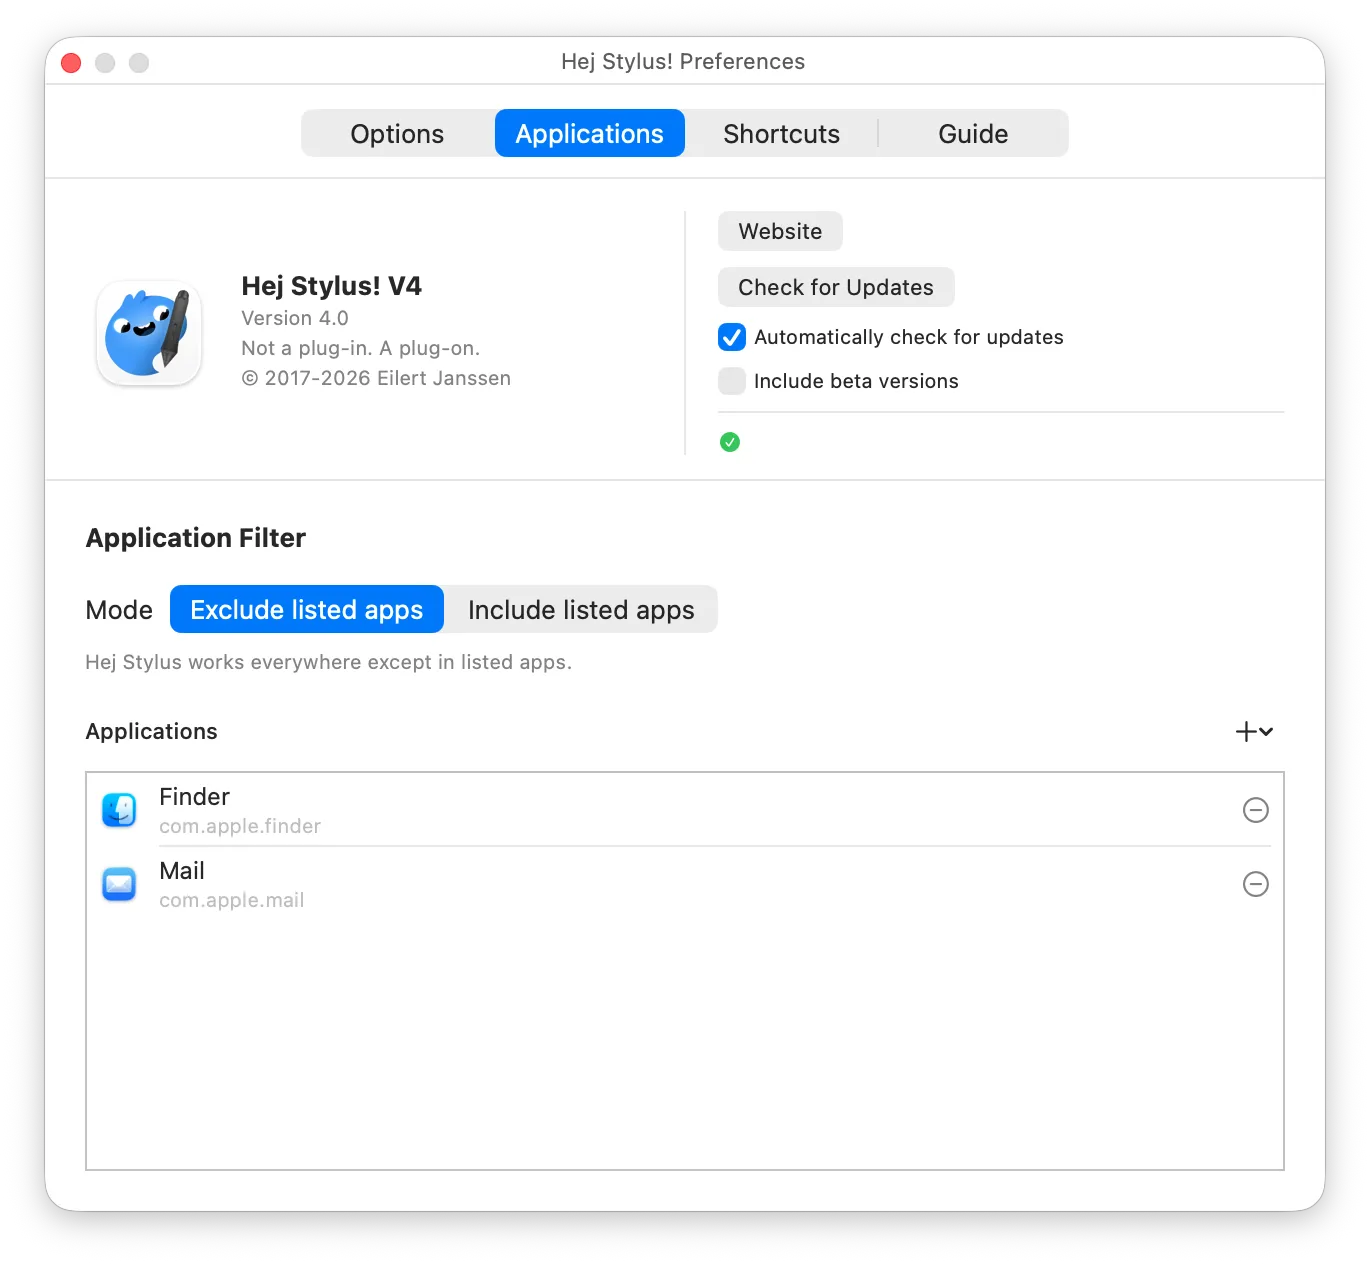
Choose where Hej Stylus! runs. Set the mode to Exclude listed apps (it works everywhere except the apps you list) or Include listed apps (it works only in the apps you list). Add or remove apps with the plus and minus controls.
Shortcuts
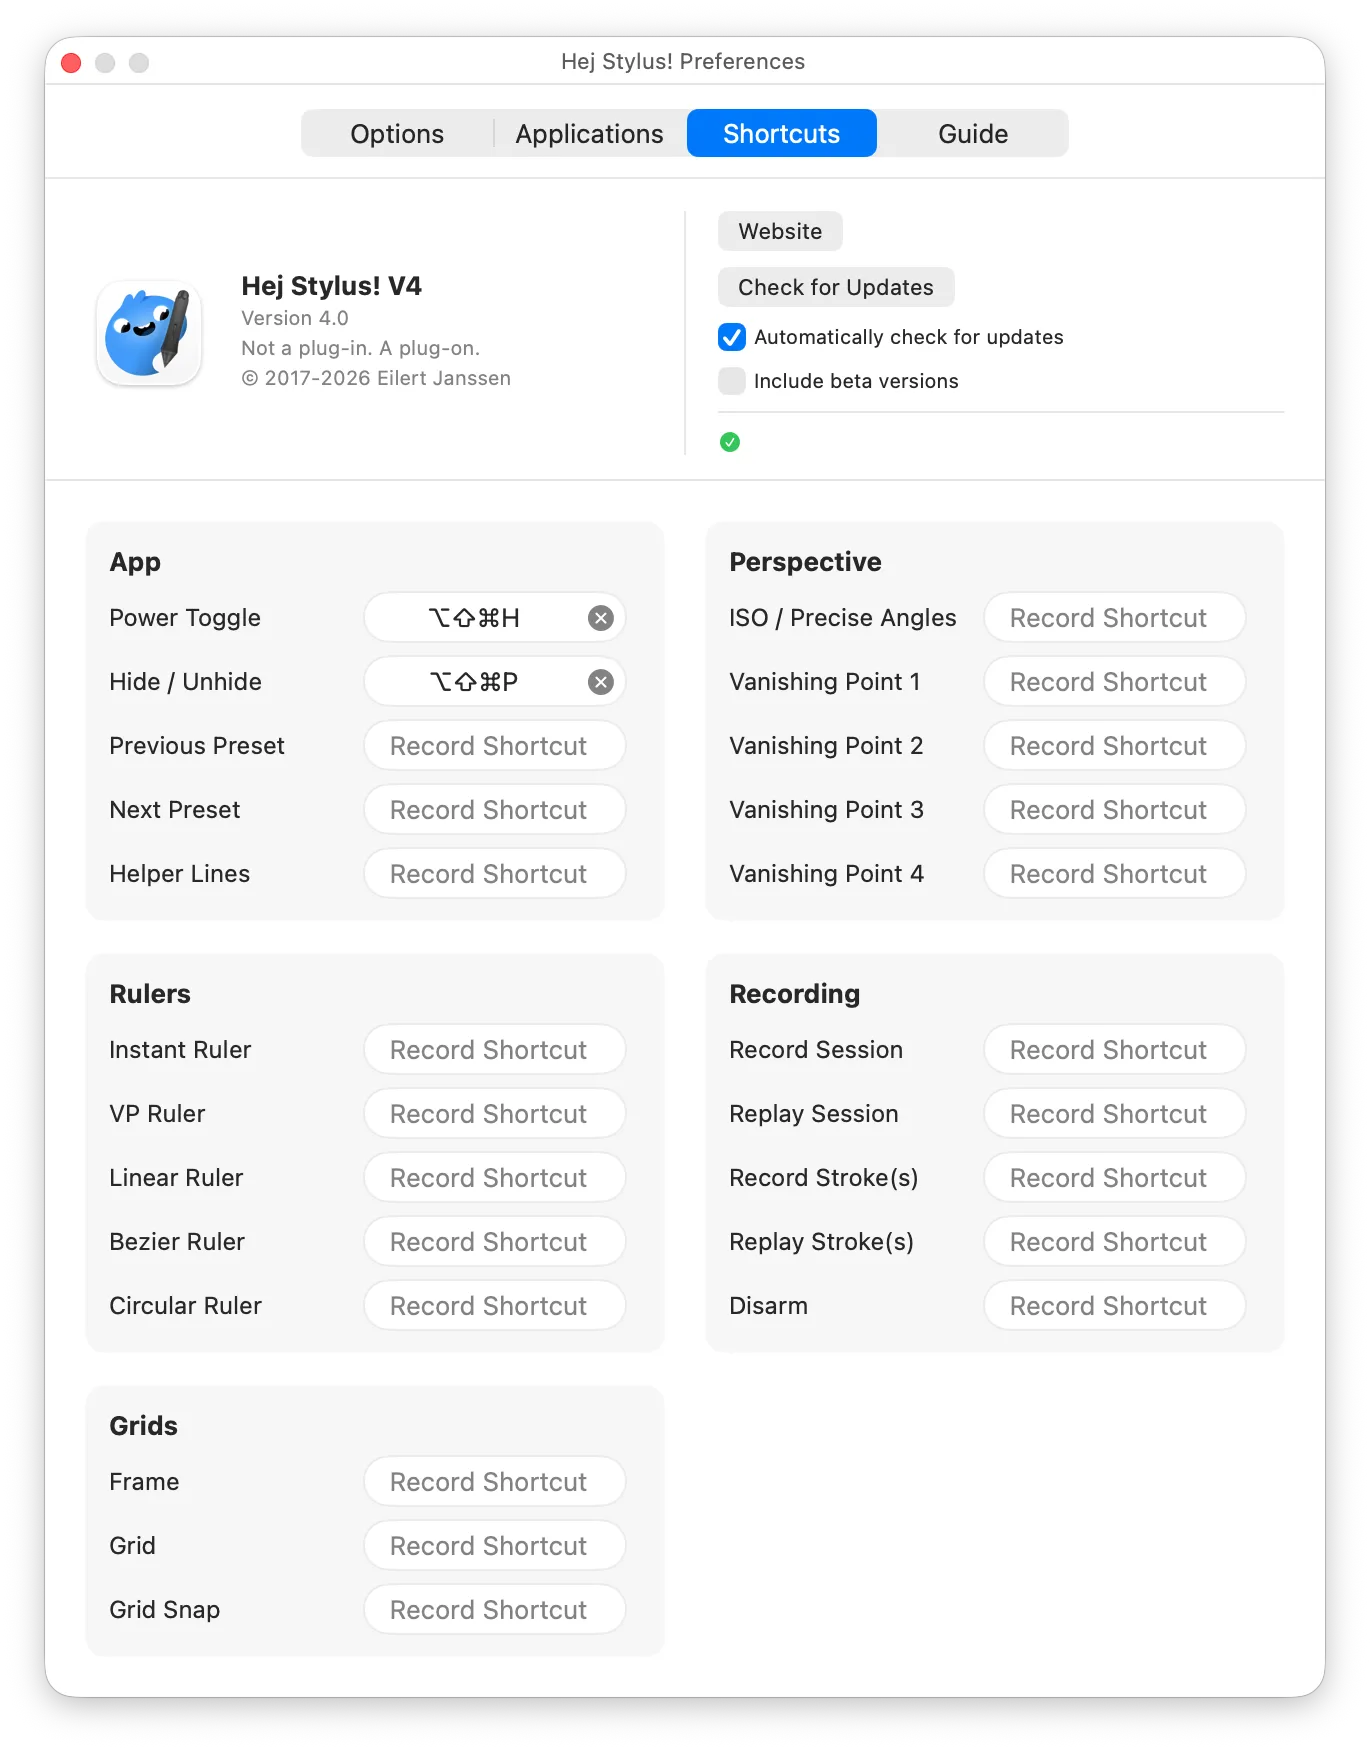
Assign keyboard shortcuts in the Shortcuts tab, grouped by App (power toggle, hide, previous and next preset, helper lines), Perspective (Precise Angles and each vanishing point), Rulers, Recording, and Grids (Frame, Grid, Grid Snap). Power Toggle and Hide come pre-assigned.
Licence, Trial and Requirements
Licence and Trial
Hej Stylus! is a one-time purchase of $34.99 USD, with no subscription. A fourteen-day trial begins on first launch. One licence key activates up to three devices. Keys are verified against Gumroad, and the app keeps working offline for up to thirty days between server checks, showing a visible warning from day twenty-one onward. After the trial ends, Position Pull smoothing stays free.
System Requirements
- macOS 15.6 or later.
- Universal build for Apple silicon and Intel.
- Signed with a Developer ID, notarized, running under the hardened runtime.
- Accessibility permission is required for the pointer tools.
- Built-in updater (Sparkle 2.9.4), with automatic update checks on by default.
- Optional login item, so the app can start at login.
- This is version 4.0.8, build 108.
HID virtual device mode is labelled Beta and is off by default. It needs a Wacom tablet connected by USB and Input Monitoring permission. Pressure features need a pressure-sensitive pen, developed and tested for pen on a graphics tablet.